Start
The START control will start any function.
If cooking is interrupted, touching the START control pad will resume the preset cycle.
Timer
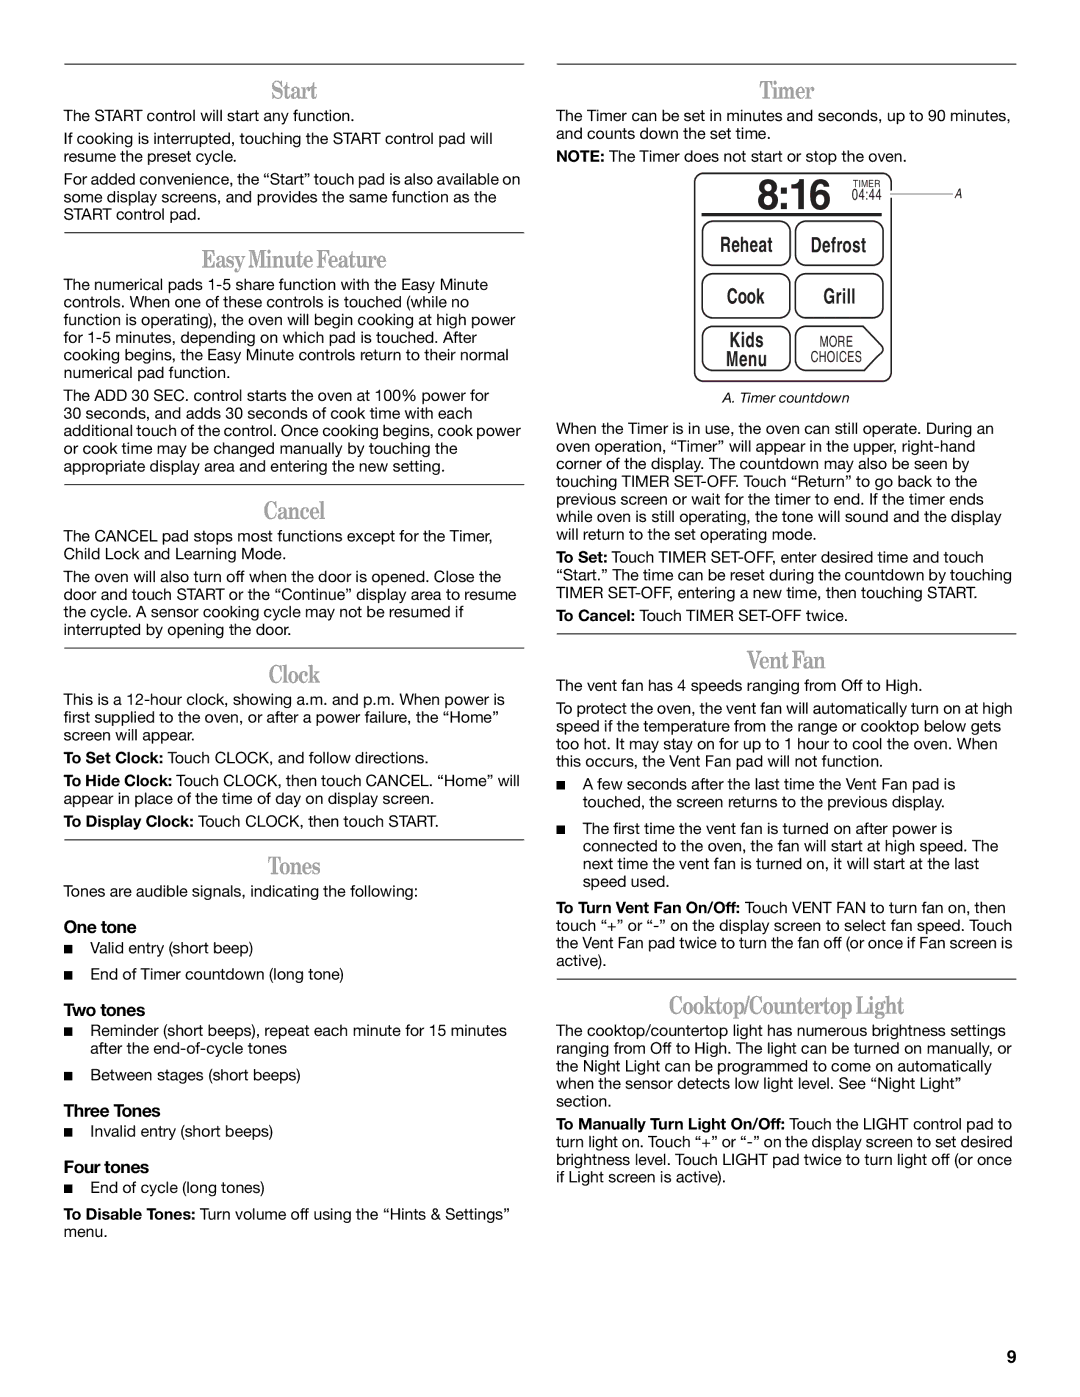
The Timer can be set in minutes and seconds, up to 90 minutes, and counts down the set time.
NOTE: The Timer does not start or stop the oven.
For added convenience, the “Start” touch pad is also available on some display screens, and provides the same function as the START control pad.
Easy Minute Feature
The numerical pads
The ADD 30 SEC. control starts the oven at 100% power for 30 seconds, and adds 30 seconds of cook time with each
8:16 04:44
TIMER
Reheat Defrost
Cook Grill
Kids MORE
Menu CHOICES
A. Timer countdown
A
additional touch of the control. Once cooking begins, cook power or cook time may be changed manually by touching the appropriate display area and entering the new setting.
Cancel
The CANCEL pad stops most functions except for the Timer, Child Lock and Learning Mode.
The oven will also turn off when the door is opened. Close the door and touch START or the “Continue” display area to resume the cycle. A sensor cooking cycle may not be resumed if interrupted by opening the door.
Clock
This is a
To Set Clock: Touch CLOCK, and follow directions.
To Hide Clock: Touch CLOCK, then touch CANCEL. “Home” will appear in place of the time of day on display screen.
To Display Clock: Touch CLOCK, then touch START.
Tones
Tones are audible signals, indicating the following:
One tone
■Valid entry (short beep)
■End of Timer countdown (long tone)
Two tones
■Reminder (short beeps), repeat each minute for 15 minutes after the
■Between stages (short beeps)
Three Tones
■Invalid entry (short beeps)
Four tones
■End of cycle (long tones)
To Disable Tones: Turn volume off using the “Hints & Settings” menu.
When the Timer is in use, the oven can still operate. During an oven operation, “Timer” will appear in the upper,
To Set: Touch TIMER
To Cancel: Touch TIMER
Vent Fan
The vent fan has 4 speeds ranging from Off to High.
To protect the oven, the vent fan will automatically turn on at high speed if the temperature from the range or cooktop below gets too hot. It may stay on for up to 1 hour to cool the oven. When this occurs, the Vent Fan pad will not function.
■A few seconds after the last time the Vent Fan pad is touched, the screen returns to the previous display.
■The first time the vent fan is turned on after power is connected to the oven, the fan will start at high speed. The next time the vent fan is turned on, it will start at the last speed used.
To Turn Vent Fan On/Off: Touch VENT FAN to turn fan on, then touch “+” or
Cooktop/Countertop Light
The cooktop/countertop light has numerous brightness settings ranging from Off to High. The light can be turned on manually, or the Night Light can be programmed to come on automatically when the sensor detects low light level. See “Night Light” section.
To Manually Turn Light On/Off: Touch the LIGHT control pad to turn light on. Touch “+” or
9
