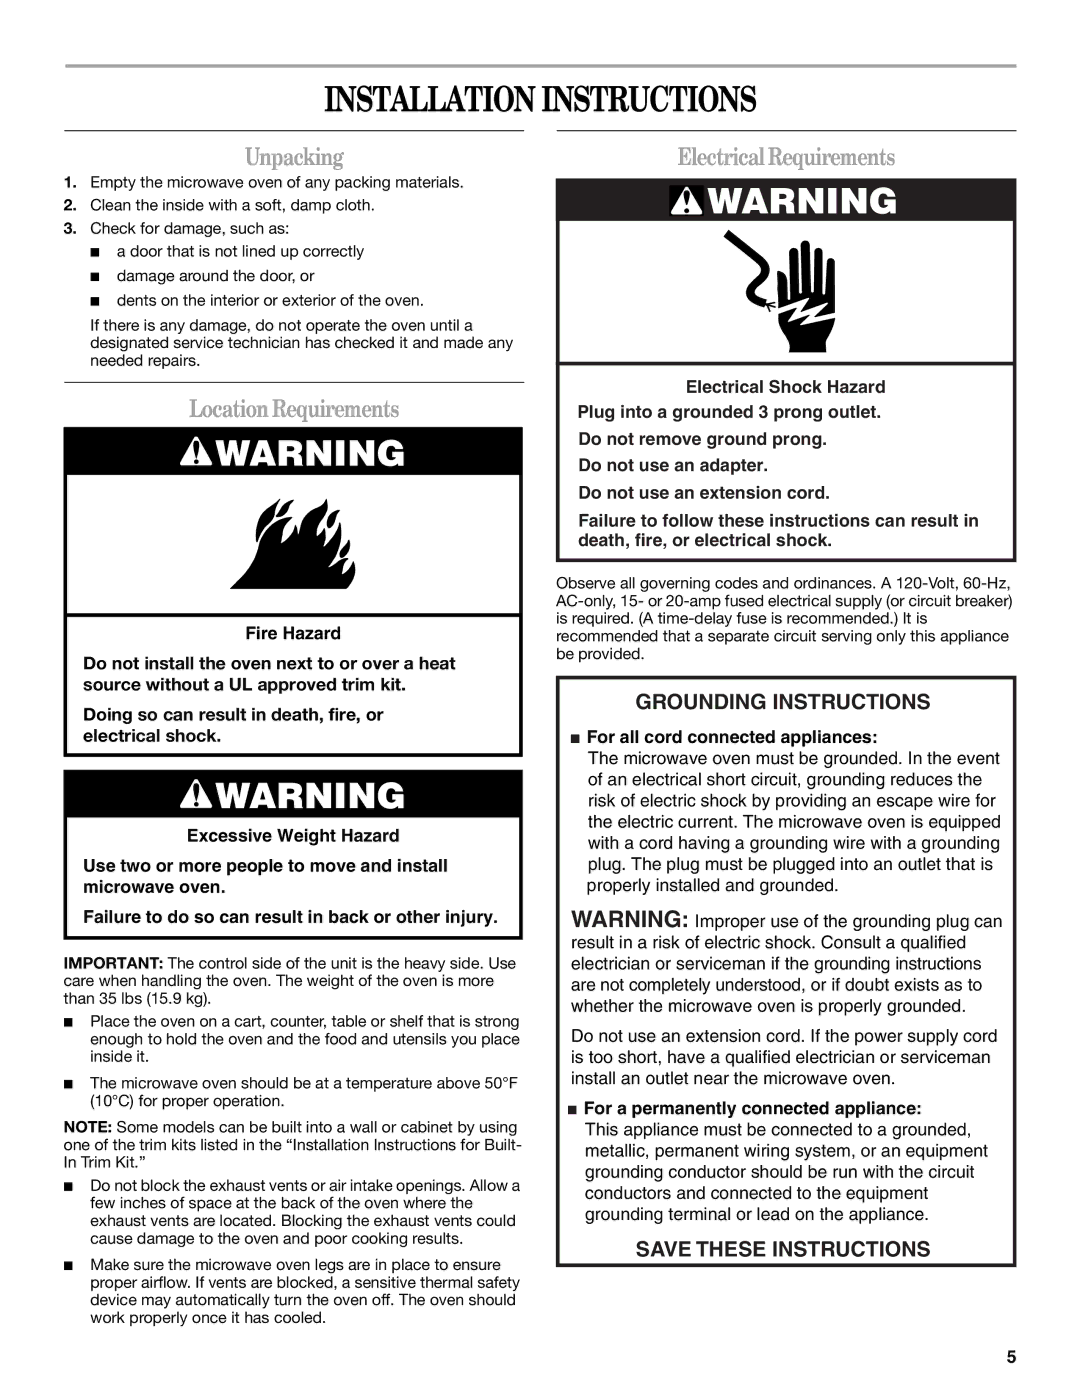
INSTALLATION INSTRUCTIONS

Unpacking

1.Empty the microwave oven of any packing materials.

2.Clean the inside with a soft, damp cloth.

3.Check for damage, such as:

a door that is not lined up correctly

damage around the door, or

dents on the interior or exterior of the oven.

If there is any damage, do not operate the oven until a designated service technician has checked it and made any needed repairs.

LocationRequirements

WARNING

Fire Hazard

Do not install the oven next to or over a heat source without a UL approved trim kit.

Doing so can result in death, fire, or electrical shock.

WARNING

Excessive Weight Hazard

Use two or more people to move and install microwave oven.

Failure to do so can result in back or other injury.

IMPORTANT: The control side of the unit is the heavy side. Use care when handling the oven. The weight of the oven is more than 35 lbs (15.9 kg).

Place the oven on a cart, counter, table or shelf that is strong enough to hold the oven and the food and utensils you place inside it.

The microwave oven should be at a temperature above 50°F (10°C) for proper operation.

NOTE: Some models can be built into a wall or cabinet by using one of the trim kits listed in the “Installation Instructions for Built- In Trim Kit.”

Do not block the exhaust vents or air intake openings. Allow a few inches of space at the back of the oven where the exhaust vents are located. Blocking the exhaust vents could cause damage to the oven and poor cooking results.

Make sure the microwave oven legs are in place to ensure proper airflow. If vents are blocked, a sensitive thermal safety device may automatically turn the oven off. The oven should work properly once it has cooled.

Electrical Requirements

WARNING

Electrical Shock Hazard

Plug into a grounded 3 prong outlet.

Do not remove ground prong.

Do not use an adapter.

Do not use an extension cord.

Failure to follow these instructions can result in death, fire, or electrical shock.

Observe all governing codes and ordinances. A 120-Volt, 60-Hz, AC-only, 15- or 20-amp fused electrical supply (or circuit breaker) is required. (A time-delay fuse is recommended.) It is recommended that a separate circuit serving only this appliance be provided.

GROUNDING INSTRUCTIONS

For all cord connected appliances:

The microwave oven must be grounded. In the event of an electrical short circuit, grounding reduces the risk of electric shock by providing an escape wire for the electric current. The microwave oven is equipped with a cord having a grounding wire with a grounding plug. The plug must be plugged into an outlet that is properly installed and grounded.

WARNING: Improper use of the grounding plug can result in a risk of electric shock. Consult a qualified electrician or serviceman if the grounding instructions are not completely understood, or if doubt exists as to whether the microwave oven is properly grounded.

Do not use an extension cord. If the power supply cord is too short, have a qualified electrician or serviceman install an outlet near the microwave oven.

For a permanently connected appliance:

This appliance must be connected to a grounded, metallic, permanent wiring system, or an equipment grounding conductor should be run with the circuit conductors and connected to the equipment grounding terminal or lead on the appliance.

SAVE THESE INSTRUCTIONS

5

Page 5
Image 5
Whirlpool GT4175SP manual Installation Instructions, Unpacking, LocationRequirements, Electrical Requirements

GT4175SP specifications

The Whirlpool GT4175SP is a reliable and efficient top-load washing machine that caters to a variety of laundry needs, making it a popular choice for households seeking practicality and performance. This model offers a range of features designed to enhance user convenience and garment care while providing impressive cleaning results.

One of the standout features of the GT4175SP is its 3.9 cubic feet capacity. This spacious drum allows users to wash larger loads, reducing the number of laundry cycles needed and saving precious time. The machine is equipped with an agitated wash action, ensuring thorough cleaning by gently tumbling clothes while effectively removing dirt and stains. This approach not only cleans effectively but also helps to maintain the integrity of fabrics over time.

The GT4175SP is designed with a variety of wash cycles and options, tailor-made to accommodate different fabric types and soil levels. Users can choose from multiple wash settings, including Normal, Delicate, and Heavy Duty, allowing for maximum flexibility based on individual laundry needs. The addition of an Auto Load Sensing feature optimizes water usage by automatically adjusting the water level to match the size of the load, promoting efficiency and conserving water.

Another notable characteristic of this washing machine is its user-friendly interface. The intuitive control panel features straightforward, easy-to-read options, enabling users to set their desired cycle with simply a push of a button. The large lid opening provides easy access to the drum, making loading and unloading hassle-free.

Durability and reliability are paramount in the design of the Whirlpool GT4175SP. Constructed with high-quality materials, this washing machine is built to withstand daily use. Its impressive warranty coverage reflects the confidence that Whirlpool has in the longevity of this appliance.

Additionally, the GT4175SP is equipped with features aimed at minimizing vibration and noise, making it suitable for use in various living spaces without disruption. Its compact structure also allows it to fit into tight laundry rooms or spaces without compromising on capacity.

In conclusion, the Whirlpool GT4175SP stands out in the top-load washing machine category by combining versatility, efficiency, and user-friendly features. With its ample capacity, thoughtful wash cycles, and durable construction, it is a valuable addition to any household laundry routine.