Turning Off the Turntable
The turntable can be turned off (except during an auto function). This is helpful when cooking with plates that are larger than the turntable or when cooking with two 10¼" (26 cm) plates that are side by side.
To Turn Off: Touch TURNTABLE
Cooking Rack
The cooking rack is ideal for
■Rack will become hot. Always use oven mitts or pot holders when handling.
■Do not allow the rack to touch the inside cavity walls, ceiling or floor.
■Do not store the rack in the oven. Damage to the oven could result if someone accidentally turns on the oven.
■Use the rack only when cooking on two levels.
■Do not use metal cookware, utensils, or a browning dish with the rack.
■Do not let food container on rack touch the top or sides of the oven.
■Do not place popcorn bags on rack.
■Do not cook food directly on the rack. Always use a
■The rack is designed specifically for this oven. Do not attempt to use any other rack in this oven.
■Clean rack supports often (see “General Cleaning” section). Damage to the oven could result due to soil buildup.
MICROWAVE OVEN CONTROL
Display
| SENSOR | AUTO | REHEAT | DEFROST | 1 2 3 | |
| ENTER | COOK | TIMER | SIM | ||
| QTY | TURN TABLE OFF LBS OZ | POWER | |||
| START? | |||||
|
|
|
|
|
|
|
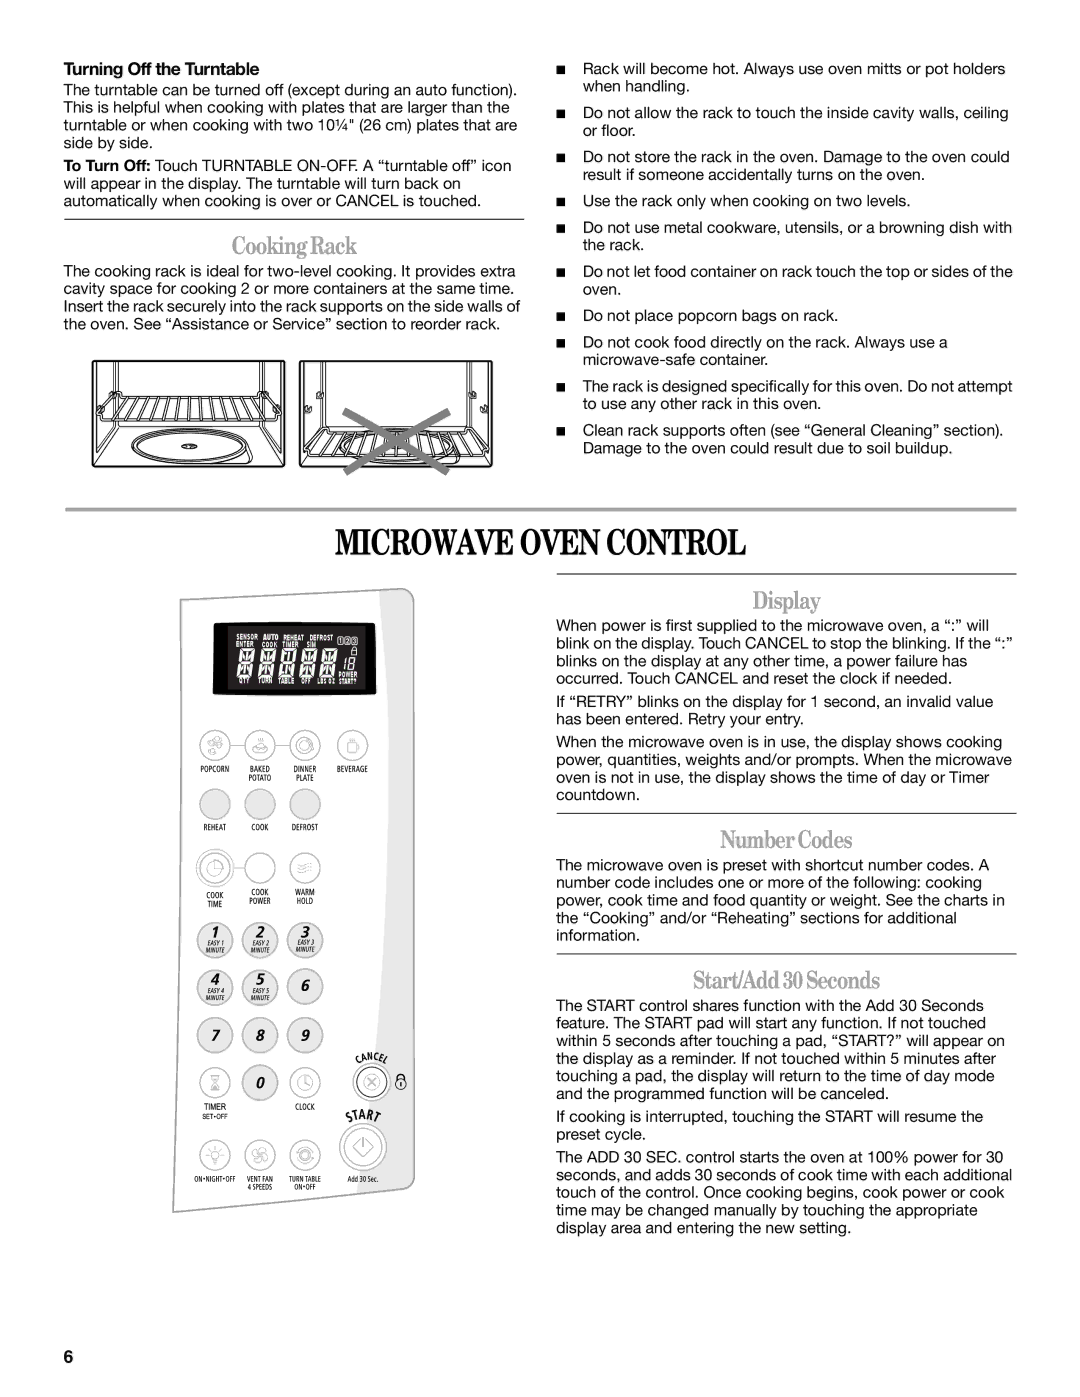
When power is first supplied to the microwave oven, a “:” will blink on the display. Touch CANCEL to stop the blinking. If the “:” blinks on the display at any other time, a power failure has occurred. Touch CANCEL and reset the clock if needed.
If “RETRY” blinks on the display for 1 second, an invalid value has been entered. Retry your entry.
When the microwave oven is in use, the display shows cooking power, quantities, weights and/or prompts. When the microwave oven is not in use, the display shows the time of day or Timer countdown.
Number Codes
The microwave oven is preset with shortcut number codes. A number code includes one or more of the following: cooking power, cook time and food quantity or weight. See the charts in the “Cooking” and/or “Reheating” sections for additional information.
Start/Add 30 Seconds
The START control shares function with the Add 30 Seconds feature. The START pad will start any function. If not touched within 5 seconds after touching a pad, “START?” will appear on the display as a reminder. If not touched within 5 minutes after touching a pad, the display will return to the time of day mode and the programmed function will be canceled.
If cooking is interrupted, touching the START will resume the preset cycle.
The ADD 30 SEC. control starts the oven at 100% power for 30 seconds, and adds 30 seconds of cook time with each additional touch of the control. Once cooking begins, cook power or cook time may be changed manually by touching the appropriate display area and entering the new setting.
6
