
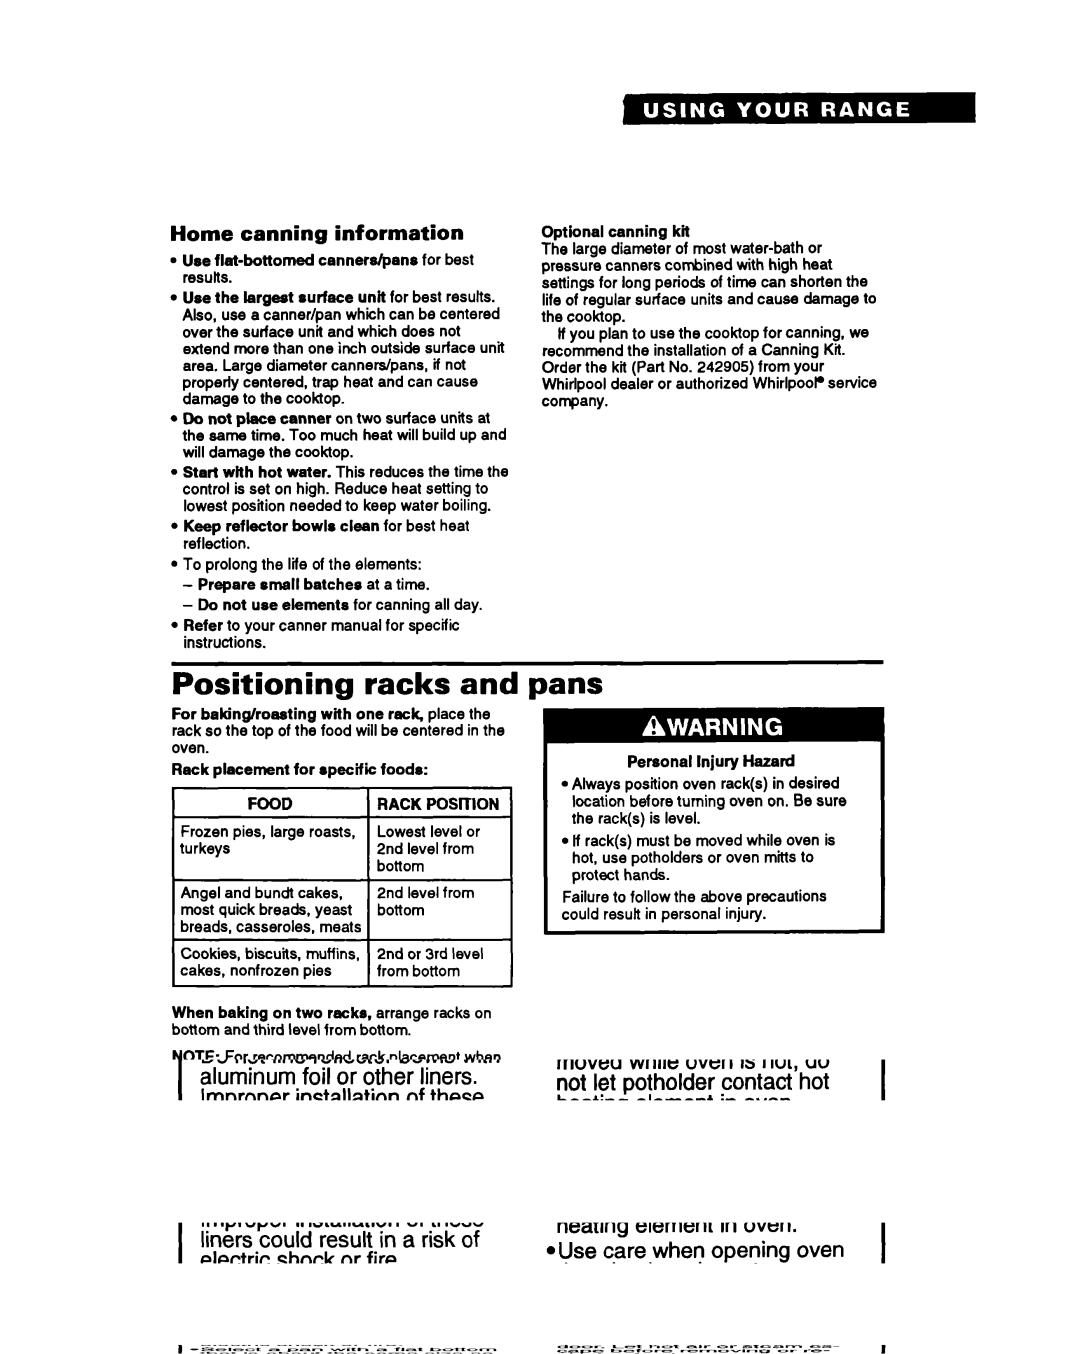
RS6105XB specifications
The Whirlpool RS6105XB is a remarkable refrigerator that exemplifies modern functionality and design, making it an excellent addition to any contemporary kitchen. This model combines advanced technologies with user-friendly features, ensuring optimal food preservation while enhancing convenience and style.One of the standout features of the Whirlpool RS6105XB is its generous storage capacity. With a spacious layout, it provides ample space for groceries, leftovers, and beverages. The flexible shelving system allows users to customize the interior according to their needs, accommodating tall bottles or larger items effortlessly. The adjustable shelves are easy to reposition, providing versatility and maximizing storage potential.
This model is equipped with Whirlpool's innovative 6th Sense technology, which intelligently monitors and adjusts temperature levels to maintain freshness and prevent spoilage. This technology responds to fluctuations in temperature, ensuring that food stays at the ideal conditions, ultimately leading to reduced wastage and extended shelf life for perishable items.
Another key characteristic of the RS6105XB is its Energy Class rating, making it an energy-efficient option for environmentally-conscious consumers. The appliance is designed to consume less electricity, helping to lower utility bills while also minimizing environmental impact. The Eco Mode feature allows users to further enhance energy savings without compromising performance.
The refrigerator also includes a multi-air flow system that ensures the even distribution of cool air throughout the compartments. This technology helps maintain stable temperatures, preventing hotspots that can lead to food spoilage. Additionally, the humidity-controlled crisper drawers are designed to keep fruits and vegetables fresh longer, by managing moisture levels effectively.
The Whirlpool RS6105XB features an exterior that is not just aesthetically pleasing but also practical. Its fingerprint-resistant stainless steel finish ensures a sleek look while minimizing smudges and fingerprints. The LED lighting softly illuminates the interior, providing clear visibility while also being energy-efficient.
In terms of convenience, the RS6105XB offers user-friendly controls, allowing for easy temperature adjustments and monitoring. The door bins and water-resistant shelving contribute to hassle-free organization and cleaning, ensuring that maintaining this refrigerator is a breeze.
Overall, the Whirlpool RS6105XB is an exemplary refrigerator that integrates cutting-edge technology, aesthetic appeal, and user-friendly design. It is perfect for families and individuals alike, providing the reliability and efficiency needed in a modern kitchen.