ICE SERVICE
Twist ice Cube Trays
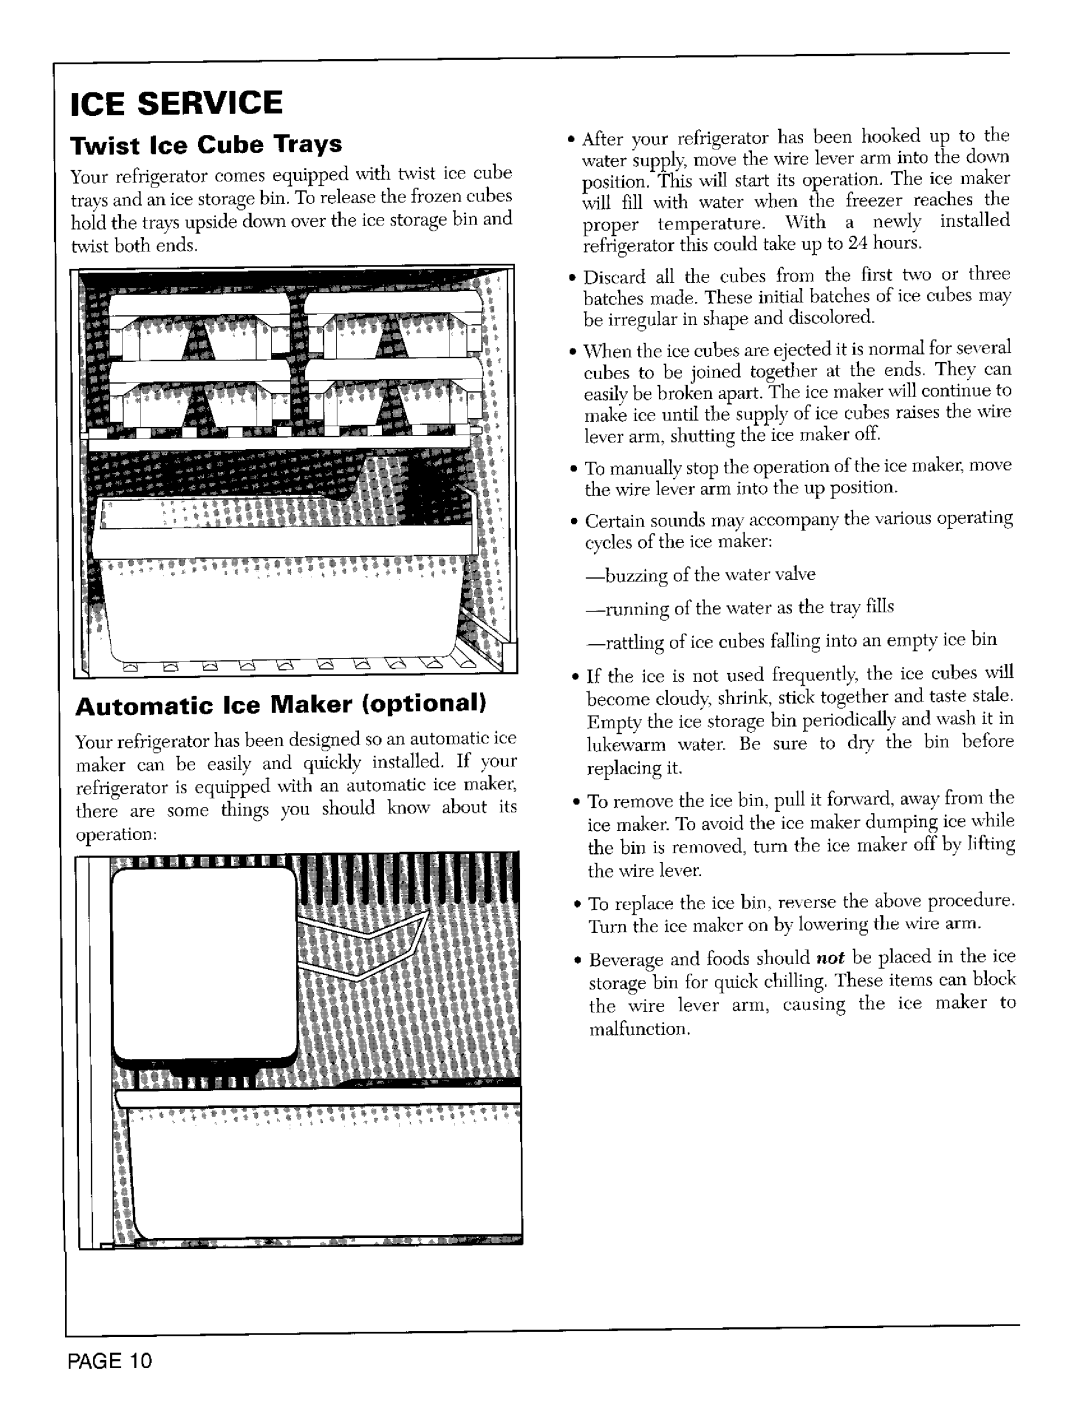
Your refrigerator comes equipped with twist ice cube trays and an lee storage bin. To release the frozen cubes
hold the trays upside down over the ice storage bin and t_xqst both ends.
Automatic Ice Maker (optional)
Your refrigerator has been designed so an automatic ice
maker can be easily and quie!dy installed. If your refrigerator is equipped with an automatic ice maker,
there are some things you should knmv about its operation:
•After your refrigerator has been hooked up to the
water suppl_; move the wire lever arm into the down position. This will start its operation. The ice maker will fill with water when the freezer reaches the
proper temperature. With a newly installed refrigerator this could take up to 24 hours.
•Discard all the cubes from the first two or three batches made. These initial batches of"ice cubes may be irregular in shape and discolored.
•When the ice cubes are ejected it is normal for several cubes to be joined together at the ends. They can
•To manually stop the operation of the ice maker, move the wire lever arm into the up position.
•Certain sounds may accompany the various operating cycles of the ice maker:
•If the ice is not used frequently, the ice cubes will become cloudy; shrink, stick _ogether and taste stale. Emp)- the ice storage bin periodically and wash it in lukewarm water. Be sure to dry the bin before replacing it.
•To remove the ice bin, pull it forward, away from the ice maker. To avoid the ice maker dumping ice while the bin is removed, turn the ice maker off by Jilting the wire lever.
•To replace the ice bin, reverse the above procedure. Turn the ice maker on by lowering the wire arm.
•Beverage and foods should not be placed in the ice storage bin for quiek chilling. These items can block
the wire lever arm, causing the ice maker to malfunction.
PAGE 10
