INSTALLATION
Remove and discard tile cantilever shelf packing clips
located just above each shelf where it hooks onto the frame. To remove the plastic clips, wiggle the clips sideways and pull straight out.
Locating Your Refrigerator
1.Allow a free flow"of air through the front base grille.
2.Your model should not be installed where the room
temperature will go below 55 degrees F., because it will not run frequently enough to maintain proper temperature in the freezer.
3.For ease of installation, you should leave a space of about i/2 inch between the refrigerator and adjacent walls or cabinets. If the refrigerator is placed with the hinge side against a wall, you may want to leave additional space so the door can be opened wider. (Refer to the installation instructions for more detail.)
Important Leveling Information
Your refrigerator is equipped with front and back rollers so it can be moved away from the wall fbr cleaning. The front rollers are adjustable and should be positioned so
the refrigerator sits firmly on the floor aud is level.
To adjust the front rollers:
1.Remove the base grille by grasping the ends, lift and pull out.
IO1
.
_
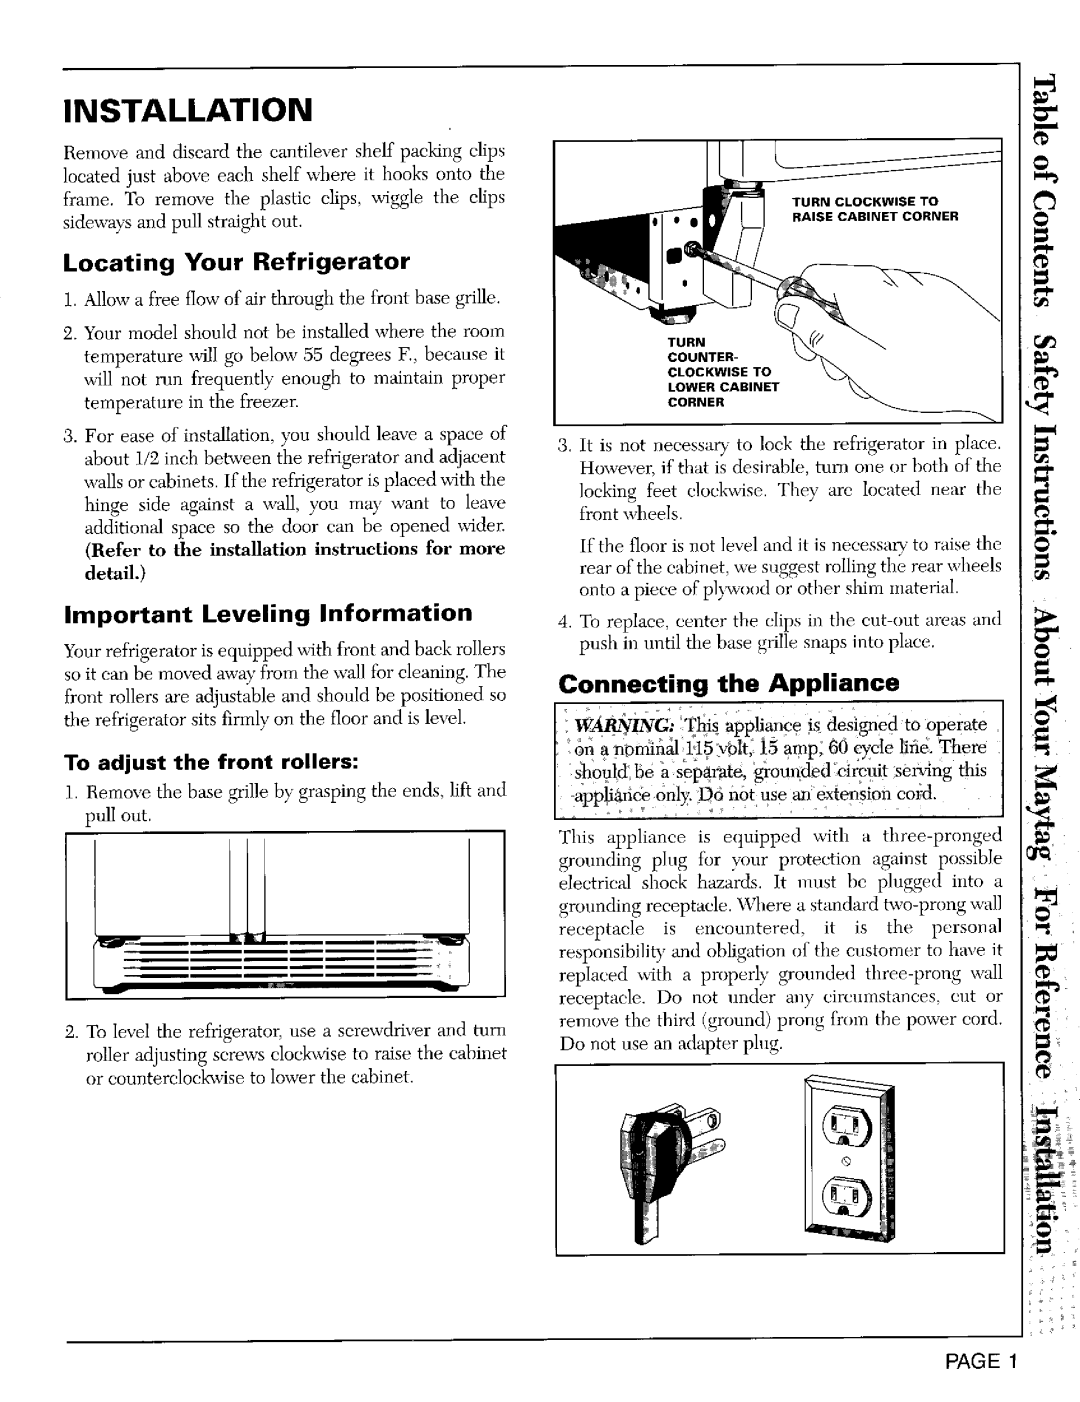
2.To level the refrigerator, use a screwdriver and turn
roller adjusting screws clocGvise to raise the cabinet or couuterclockavise to lower the cabinet.
TURNCLOCKWISETO
RAISECABINETCORNER
TURN
COUNTER-
CLOWELOCKWISETOR CABINET
CORNER
3.It is not necessary to lock the refrigerator in place. Howexer, if that is desirable, turn one or both of the
locking feet clocl_dse. They arc located near the f?contwheels.
If the floor is not level and it is necessary to raise the
rear of the cabinet, we suggest rolling the rear wheels onto a piece of pl}_vood or other shim n/aterial.
4.To replace, center the clips iu file cut out areas and push in until the base grille snaps into place.
Connecting the Appliance
] W_g/NG} '_tlis appliance is designed to operate
Ion a nominal 1:15"_01t, 15 amp, 6 0 eycte _ne. There / should' be aseP arate, g?oundedi_ircuit, seMng this
/apptia6ce0nly. D6 n6t use a3aextension cord.
This appliance is equipped with a
electrical shock hazards. It nmst be plugged into a grounding receptacle. Where a standard
receptacle is encountered, it is the personal grounding p]ng tbr vour protection against possible
responsibility and obligation of the customer to have it replaced with a properly grounded
Do not use an adapter plug.
PAGE 1
