RT18HD, RT22AK, RT18BK, RT20BK, RT20AK specifications
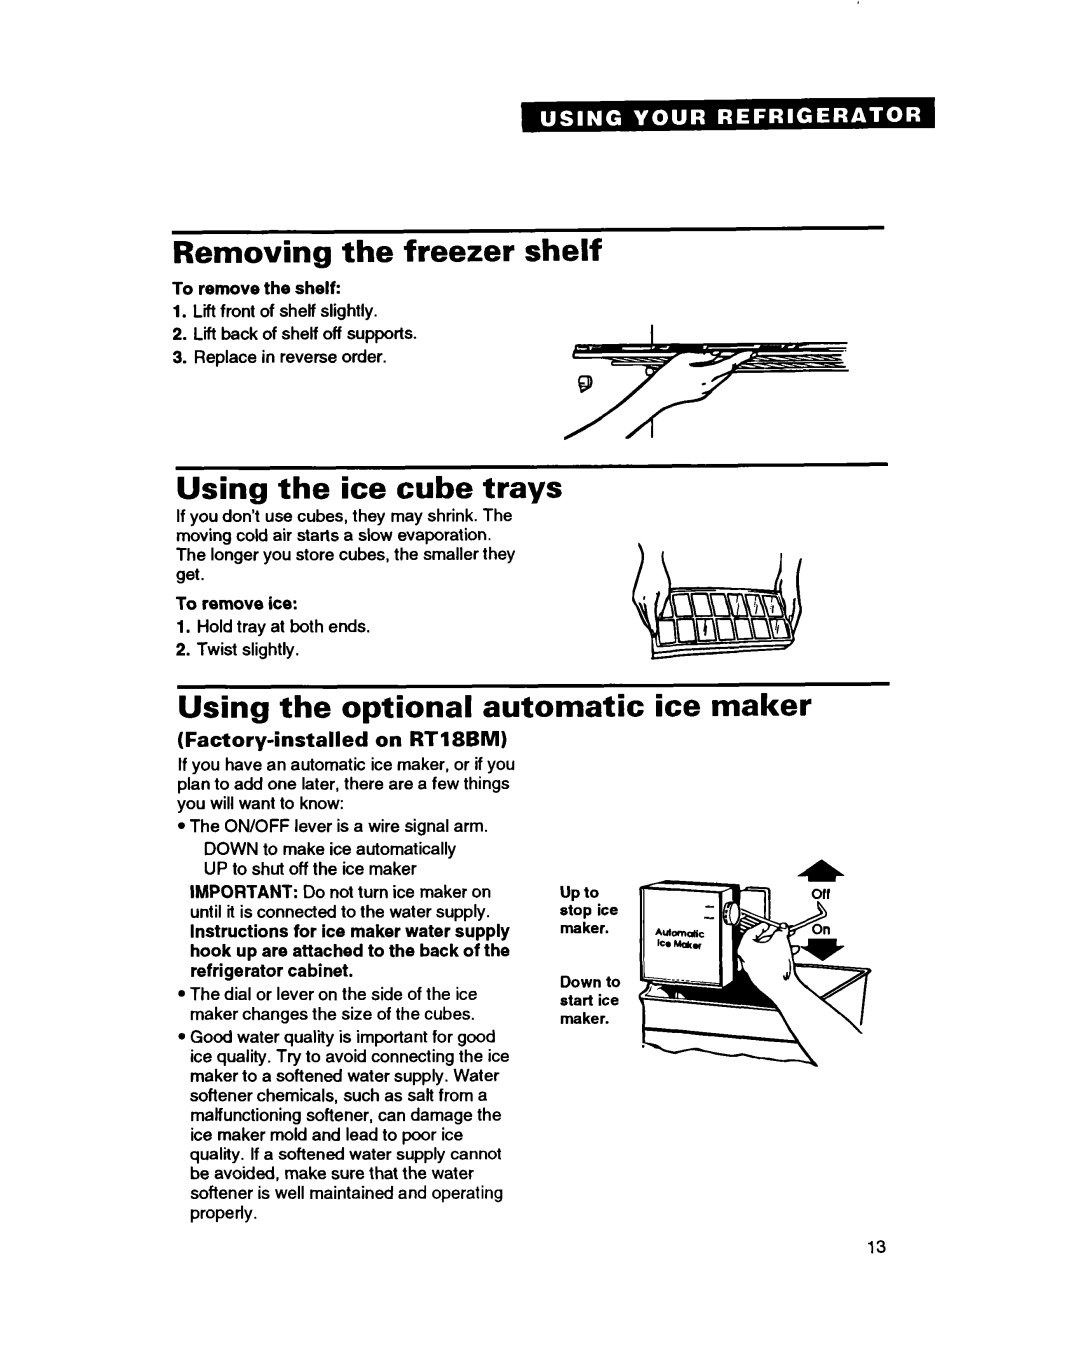
The Whirlpool RT18BM, RT18DK, RT18AK, RT20AK, and RT20BK are a series of top-freezer refrigerators well-regarded for their innovative features, dependability, and sleek design. These models cater to a range of consumer needs while ensuring efficient food storage and preservation.One of the standout features across the RT series is the Adaptive Defrost technology. This feature monitors the freezer environment, allowing the refrigerator to run the defrost cycle only when necessary. As a result, it minimizes energy usage while ensuring optimal performance, which is ideal for environmentally conscious consumers.
Another core characteristic of these models is the Flexi-Slide crisper bin. This unique design allows users to easily slide the crisper bin out of the way to make space for taller items—such as large pizza boxes or tall bottles— optimizing storage flexibility. The crisper bins also are designed to keep fruits and vegetables fresh longer by maintaining ideal humidity levels.
In terms of accessibility, the RT series refrigerators are equipped with a Can Caddy that conveniently stores cans and other small items in the door, making it easy to grab your favorite beverages on the go. Additionally, the storage options are abundant, featuring adjustable shelves that allow users to customize their space based on their needs.
The exterior of the RT models boasts a contemporary design, available in multiple finishes which include black, white, and stainless steel options, allowing them to seamlessly fit into any kitchen decor. Their exterior also features a textured finish which resists fingerprints, ensuring a pristine appearance with minimal maintenance.
Energy efficiency is a critical concern for modern consumers, and the Whirlpool RT series doesn't disappoint. These refrigerators are designed to exceed the minimum energy efficiency standards set by the EPA, which can lead to significant savings on utility bills over time.
Lastly, the customized temperature controls ensure that all perishable items are kept at ideal temperatures, whether they're stored in the refrigerator or freezer compartment. This attention to detail enhances the overall user experience while preserving food quality.
In summary, the Whirlpool RT18BM, RT18DK, RT18AK, RT20AK, and RT20BK models are excellent choices for those needing reliable refrigeration solutions. With adaptive technologies, flexible storage options, and energy-efficient design, these refrigerators deliver convenience and performance in a chic package. They contribute positively to any household's kitchen while ensuring food remains fresh and accessible, combining style with practicality.

