PART
Broiler pan and grid
Oven racks
Oven door glass
WHAT TO USE
Warm, soapy water or a soapy steel wool pad.
Use
Spray glass cleaner or warm, soapy water and a non- abrasive plastic scouring pad.
For areas outside the Self- Cleaning area use warm soapy water or soapy steel wool pads.
HOW TO CLEAN
n Clean after each use.
n Wash, rinse and dry well.
n Do not clean in the
n Leave in oven during
. Wash, rinse and dry well. Use soapy steel wool pads for
NOTE: The oven racks will discolor and be harder to slide when left in the oven during the
. Make sure oven is cool.
. Follow directions provided with the cleaner.
. Wash, rinse and dry well.
. Follow directions started on page 8, “Usingthe Self- Cleaning cycle.”
. Do not use commercial oven cleaners.
. Do not use foil to line the bottom of your Self- Cleaning oven.
The oven light
The oven light will come on when you open the oven door. To turn the light on when the oven door is closed, push the Oven Light Switch on the control panel. Push the switch again to turn off the light.
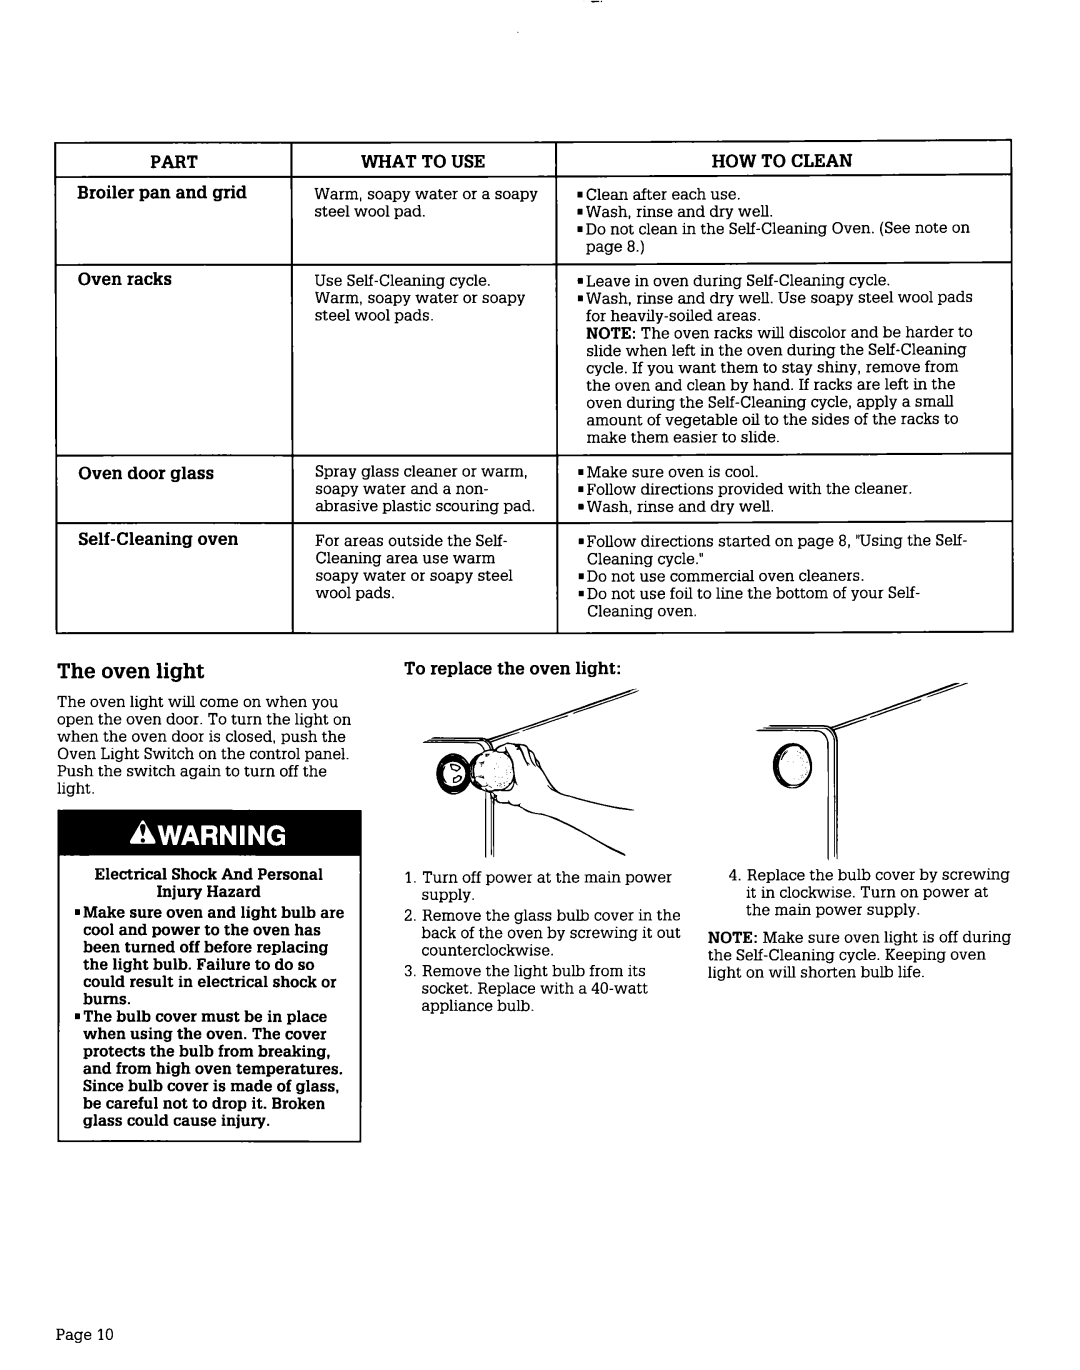
To replace the oven light:
Electrical Shock And Personal
Injury Hazard
. Make sure oven and light bulb are cool and power to the oven has been turned off before replacing the light bulb. Failure to do so could result in electrical shock or bums.
. The bulb cover must be in place when using the oven. The cover protects the bulb from breaking, and from high oven temperatures. Since bulb cover is made of glass, be careful not to drop it. Broken glass could cause injury.
1.Turn off power at the main power supply.
2.Remove the glass bulb cover in the back of the oven by screwing it out counterclockwise.
3.Remove the light bulb from its socket. Replace with a
4.Replace the bulb cover by screwing it in clockwise. Turn on power at the main power supply.
NOTE: Make sure oven light is off during the
Page 10
