Using the Self-Cleaning cycle
The
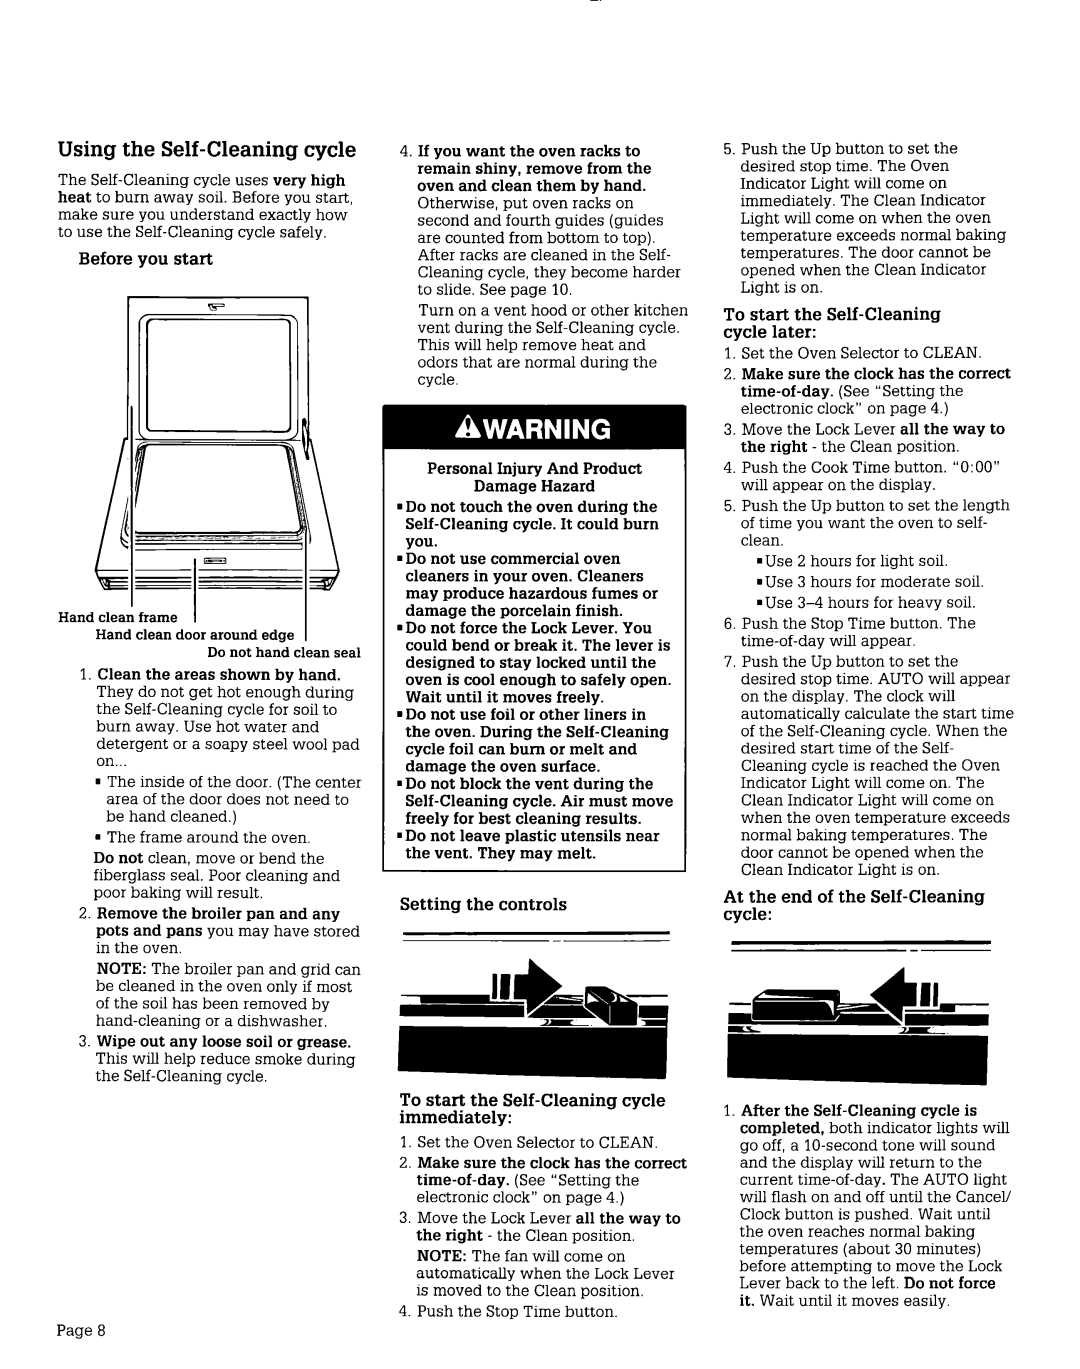
Before you start
i1
t
Hand clean frame
Hand clean door around edge
Do not hand clean seal
1.Clean the areas shown by hand. They do not get hot enough during the
1The inside of the door. (The center area of the door does not need to be hand cleaned.)
. The frame around the oven.
Do not clean, move or bend the fiberglass seal. Poor cleaning and poor baking will result.
2.Remove the broiler pan and any pots and pans you may have stored in the oven.
NOTE: The broiler pan and grid can be cleaned in the oven only if most of the soil has been removed by
3.Wipe out any loose soil or grease. This will help reduce smoke during the
Page 8
4.If you want the oven racks to remain shiny, remove from the oven and clean them by hand. Otherwise, put oven racks on second and fourth guides (guides are counted from bottom to top). After racks are cleaned in the Self- Cleaning cycle, they become harder to slide. See page 10.
Turn on a vent hood or other kitchen vent during the
Personal Injury And Product
Damage Hazard
. Do not touch the oven during the
. Do not use commercial oven cleaners in your oven. Cleaners may produce hazardous fumes or damage the porcelain finish.
. Do not force the Lock Lever. You could bend or break it. The lever is designed to stay locked until the oven is cool enough to safely open. Wait until it moves freely.
. Do not use foil or other liners in the oven. During the
1Do not block the vent during the
1Do not leave plastic utensils near the vent. They may melt.
Setting the controls
-
To start the
1.Set the Oven Selector to CLEAN.
2.Make sure the clock has the correct
3.Move the Lock Lever all the way to the right - the Clean position.
NOTE: The fan will come on automatically when the Lock Lever is moved to the Clean position.
4.Push the Stop Time button
5.Push the Up button to set the desired stop time. The Oven Indicator Light will come on immediately. The Clean Indicator Light will come on when the oven temperature exceeds normal baking temperatures. The door cannot be opened when the Clean Indicator Light is on.
To start the Self-Cleaning cycle later:
1.Set the Oven Selector to CLEAN.
2.Make sure the clock has the correct
3.Move the Lock Lever all the way to the right - the Clean position.
4.Push the Cook Time button. “0:OO” will appear on the display.
5.Push the Up button to set the length of time you want the oven to self- clean.
.Use 2 hours for light soil.
. Use 3 hours for moderate soil.
. Use
6.Push the Stop Time button. The
7.Push the Up button to set the desired stop time. AUTO will appear on the display. The clock will automatically calculate the start time of the
At the end of the Self-Cleaning cycle:
1.After the