3.Install the white decorative screws on the opposite side of the door.
![]() WARNING
WARNING
Electrical Shock Hazard
Plug into a grounded 3 prong outlet.
Do not remove ground prong.
Do not use an adapter.
Do not use an extension cord.
Failure to follow these instructions can result in death, fire, or electrical shock.
4.Plug into a grounded 3 prong outlet.
Leveling
It is important for the ice maker to be level in order to work properly. Depending upon where you install the ice maker, you may need to make several adjustments to level it. You may also use the leveling legs to lower the height of the ice maker for undercounter installations.
Tools Needed
Gather the required tools and parts before starting installation.
■9" level
■Adjustable wrench
NOTE: It is easier to adjust the leveling legs if you have another person to assist you.
1.Move the ice maker to its final location.
NOTE: If this is a
2.Place the level on top of the product to see whether the ice maker is level from front to back and side to side.
3.Push up on the top front of the ice maker, and then locate the leveling screws that are on the bottom front of the ice maker.
4.Using an adjustable wrench, change the height of the legs as follows:
■Turn the leveling leg to the right to lower that side of the ice maker.
■Turn the leveling leg to the left to raise that side of the ice maker.
NOTE: The ice maker should not wobble. Use shims to add stability when needed.
5.Push up on the top rear of the ice maker and locate the leveling legs that are on the bottom rear of the ice maker.
6.Follow the instructions in Step 4 to change the height of the legs.
7.Use the level to recheck the ice maker to see that it is even from front to back and side to side. If the ice maker is not level, repeat steps 2 to 5. If the ice maker is level, go to the “Connect Water Supply” section.
Cleaning
Interior Components
1.Unplug ice maker or disconnect power.
2.Open the storage bin door and remove any ice that is in the bin.
3.Remove the drain cap from the water pan and drain thoroughly. Replace the drain cap securely on the water pan. If the drain cap is loose, water will empty from the water pan, and you will have either thin ice or no ice.
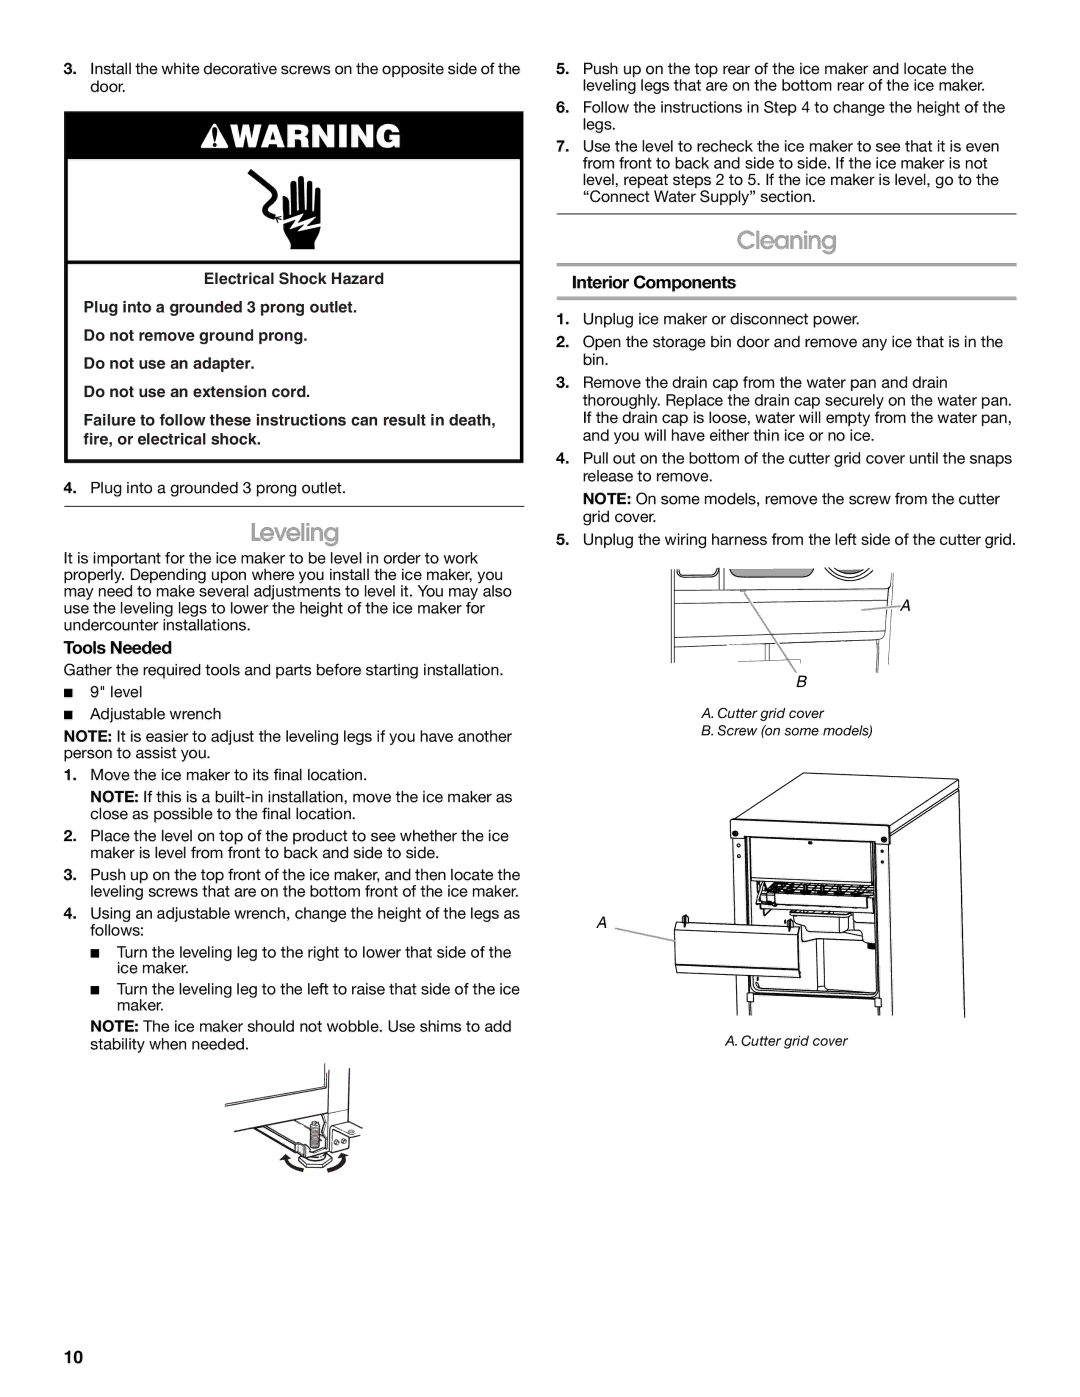
4.Pull out on the bottom of the cutter grid cover until the snaps release to remove.
NOTE: On some models, remove the screw from the cutter grid cover.
5.Unplug the wiring harness from the left side of the cutter grid.
![]() A
A
B
A. Cutter grid cover
B. Screw (on some models)
A
A. Cutter grid cover
10