Top Freezer specifications
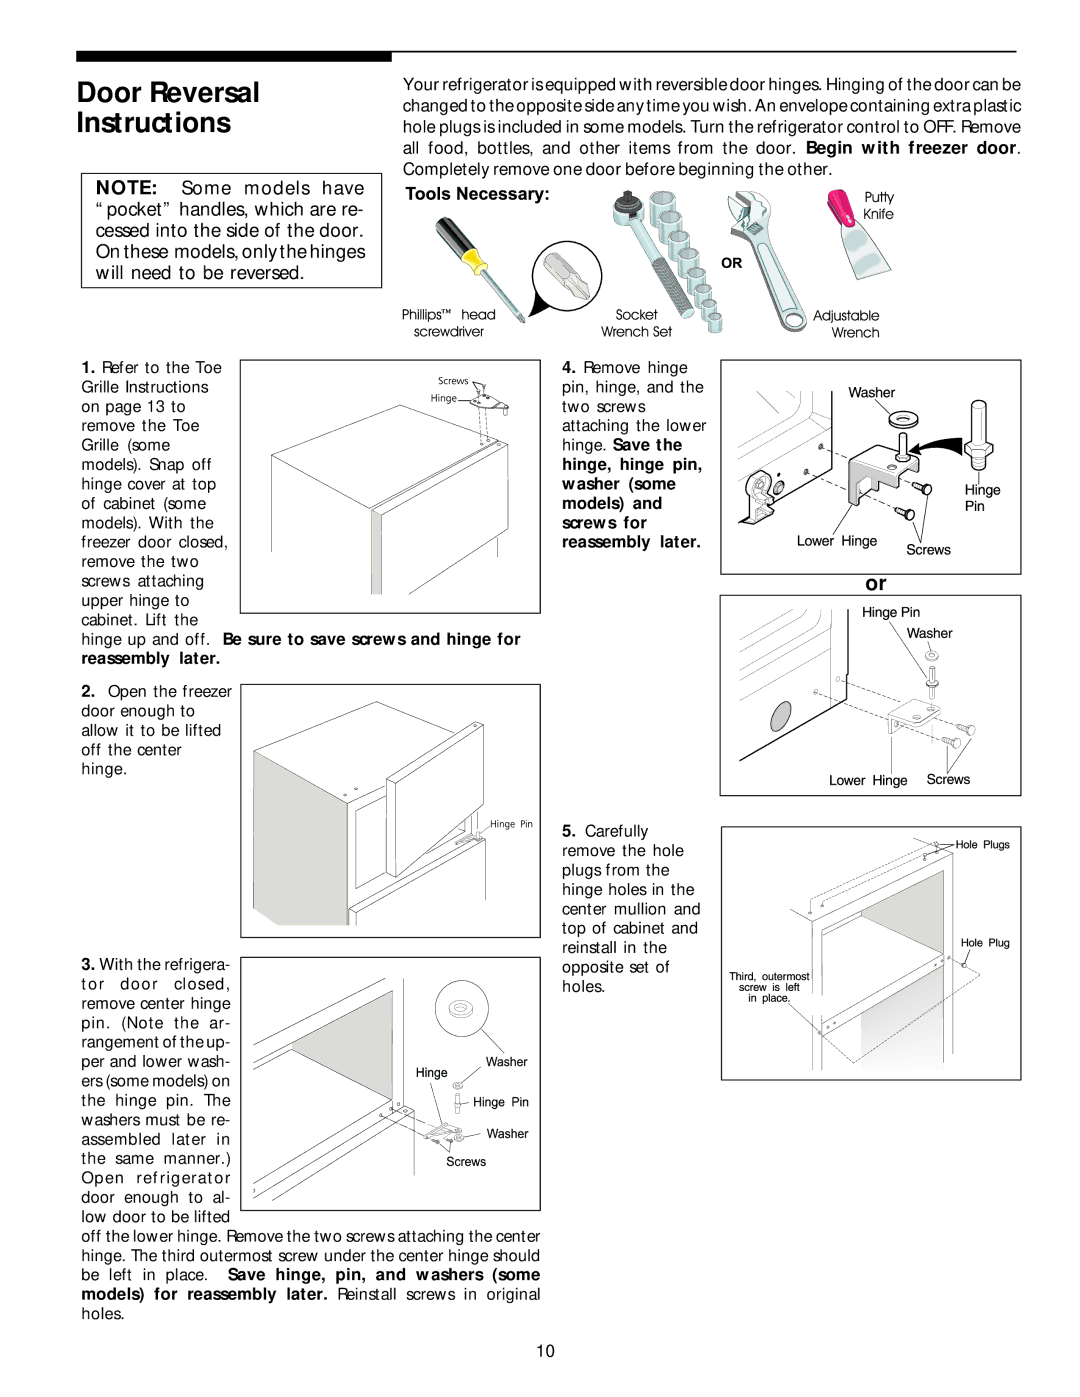
The White-Westinghouse Top Freezer refrigerator stands out in today's competitive appliance market, combining classic design with modern technology to cater to the needs of contemporary households. Featuring a timeless top freezer configuration, this refrigerator maximizes storage convenience and efficiency.One of the main features of the White-Westinghouse Top Freezer model is its spacious interior. With ample storage capacity, users can easily organize groceries and meal prep essentials. The refrigerator compartment often includes adjustable shelves, allowing for customization based on the size and shape of items. Additionally, generous door storage provides easy access to frequently used condiments and beverages, maximizing space efficiency.
Equipped with energy-saving technology, this appliance reflects White-Westinghouse's commitment to sustainability. Many models feature Energy Star certification, ensuring reduced energy consumption, which not only benefits the environment but also translates to lower utility bills. This focus on energy efficiency does not compromise performance; the refrigerator maintains optimal cooling temperatures while running quietly in the background.
The cooling system in the White-Westinghouse Top Freezer is noteworthy for its precise temperature control. Utilizing an advanced frost-free feature, it prevents ice build-up in the freezer, eliminating the need for manual defrosting and ensuring consistent performance over time. Furthermore, the system circulates cool air efficiently, providing even temperatures throughout the appliance.
Durability is another hallmark of White-Westinghouse products. With high-quality materials and robust construction, the Top Freezer model is designed to withstand daily use while maintaining an attractive appearance. The stainless steel finish adds a sleek touch, easily blending with various kitchen styles.
Incorporating user-friendly features, the White-Westinghouse Top Freezer includes adjustable humidity crisper drawers that keep fruits and vegetables fresh longer. The high humidity drawer is ideal for leafy greens, while the low humidity drawer is perfect for storing fruits, thereby extending their shelf life.
In conclusion, the White-Westinghouse Top Freezer refrigerator embodies a perfect blend of style, efficiency, and functionality. Its thoughtful design elements and advanced technologies cater to modern households seeking convenience without sacrificing quality or performance, making it a reliable choice for families everywhere.

