Roof installation

1.Position the roof template on the vehicle roof and drill 1/8” holes for the screws. DO NOT drill clear through into interior of vehicle. The screws fasten mount to the roof only. Be sure the roof can securely hold system.

2.Place base plate gasket under the base before screwing unit down. Secure the base plate of the motorized assembly to the roof using appropriate screws. DO NOT APPLY SEALANT AT THIS TIME.

Note: IF YOU ARE USING THE ROOF WEDGE (RW-5000), use the 3/16” gasket included with motor- ized mount under the roof wedge. Install 1/16” gasket included with the RW-5000 roof wedge between mount and roof wedge. Longer screws are needed for installation when using roof wedge.

4. Partially unroll your bundled cable and gently remove any kinks.

CAUTION!! See illustrations on page 12. Cable MUST BE ROUTED AS SHOWN IN FIGURE 6, 6A, and 6B to prevent cable wrap! If not routed correctly, you may STRIP GEARS!

5.Route cable assembly around the base of the unit, Figure 6. FROM THE BACK OF THE ELECTRONICS

BOX TO THE FIRST CLAMP MUST BE 53”!

6.Drill hole for cable entry in appropriate place. THIS MUST BE 4” MINIMUM FROM FIRST CLAMP! You can also run cable to an existing cable entry hole that meets the same distance requirements (4” mini- mum), Figure 6A. Be sure cable from mount to entry point is not too tight when dish is in stow posi-

tion. If

there is not enough slack in the cable, it will bind and prevent proper operation, or damage the

mount.


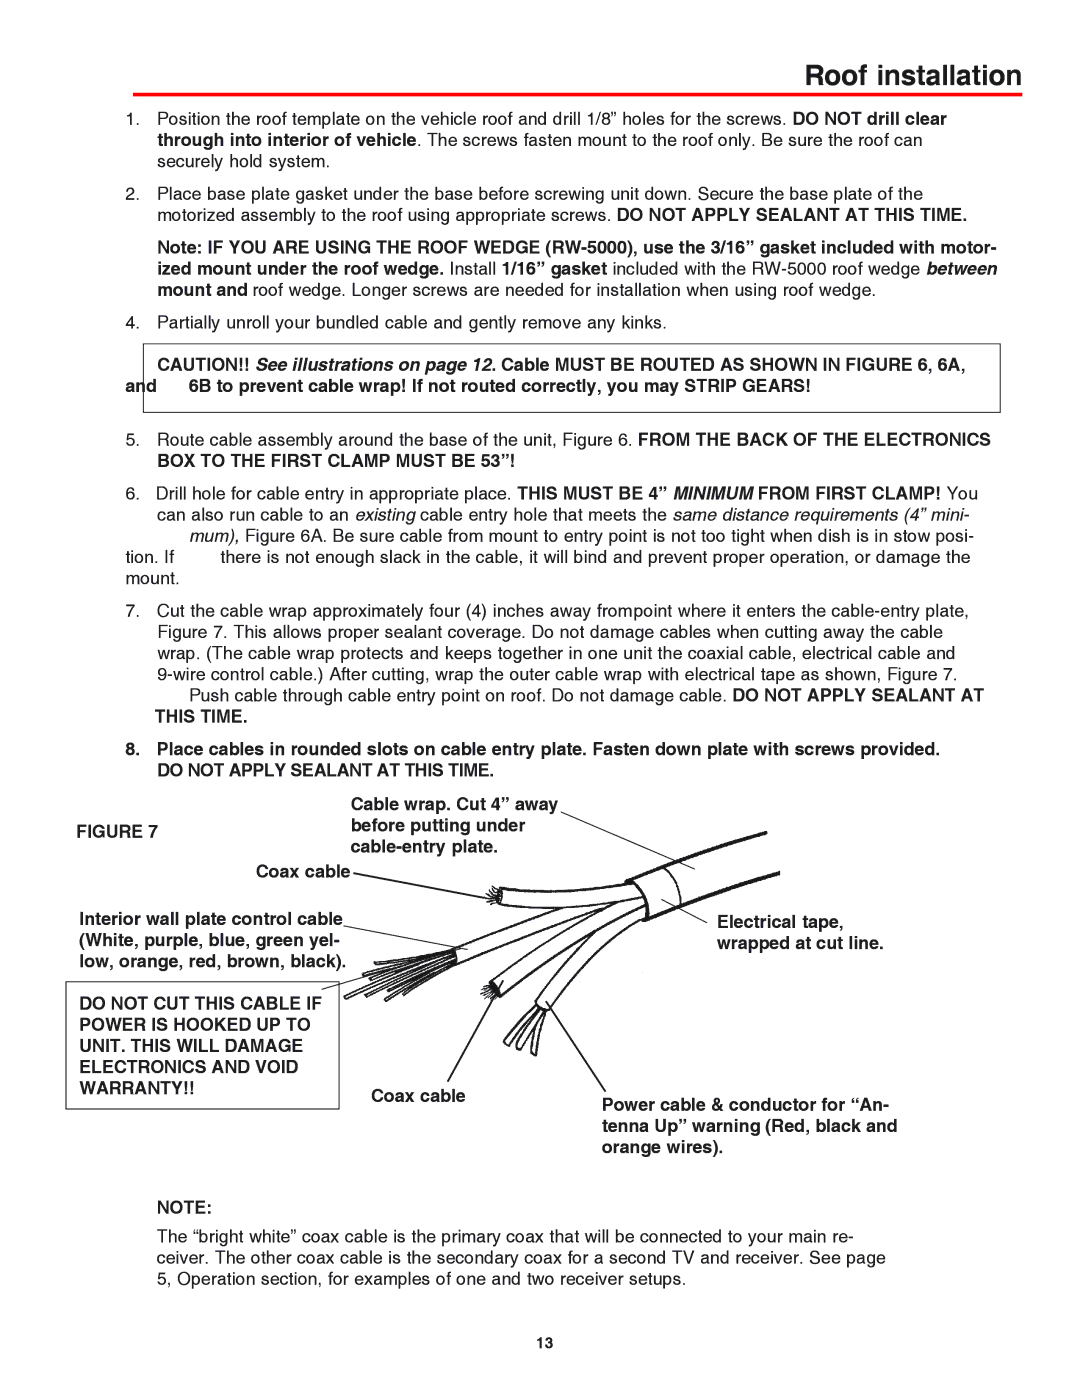
7.Cut the cable wrap approximately four (4) inches away frompoint where it enters the cable-entry plate, Figure 7. This allows proper sealant coverage. Do not damage cables when cutting away the cable wrap. (The cable wrap protects and keeps together in one unit the coaxial cable, electrical cable and

9-wire control cable.) After cutting, wrap the outer cable wrap with electrical tape as shown, Figure 7. Push cable through cable entry point on roof. Do not damage cable. DO NOT APPLY SEALANT AT

THIS TIME.

8.Place cables in rounded slots on cable entry plate. Fasten down plate with screws provided.

DO NOT APPLY SEALANT AT THIS TIME.

Cable wrap. Cut 4” away

FIGURE 7before putting under cable-entry plate.

Coax cable

Interior wall plate control cable (White, purple, blue, green yel- low, orange, red, brown, black).

DO NOT CUT THIS CABLE IF


POWER IS HOOKED UP TO


UNIT. THIS WILL DAMAGE


ELECTRONICS AND VOID


WARRANTY!!

Coax cable


NOTE:

Electrical tape, wrapped at cut line.

Power cable & conductor for “An- tenna Up” warning (Red, black and orange wires).

The “bright white” coax cable is the primary coax that will be connected to your main re- ceiver. The other coax cable is the secondary coax for a second TV and receiver. See page 5, Operation section, for examples of one and two receiver setups.

13

Page 13
Image 13
Winegard AS-2003, AS-2053 Roof installation, BOX to the First Clamp Must be, This Time, Do not Apply Sealant AT this Time

AS-2003, AS-2053 specifications

The Winegard AS-2053 and AS-2003 are two advanced outdoor satellite antennas that provide exceptional performance for satellite television reception. Designed with the latest technologies and superior engineering, these models are well-suited for both residential and commercial applications.

The AS-2053, known for its robust construction and high gain, features a unique aerodynamic design that minimizes wind resistance and enhances stability during adverse weather conditions. This antenna boasts a powerful signal amplification system that ensures clear and reliable reception of satellite signals, even in areas with challenging terrain or foliage. The AS-2053 is particularly favored by RV enthusiasts and campers who require dependable satellite access on the go.

Conversely, the AS-2003 offers a more compact profile while retaining high performance standards. This model is perfect for urban environments where space may be limited but the need for reliable television signals remains paramount. The AS-2003 employs innovative technology that optimizes signal reception within a smaller footprint, making it feasible for apartment complex installations or properties with restrictive zoning regulations.

Both antennas are equipped with a state-of-the-art rotor system that allows them to automatically position themselves toward the satellite for optimal signal strength. This technology eliminates the need for manual adjustments, making installation straightforward and user-friendly.

In terms of compatibility, the Winegard AS-2053 and AS-2003 are designed to work seamlessly with a range of satellite providers, ensuring that users have the flexibility to choose their preferred service. The antennas are constructed with durable materials that withstand harsh weather, including exposure to UV rays, rain, and snow.

Another significant feature of these models is their ease of installation. The antennas come with comprehensive mounting kits and user-friendly manuals, allowing even those with minimal technical expertise to set them up quickly and efficiently. Additionally, Winegard provides excellent customer support, ensuring that any issues can be addressed promptly.

In summary, the Winegard AS-2053 and AS-2003 antennas stand out for their high performance, durable construction, and innovative technologies. Whether for recreational vehicles or stationary residential use, these antennas are designed to deliver superior satellite reception, making them a top choice for users seeking quality and reliability in their television viewing experience.