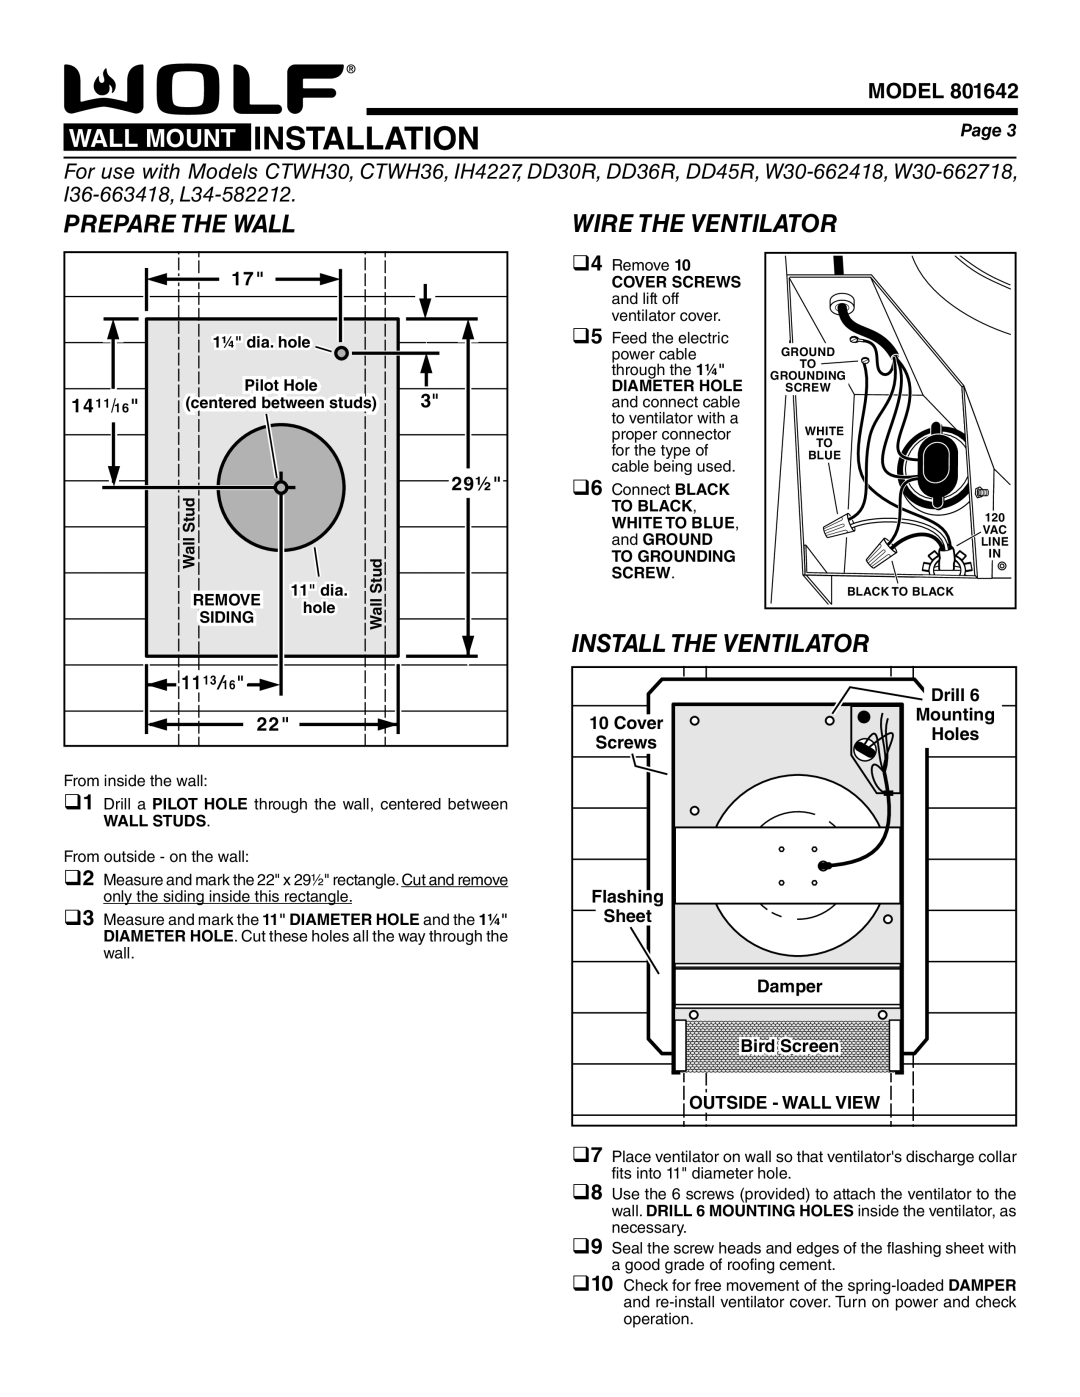
801640 specifications
Wolf Appliance Company, renowned for its premium cooking appliances, has set a high standard in the culinary equipment industry with its model 801640. This versatile range hood is designed to seamlessly blend form and function, making it an essential addition to any modern kitchen.The Wolf 801640 is a wall-mounted range hood that offers exceptional performance while enhancing the overall aesthetic of the kitchen space. Measuring 40 inches wide, it makes a bold statement while providing ample coverage over larger cooking surfaces. The range hood is available in a stainless steel finish, which not only adds a sleek, contemporary look but also ensures durability and ease of cleaning.
One of the standout features of the Wolf 801640 is its powerful ventilation system. With multiple blower options, including both internal and external configurations, this model can efficiently eliminate smoke, steam, and cooking odors, ensuring a fresh atmosphere in the kitchen. The range hood boasts airflow capacities of up to 1,400 CFM, making it suitable for heavy-duty cooking, whether you're frying, sautéing, or baking.
The integrated LED lighting is another highlight of the 801640, providing bright illumination over the cooking area. This feature enhances visibility while cooking, allowing chefs to maintain precision and safety. The hood includes multiple settings for the lighting, enabling customization based on the desired ambiance of the kitchen.
User-friendly controls further elevate the convenience of the Wolf 801640. Featuring a sleek, intuitive interface, users can easily adjust the fan speeds and lighting settings to suit their specific needs. The range hood operates at various noise levels, designed to minimize disruption in the kitchen while maintaining optimal performance.
Moreover, the Wolf 801640 incorporates advanced filtration technology, ensuring that grease and other particulates are effectively captured and retained. This not only enhances the efficiency of the hood but also simplifies maintenance, as the filters are easily removable and dishwasher-safe.
In conclusion, the Wolf Appliance Company 801640 stands out as a premier choice for those seeking both style and functionality in kitchen ventilation. Its powerful performance, advanced features, and elegant design make it a remarkable addition to any culinary space, fulfilling the needs of both amateur cooks and professional chefs alike.

