HSN_TriGrillManual0050 9/12/08 12:10 PM Page 11
Grilling in FLAT Position
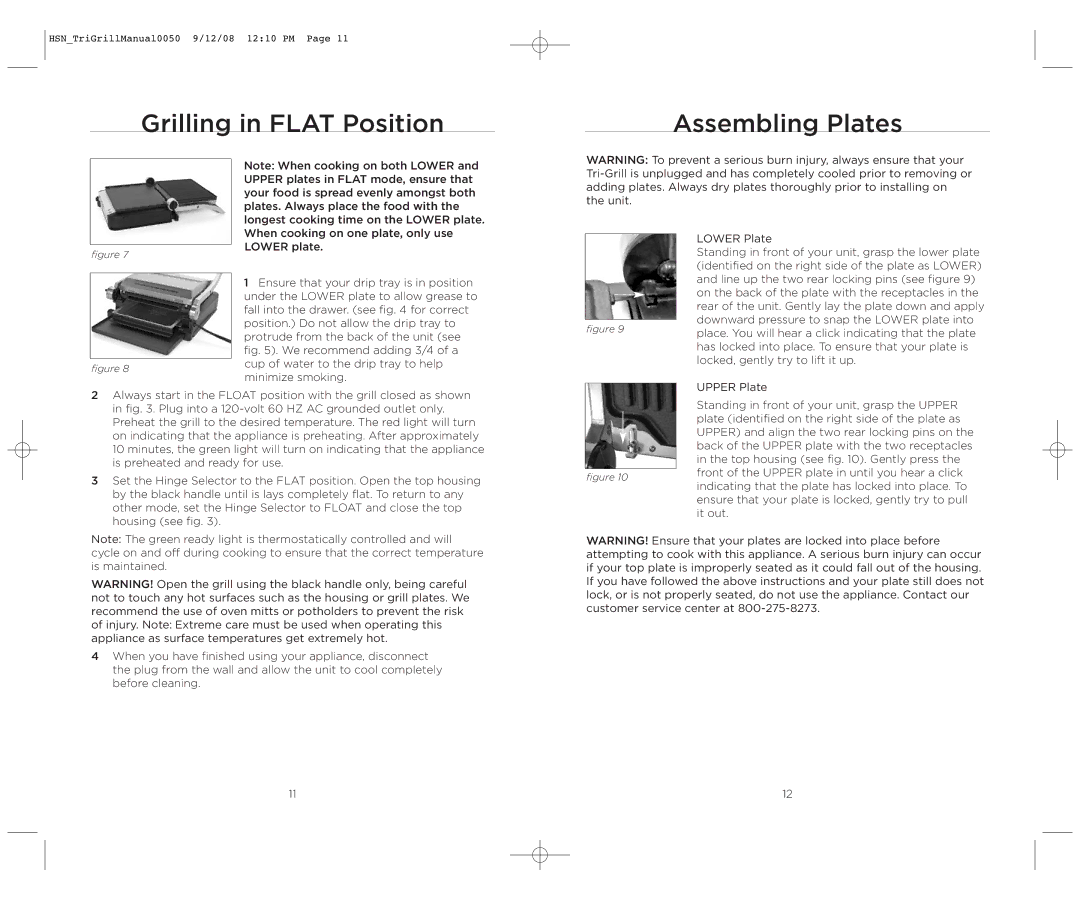
Note: When cooking on both LOWER and UPPER plates in FLAT mode, ensure that your food is spread evenly amongst both plates. Always place the food with the longest cooking time on the LOWER plate. When cooking on one plate, only use LOWER plate.
figure 7
| 1 Ensure that your drip tray is in position | |
| under the LOWER plate to allow grease to | |
| fall into the drawer. (see fig. 4 for correct | |
| position.) Do not allow the drip tray to | |
| protrude from the back of the unit (see | |
| fig. 5). We recommend adding 3/4 of a | |
| cup of water to the drip tray to help | |
figure 8 | ||
minimize smoking. | ||
|
2Always start in the FLOAT position with the grill closed as shown in fig. 3. Plug into a
3Set the Hinge Selector to the FLAT position. Open the top housing by the black handle until is lays completely flat. To return to any other mode, set the Hinge Selector to FLOAT and close the top housing (see fig. 3).
Note: The green ready light is thermostatically controlled and will cycle on and off during cooking to ensure that the correct temperature is maintained.
WARNING! Open the grill using the black handle only, being careful not to touch any hot surfaces such as the housing or grill plates. We recommend the use of oven mitts or potholders to prevent the risk of injury. Note: Extreme care must be used when operating this appliance as surface temperatures get extremely hot.
4When you have finished using your appliance, disconnect the plug from the wall and allow the unit to cool completely before cleaning.
Assembling Plates
WARNING: To prevent a serious burn injury, always ensure that your
LOWER Plate
Standing in front of your unit, grasp the lower plate (identified on the right side of the plate as LOWER) and line up the two rear locking pins (see figure 9) on the back of the plate with the receptacles in the rear of the unit. Gently lay the plate down and apply downward pressure to snap the LOWER plate into
figure 9 | place. You will hear a click indicating that the plate | |
| ||
| has locked into place. To ensure that your plate is | |
| locked, gently try to lift it up. | |
| UPPER Plate | |
| ||
| Standing in front of your unit, grasp the UPPER | |
| plate (identified on the right side of the plate as | |
| UPPER) and align the two rear locking pins on the | |
| back of the UPPER plate with the two receptacles | |
| in the top housing (see fig. 10). Gently press the | |
| front of the UPPER plate in until you hear a click | |
figure 10 | ||
indicating that the plate has locked into place. To | ||
| ||
| ensure that your plate is locked, gently try to pull | |
| it out. |
WARNING! Ensure that your plates are locked into place before attempting to cook with this appliance. A serious burn injury can occur if your top plate is improperly seated as it could fall out of the housing. If you have followed the above instructions and your plate still does not lock, or is not properly seated, do not use the appliance. Contact our customer service center at
11 | 12 |