OWNER SERVICE
The information in this section is written for operators who possess basic mechanical skills. If you need help, your dealer has trained service technicians available. For your protection, read and follow the safety informa- tion in this manual.
NEVER GO UNDERNEATH EQUIPMENT. Never place any part of the body underneath equipment or between moveable parts even when the engine has been turned off. Hydraulic system
•Service work does not require going under- neath.
•Read Operator's Manual for service instruc- tions or have service performed by a qualified dealer.
Keep all persons away from operator control area while performing adjustments, service, or maintenance.
Before dismounting power unit or performing any service or maintenance, follow these steps: disengage power to equipment, lower the
![]() CAUTION
CAUTION
Always wear relatively tight and belted clothing to avoid getting caught in moving parts. Wear sturdy,
LUBRICATION INFORMATION
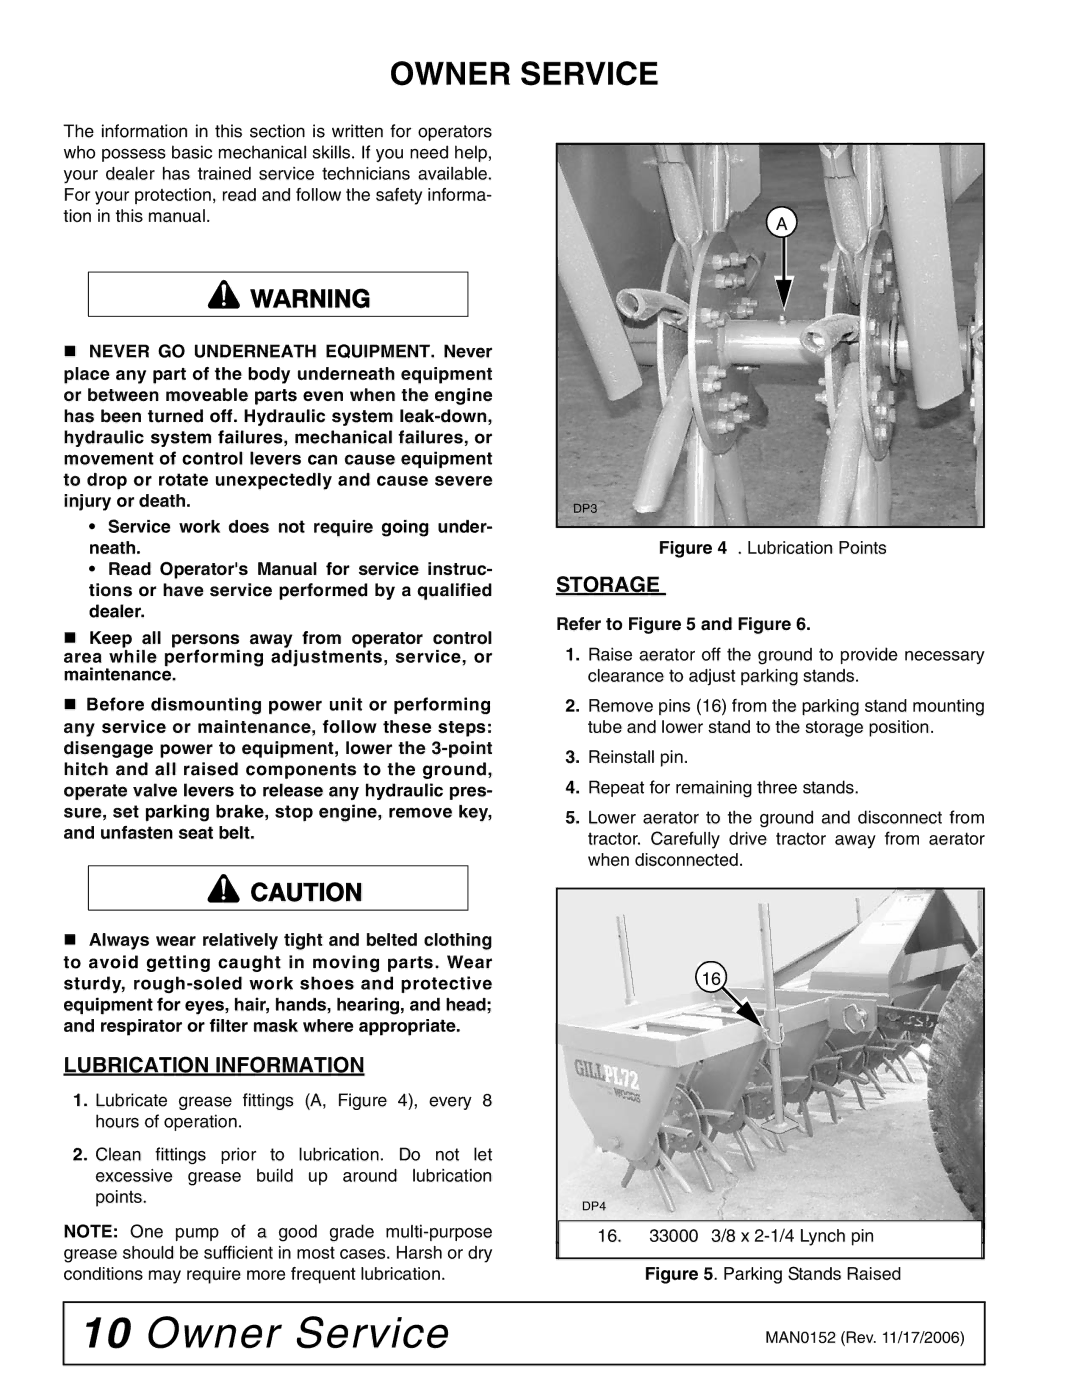
1.Lubricate grease fittings (A, Figure 4), every 8 hours of operation.
2.Clean fittings prior to lubrication. Do not let excessive grease build up around lubrication points.
NOTE: One pump of a good grade
A |
DP3
Figure 4 . Lubrication Points
STORAGE
Refer to Figure 5 and Figure 6.
1.Raise aerator off the ground to provide necessary clearance to adjust parking stands.
2.Remove pins (16) from the parking stand mounting tube and lower stand to the storage position.
3.Reinstall pin.
4.Repeat for remaining three stands.
5.Lower aerator to the ground and disconnect from tractor. Carefully drive tractor away from aerator when disconnected.
16
DP4
16.33000 3/8 x
Figure 5. Parking Stands Raised
10 Owner Service | MAN0152 (Rev. 11/17/2006) |
|
