5.Insert the four dowel nuts into the holes drilled in Step 2, making sure the
Standard
Reverse ![]()
Figure 6. Inserting dowel nuts.
6.Evenly thread each end of both threaded rods into the dowel nuts, as shown in Figure 7, until enough rod is exposed to slide the handles all the way over the rods.
Fully Threaded |
|
Rod |
|
Rod with |
|
Unthreaded |
|
Section |
|
| Standard |
Reverse | Threaded |
Threaded | Section |
Section |
|
![]()
![]() Drill Holes for
Drill Holes for
Handle Pins
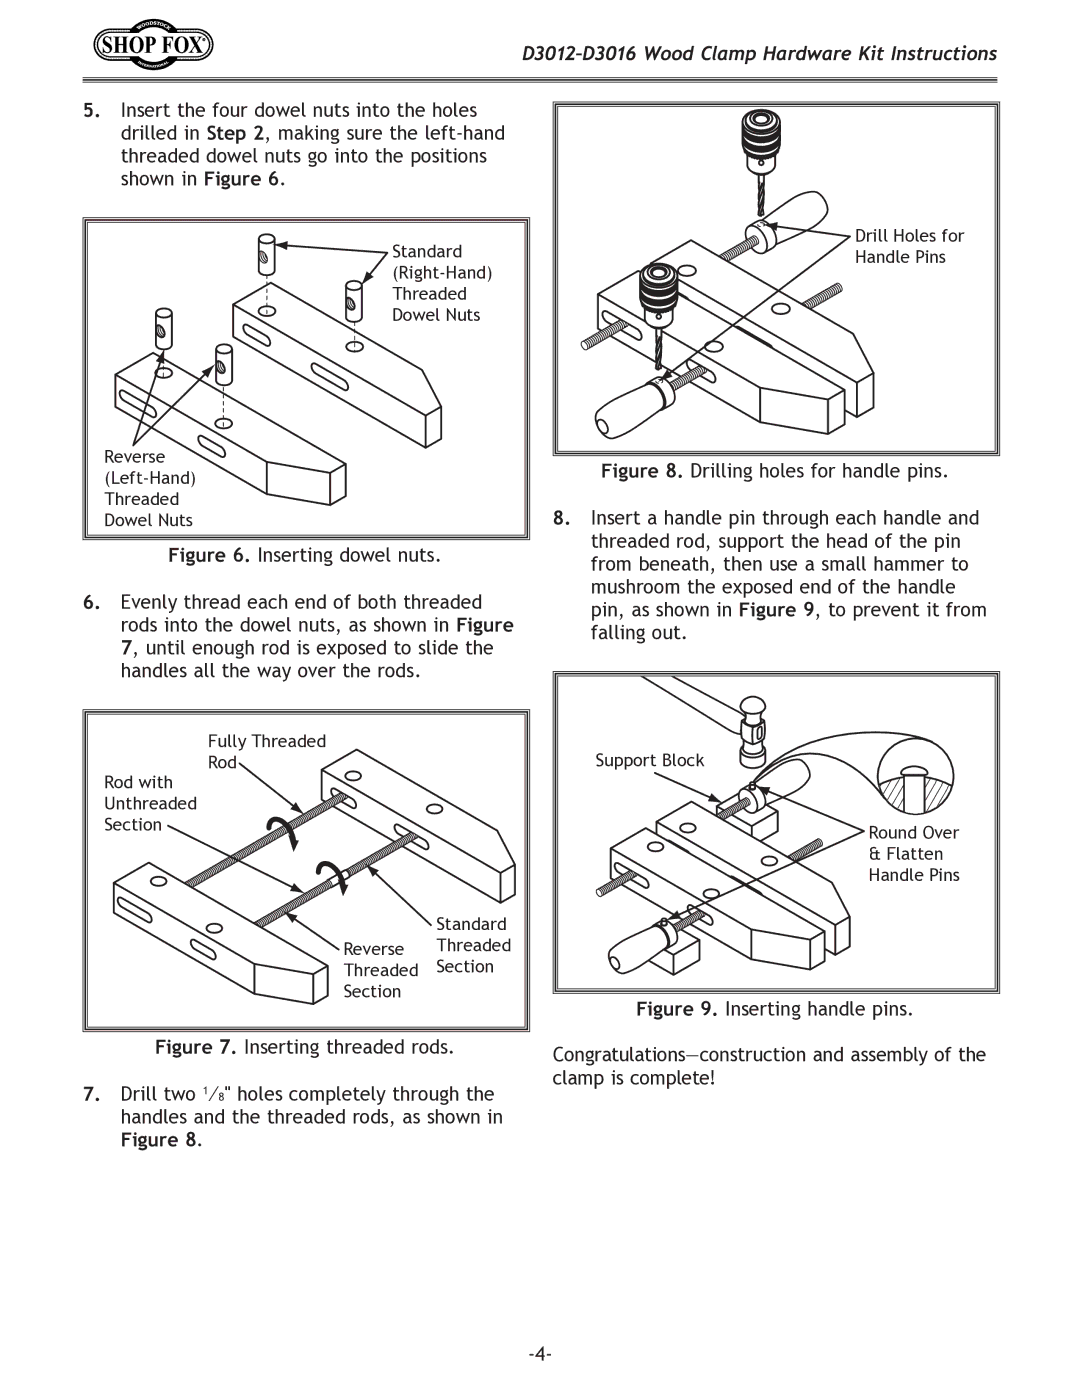
Figure 8. Drilling holes for handle pins.
8.Insert a handle pin through each handle and threaded rod, support the head of the pin from beneath, then use a small hammer to mushroom the exposed end of the handle pin, as shown in Figure 9, to prevent it from falling out.
Support Block |
Round Over |
& Flatten |
Handle Pins |
Figure 9. Inserting handle pins.
Figure 7. Inserting threaded rods.
7.Drill two 1⁄8" holes completely through the handles and the threaded rods, as shown in
Figure 8.