Model D3274 Gravity Feed Spray Gun w/Regulator
Depending on the amount of use and the type of material used, the spray gun may need to be disassembled and cleaned beyond what is mentioned on Page 10. If spray patterns become affected due to internal blockages or the gun will be stored for an extended amount of time, follow these additional cleaning instruc- tions.
Advanced spray gun cleaning:
1.Follow Steps 1–5 on Page 10.
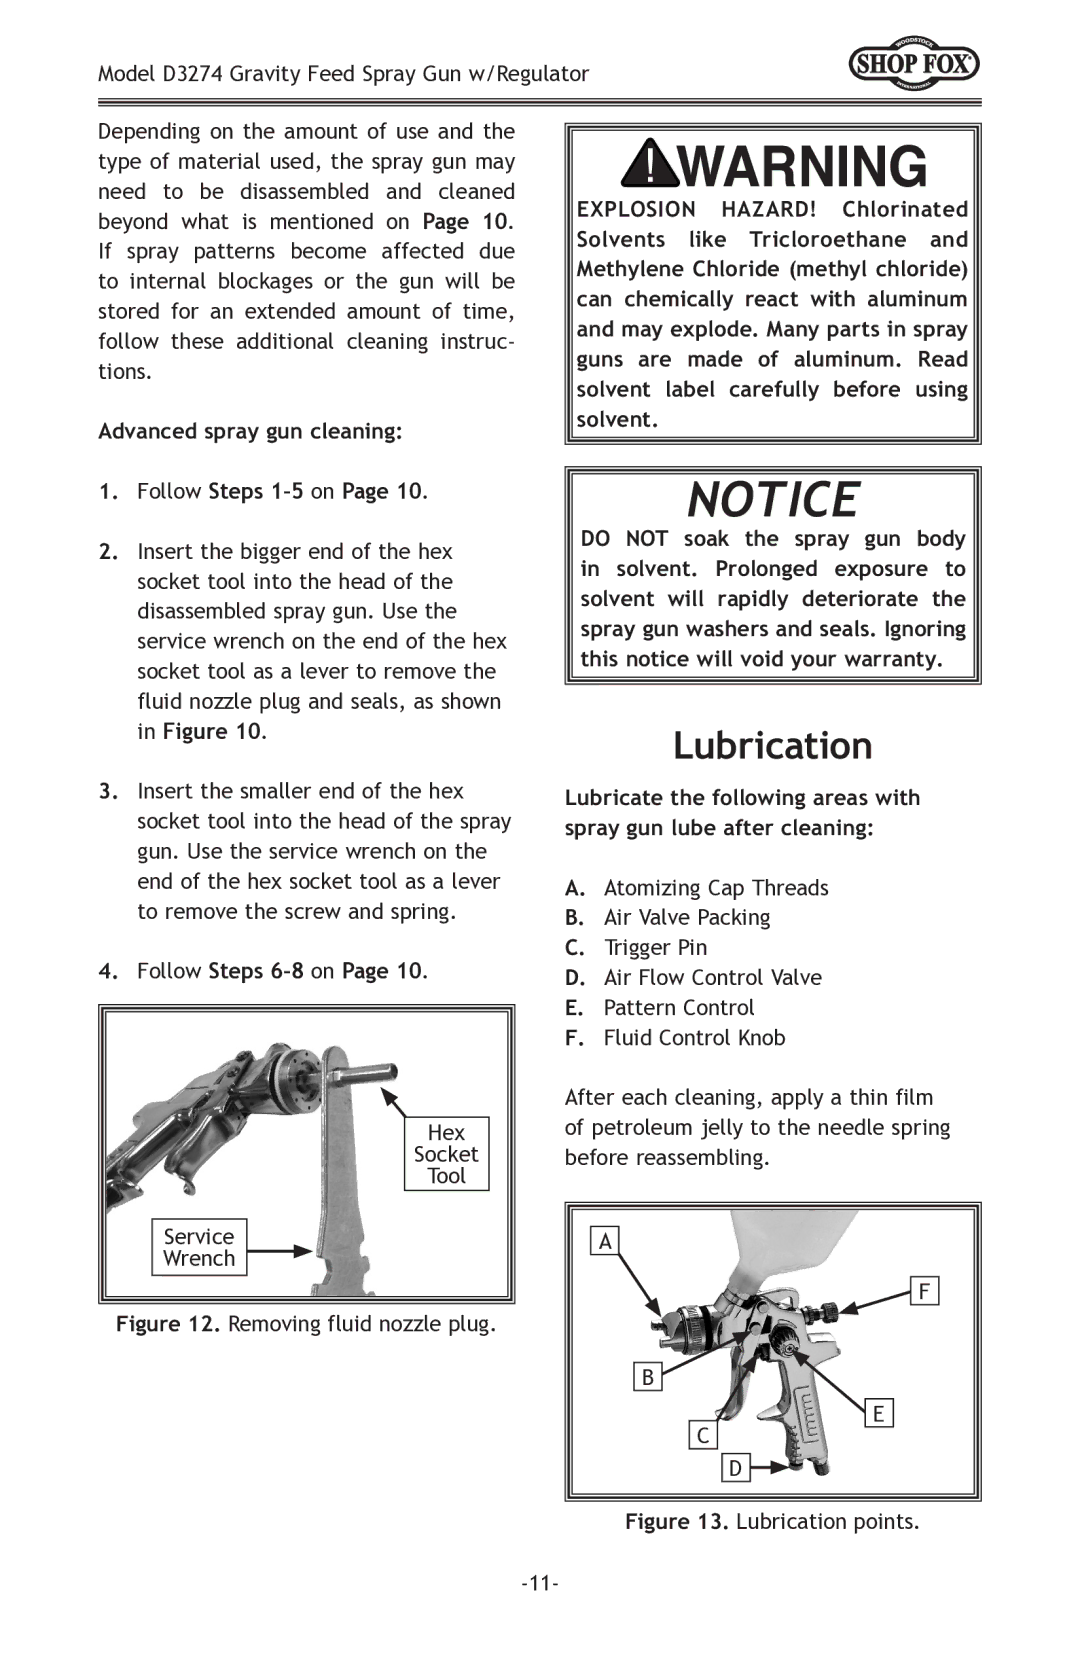
2.Insert the bigger end of the hex socket tool into the head of the disassembled spray gun. Use the service wrench on the end of the hex socket tool as a lever to remove the fluid nozzle plug and seals, as shown in Figure 10.
3.Insert the smaller end of the hex socket tool into the head of the spray gun. Use the service wrench on the end of the hex socket tool as a lever to remove the screw and spring.
4.Follow Steps 6–8 on Page 10.
Hex
Socket
Tool
EXPLOSION HAZARD! Chlorinated Solvents like Tricloroethane and Methylene Chloride (methyl chloride) can chemically react with aluminum and may explode. Many parts in spray guns are made of aluminum. Read solvent label carefully before using solvent.
NOTICE
DO NOT soak the spray gun body in solvent. Prolonged exposure to solvent will rapidly deteriorate the spray gun washers and seals. Ignoring this notice will void your warranty.
Lubrication
Lubricate the following areas with spray gun lube after cleaning:
A.Atomizing Cap Threads
B.Air Valve Packing
C.Trigger Pin
D.Air Flow Control Valve
E.Pattern Control
F.Fluid Control Knob
After each cleaning, apply a thin film of petroleum jelly to the needle spring before reassembling.
Service
Wrench
Figure 12. Removing fluid nozzle plug.
A
B
C
F
![]() E
E
D ![]()
