Measure the distance between the ends of the two shafts (Dimension “A”, Figure 1). Each half of the PTO should be equal to dimension “A” minus two (2) inches.
If the driveline must be cut to a shorter length, clamp driveline in a
Repeat the procedure to the other driveline half. Remove all burrs and cuttings.
Apply
NOTE: A PTO driveline that is too long and “bottoms out” could possibly cause severe damage to the gearbox. It is VERY IMPORTANT to check the proper PTO driveline length for your tractor. Gearboxes damaged by incorrect PTO driveline length are NOT covered by warranty.
NOTE: The use of a PTO shaft adapter or extension could require that the PTO driveline be shortened a considerable amount. If this is done, the driveline halves may separate when the spreader is lowered to the ground.
![]()
![]() CAUTION!
CAUTION! ![]()
![]()
Do not operate this equipment without shields properly installed. This is for your protection, and the manufacturer recommends the use of these shields at all times.
CAUTION!
When attaching PTO yoke to tractor PTO shaft, it is important that
If your tractor has extra long lift arms, it may be necessary to use a PTO extension so that you can use the PTO shaft assembly provided. Be sure the PTO assembly does not close too far (bottom out) if you use a PTO extension.
Never raise or lower the seeder/spreader so that the PTO shaft assembly will come apart.
CAUTION!
A heavy load can cause instability in driving a tractor. Make sure the front of the tractor is properly
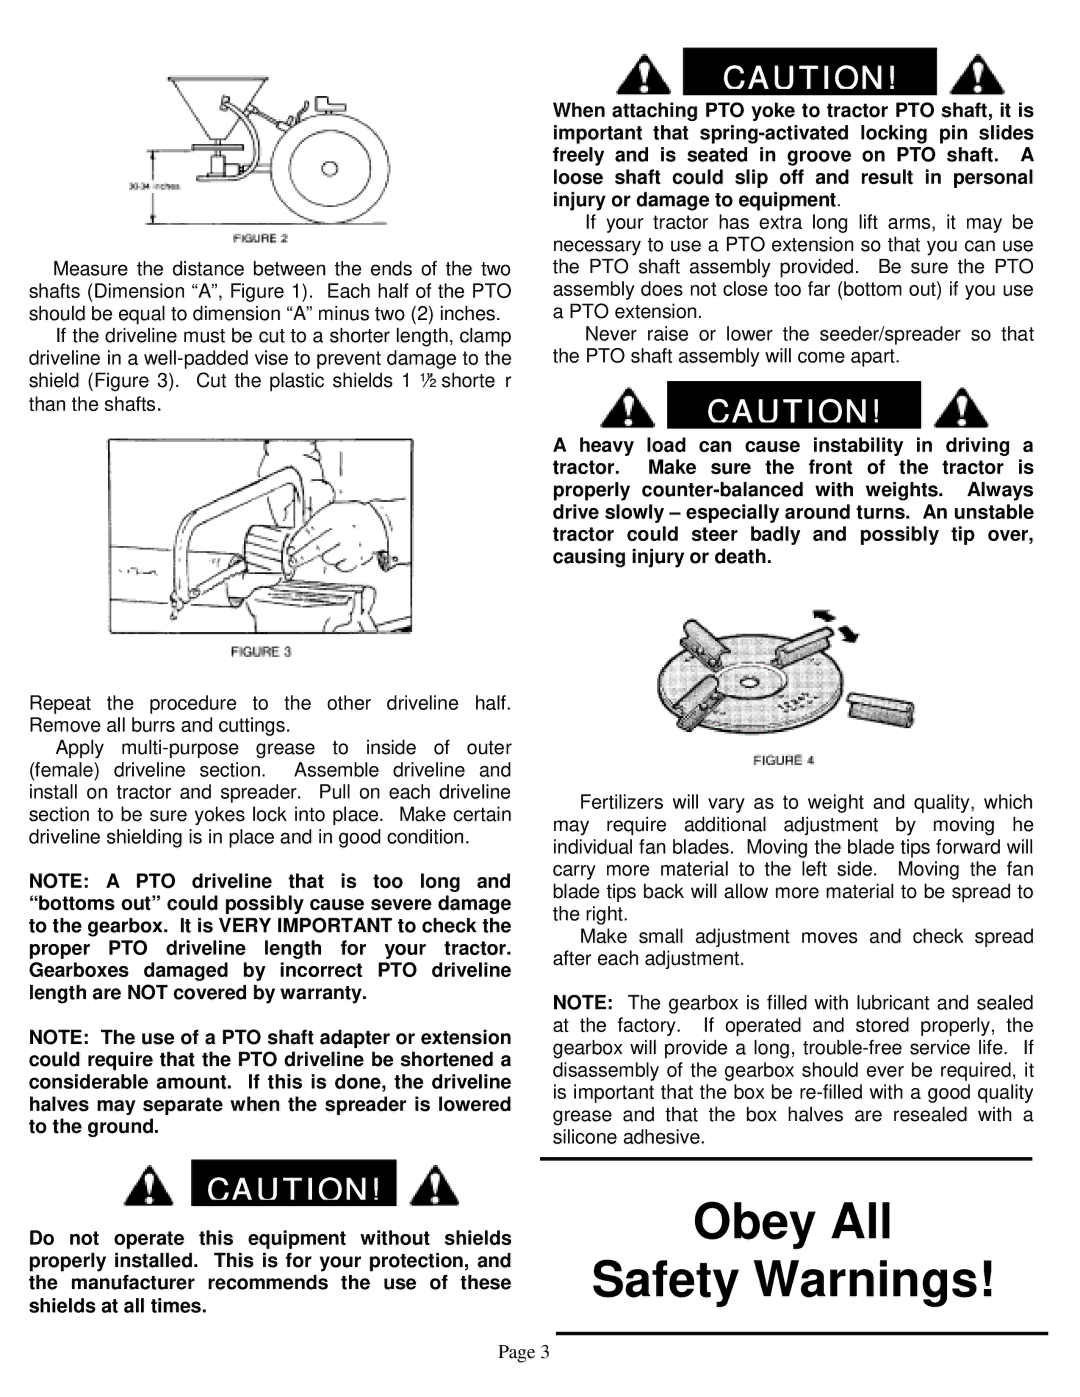
Fertilizers will vary as to weight and quality, which may require additional adjustment by moving he individual fan blades. Moving the blade tips forward will carry more material to the left side. Moving the fan blade tips back will allow more material to be spread to the right.
Make small adjustment moves and check spread after each adjustment.
NOTE: The gearbox is filled with lubricant and sealed at the factory. If operated and stored properly, the gearbox will provide a long,
Obey All
Safety Warnings!
Page 3
