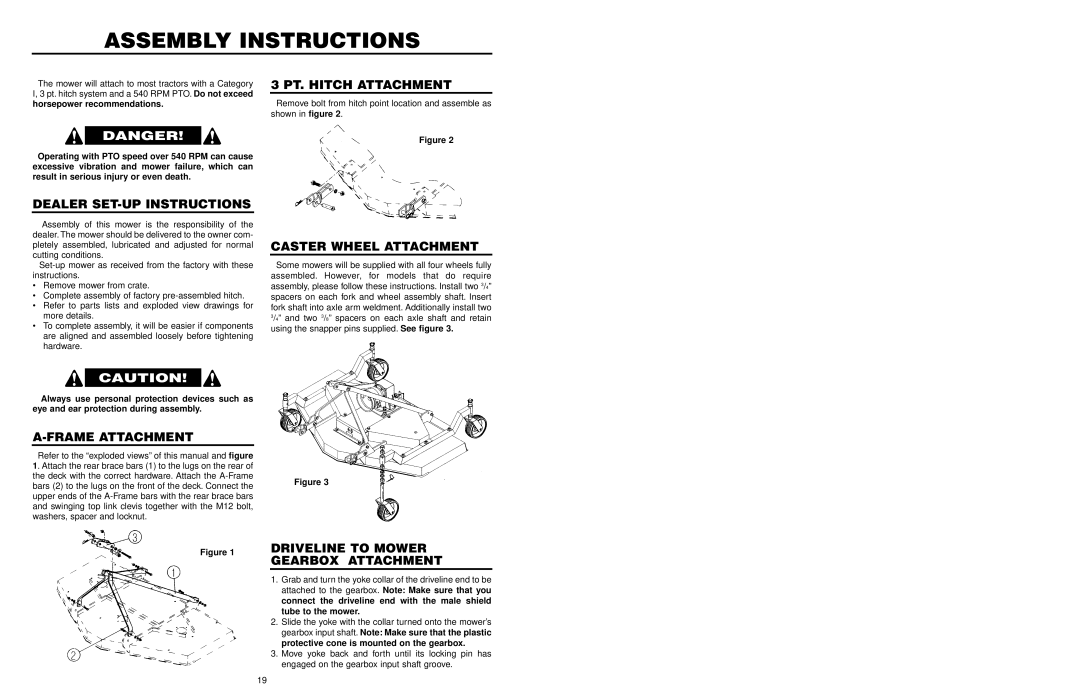
FM 560, FM 572 specifications
The Worksaver FM 560 and FM 572 are advanced agricultural implements designed to enhance efficiency and productivity in various farming operations. These machines are pivotal in delivering superior soil management and cultivation results, catering to the evolving needs of modern agriculture.The FM 560 is engineered with a working width of 5.6 meters, while the FM 572 boasts an impressive 5.72 meters. Both models feature robust construction, ensuring durability and reliability even in challenging conditions. Built from high-strength materials, these implements can withstand the rigors of intensive farming practices.
One of the standout features of the Worksaver FM series is its adjustable working depth capabilities. Operators can easily set the depth to suit specific soil conditions and crops, allowing for tailored cultivation. This flexibility not only maximizes soil health but also optimizes crop yield. The active tilting mechanism on these models ensures that the implement maintains its position and effectiveness, even on uneven terrain, providing consistent results across fields.
Technologically, the Worksaver FM 560 and FM 572 are equipped with advanced hydraulic systems, enabling smooth operation and quick adjustments in the field. The hydraulic folding system simplifies transport, allowing for easy movement between fields without the need for time-consuming detachment. Additionally, the series includes a variety of interchangeable tines and share options, enabling farmers to customize their setup according to crop and soil type.
Safety is a critical aspect of the design, with features such as a safety shield and automatic overload protection ensuring the well-being of operators and equipment. The FM series also emphasizes ease of maintenance, with accessible components and straightforward servicing procedures, minimizing downtime and enhancing productivity.
In summary, the Worksaver FM 560 and FM 572 are exemplary tools in precision farming, blending innovative technology with practical features to meet contemporary agricultural demands. With their robust build, adjustable settings, and user-friendly operation, these models are ideal choices for farmers seeking to improve soil cultivation and achieve greater yields. The Worksaver FM series represents a commitment to quality and performance, making them invaluable assets in any modern farming operation.

