DS7000 specifications
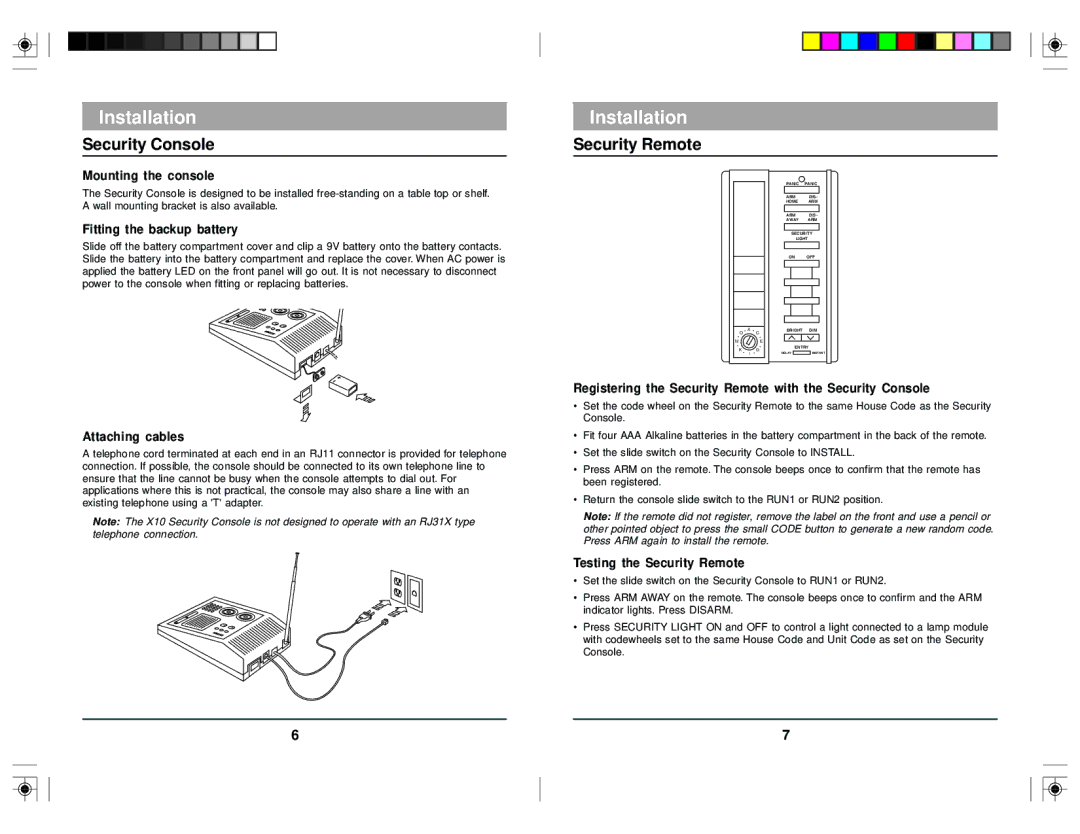
The X10 Wireless Technology DS7000 is a sophisticated home security system designed to provide comprehensive protection for residential properties. As part of the X10 product line, the DS7000 utilizes advanced wireless technology to deliver an efficient and reliable security solution. This system is ideal for homeowners seeking both convenience and peace of mind.One of the key features of the DS7000 is its easy installation process. Unlike traditional wired security systems that often require professional installation and extensive modifications to your home, the DS7000 can be set up quickly and without the need for any special tools. The device comes with a comprehensive manual that guides users through the setup process, making it accessible for individuals without technical expertise.
The DS7000 employs a robust wireless technology that operates on a frequency band that minimizes interference and enhances communication between devices. This means that sensors and alarms are not only responsive but also relayed with minimal delay, ensuring timely alerts for any security breaches. The system can cover a significant distance, making it suitable for various residential layouts without compromising on efficiency.
Another significant characteristic of the X10 DS7000 is its expansion capabilities. The system can be integrated with a wide range of sensors, such as door/window sensors, motion detectors, and cameras. This modular functionality allows users to tailor their security setup according to their specific needs, ensuring maximum coverage of the property.
Moreover, the DS7000 includes a powerful alert system. Once a breach occurs, the alarm system activates, sounding a loud siren to deter intruders. Simultaneously, users receive instant alerts via various communication channels such as their smartphones or emails. This feature enables homeowners to stay informed about their property's security status, even when they are away.
The versatility of the DS7000 extends beyond security. It can also support automation features, allowing users to control lights and appliances remotely. This integration can create the illusion of occupancy, further deterring potential burglars.
In summary, the X10 Wireless Technology DS7000 stands out for its easy installation, robust wireless communication, expandable options, and powerful alert system. With its combination of security and smart home capabilities, it represents an excellent choice for modern homeowners aiming to enhance their property’s safety and convenience.

