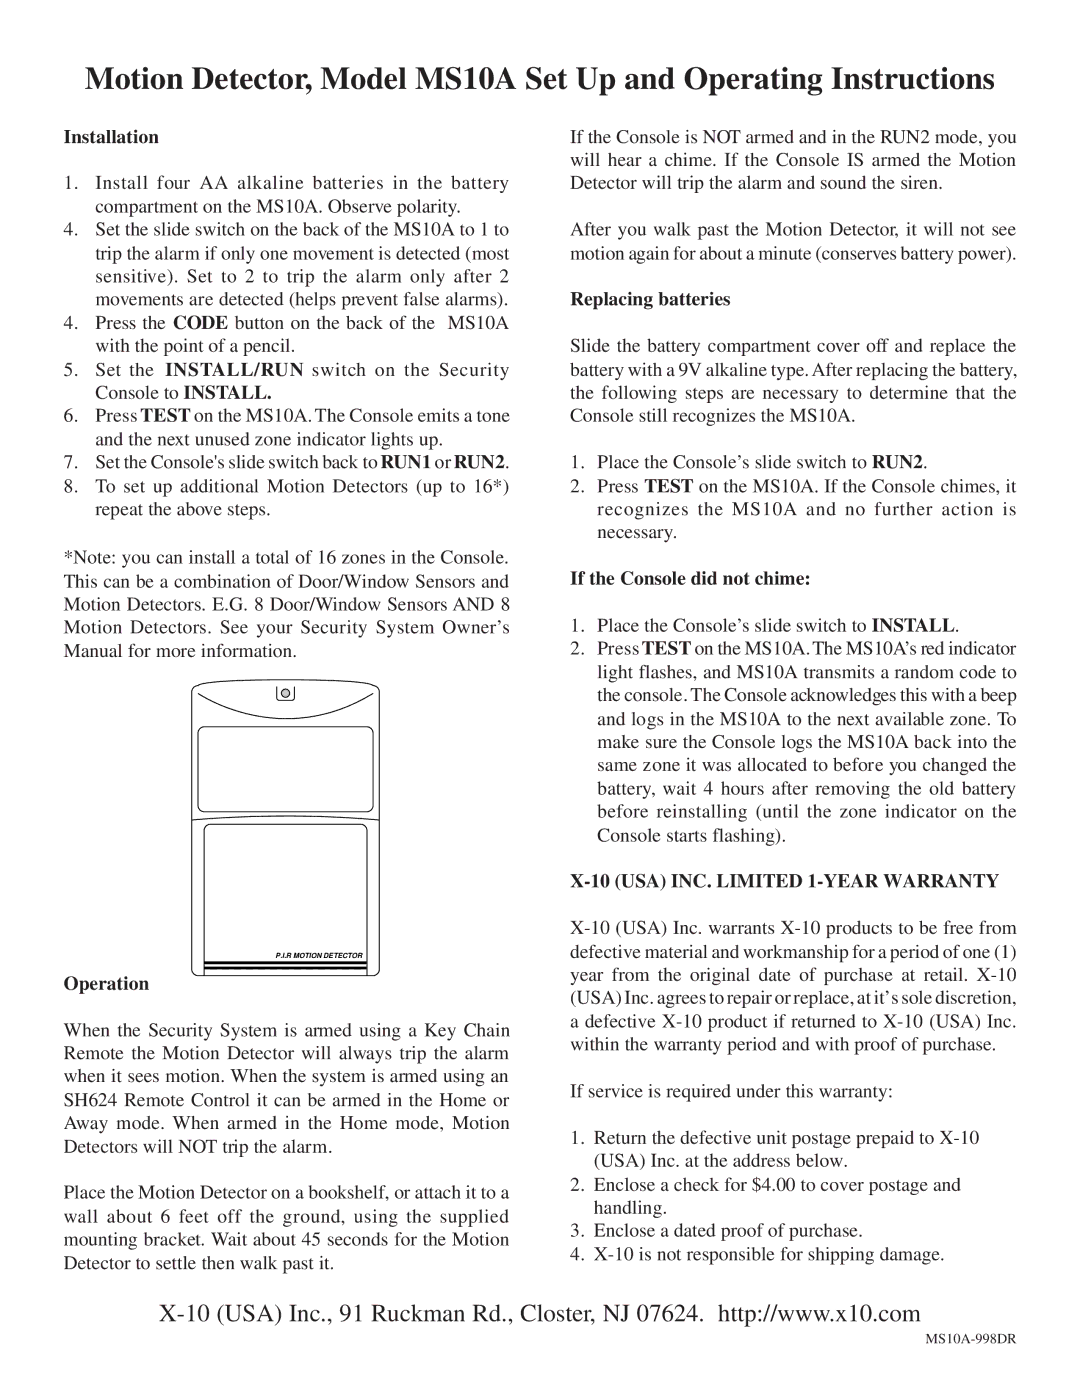
MS10A specifications
X10 Wireless Technology has been a pioneer in the field of home automation, and one of its standout products is the MS10A motion sensor. This device is designed to enhance security and convenience in any residential setting, making it a popular choice for those looking to automate their homes.The MS10A is an advanced motion sensor that utilizes passive infrared (PIR) technology. This technology allows the sensor to detect heat emitted by objects, particularly living beings, within its field of view. When motion is detected, the MS10A can send a signal to a compatible X10 controller or module, triggering a variety of actions such as turning on lights or sending alerts to a homeowner's smartphone.
One of the main features of the MS10A is its wireless capability. The sensor operates on a frequency that enables it to communicate wirelessly with other X10 devices, eliminating the need for complex wiring setups. This aspect not only makes installation easier but also provides flexibility in positioning the sensor, allowing homeowners to monitor specific areas without being constrained by electrical outlets or wiring.
The MS10A motion sensor has a range that can cover up to 20 feet, making it effective for monitoring entrances, driveways, or areas within the home. It has an adjustable sensitivity level, allowing users to customize how responsive the sensor is to movement. This feature is particularly useful in homes with pets or where excessive movement may trigger false alarms.
Battery-powered for added convenience, the MS10A offers easy maintenance. Users can quickly replace the batteries as needed without the hassle of electrical sockets or hard wiring. Additionally, the sensor is designed for outdoor use, with a weather-resistant enclosure that allows it to withstand various environmental conditions.
Another noteworthy characteristic of the MS10A is its compatibility with a variety of X10 systems. This interoperability allows homeowners to integrate the motion sensor seamlessly with existing security cameras, lighting controls, and other automation devices, creating a comprehensive and cohesive home automation experience.
Overall, the X10 Wireless Technology MS10A motion sensor is an excellent choice for homeowners looking to bolster security and enhance automation. With its PIR technology, wireless communication, and ease of installation, it stands out as a reliable solution for protecting one’s home while providing modern convenience.

