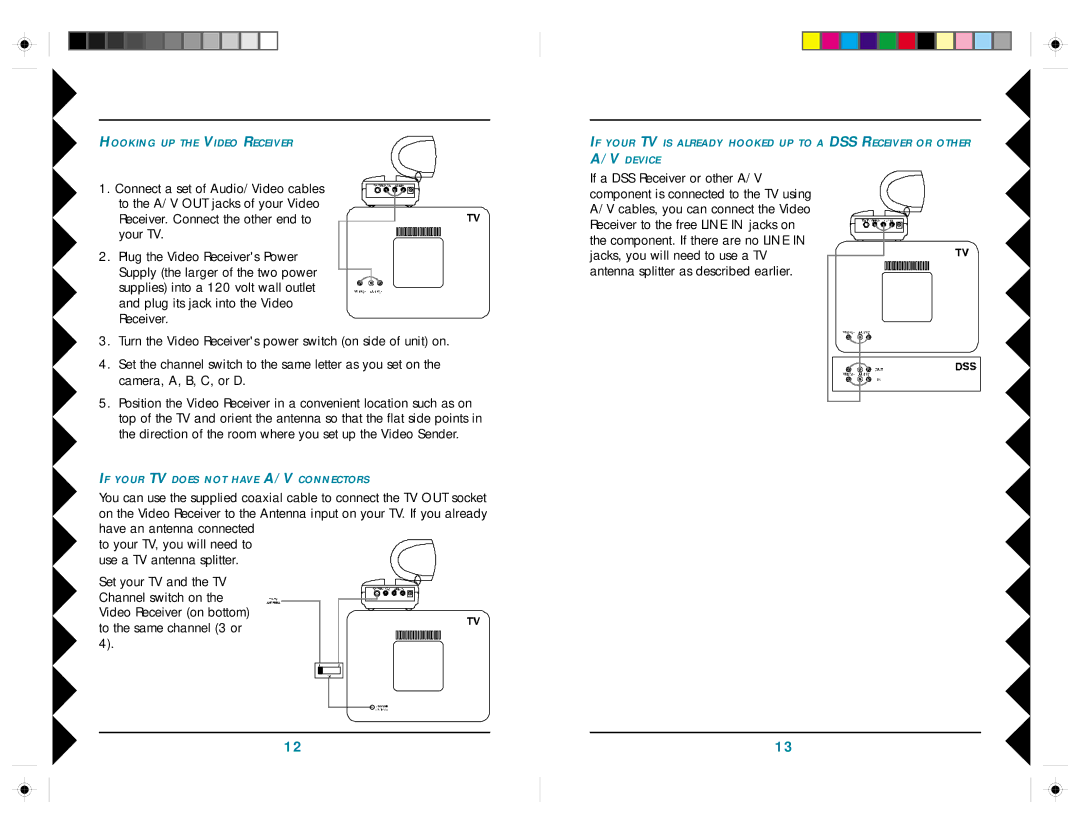
HOOKING UP THE VIDEO RECEIVER
1. Connect a set of Audio/Video cables to the A/V OUT jacks of your Video Receiver. Connect the other end to your TV.
2. Plug the Video Receiver's Power Supply (the larger of the two power supplies) into a 120 volt wall outlet and plug its jack into the Video Receiver.
3.Turn the Video Receiver's power switch (on side of unit) on.
4.Set the channel switch to the same letter as you set on the camera, A, B, C, or D.
5.Position the Video Receiver in a convenient location such as on top of the TV and orient the antenna so that the flat side points in the direction of the room where you set up the Video Sender.
IF YOUR TV DOES NOT HAVE A/V CONNECTORS
You can use the supplied coaxial cable to connect the TV OUT socket on the Video Receiver to the Antenna input on your TV. If you already have an antenna connected
to your TV, you will need to use a TV antenna splitter.
Set your TV and the TV Channel switch on the Video Receiver (on bottom) to the same channel (3 or 4).
IF YOUR TV IS ALREADY HOOKED UP TO A DSS RECEIVER OR OTHER A/V DEVICE
If a DSS Receiver or other A/V component is connected to the TV using A/V cables, you can connect the Video Receiver to the free LINE IN jacks on the component. If there are no LINE IN jacks, you will need to use a TV antenna splitter as described earlier.
12 | 13 |
