Split Mode
If you would like to have two students at each instrument working independently of each other, all that is required is setting your instrument properly and adding additional Yamaha CM500 headset microphones to your system. Each student instrument must have the following settings made for SPLIT MODE to work properly:
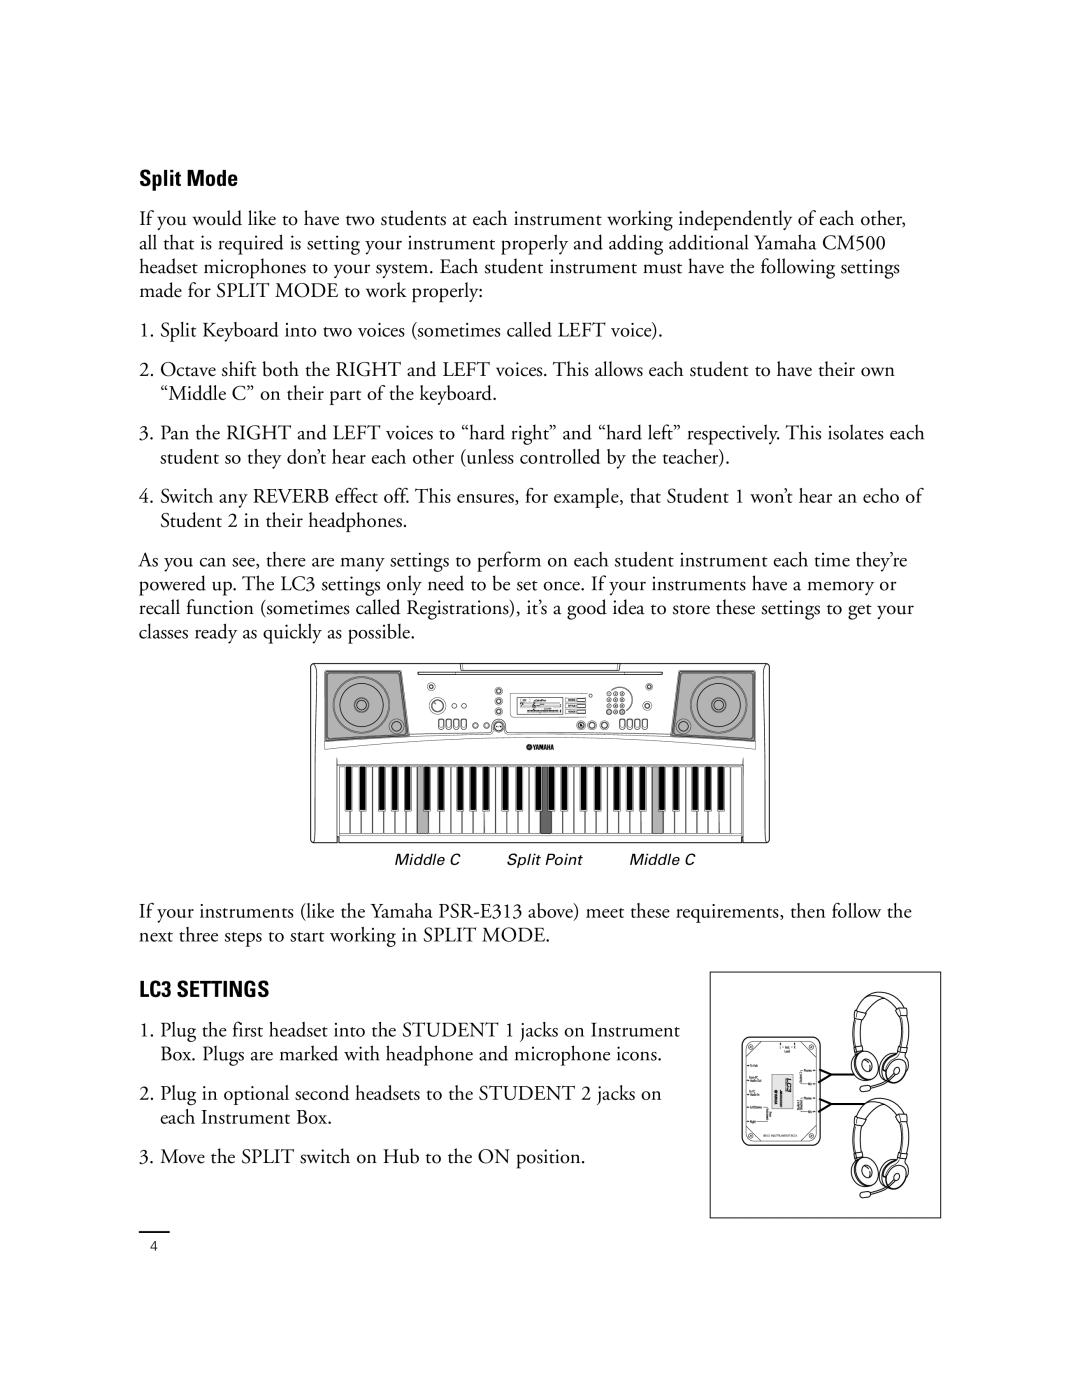
1.Split Keyboard into two voices (sometimes called LEFT voice).
2.Octave shift both the RIGHT and LEFT voices. This allows each student to have their own “Middle C” on their part of the keyboard.
3.Pan the RIGHT and LEFT voices to “hard right” and “hard left” respectively. This isolates each student so they don’t hear each other (unless controlled by the teacher).
4.Switch any REVERB effect off. This ensures, for example, that Student 1 won’t hear an echo of Student 2 in their headphones.
As you can see, there are many settings to perform on each student instrument each time they’re powered up. The LC3 settings only need to be set once. If your instruments have a memory or recall function (sometimes called Registrations), it’s a good idea to store these settings to get your classes ready as quickly as possible.
Middle C | Split Point | Middle C |
If your instruments (like the Yamaha
LC3 SETTINGS
1.Plug the first headset into the STUDENT 1 jacks on Instrument Box. Plugs are marked with headphone and microphone icons.
2.Plug in optional second headsets to the STUDENT 2 jacks on each Instrument Box.
3.Move the SPLIT switch on Hub to the ON position.
IBX3 INSTRUMENT BOX
4