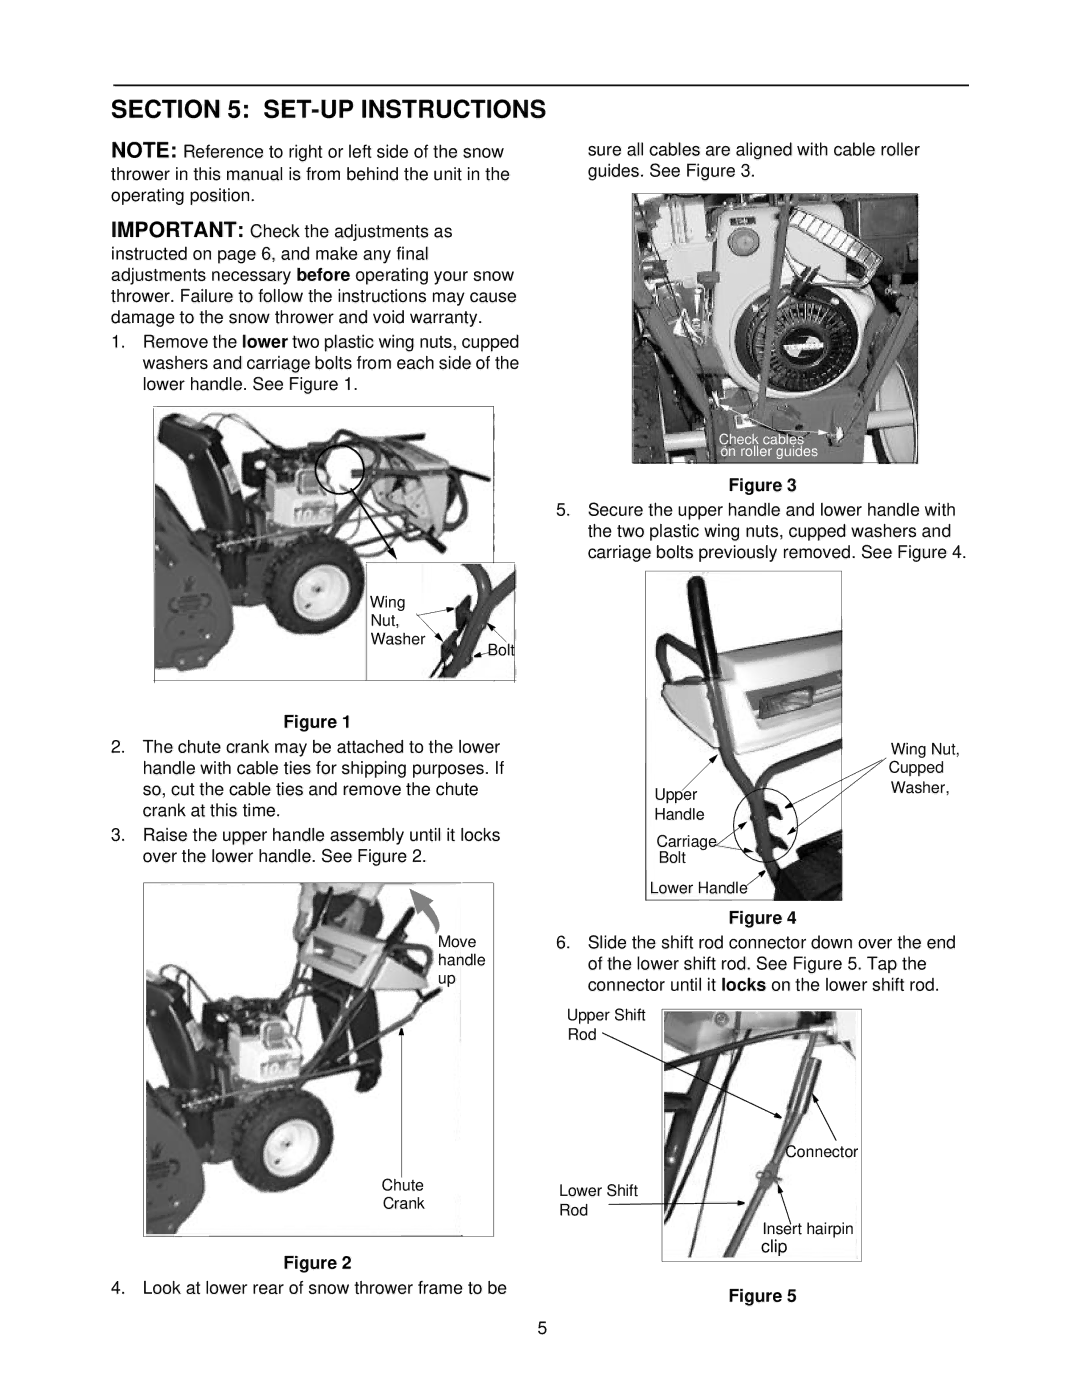
31AE553F401, 31AE573H401 specifications
The Yard-Man 31AE573H401 and 31AE553F401 are two exceptional garden tractors designed to cater to the needs of homeowners and gardening enthusiasts alike. These machines combine powerful performance with innovative features to make lawn care and maintenance a breeze.One of the standout characteristics of both models is their robust engine performance. The Yard-Man 31AE573H401 is equipped with a reliable 500cc engine, while the 31AE553F401 comes with a slightly smaller yet powerful engine. This ensures that users have the horsepower necessary to tackle tough mowing tasks and maintain even large properties efficiently. With electric start options available, both models ensure a hassle-free start-up, eliminating the stress of manual pulls.
A defining feature of these tractors is their versatile cutting systems. Both the 31AE573H401 and the 31AE553F401 feature a durable 42-inch cutting deck, designed to deliver clean and precise cuts with different height adjustments, allowing users to customize their lawn's appearance. The cutting deck design enhances maneuverability, enabling users to navigate around obstacles such as trees and flower beds while maintaining an even cut.
User comfort is a significant consideration in both models. They come with a comfortable, high-back seat that provides ample support during longer mowing sessions, reducing fatigue. The ergonomic controls are conveniently placed, ensuring that operators can easily adjust speed and cutting height without taking their hands off the steering wheel.
Equipped with advanced technologies, these tractors offer exceptional durability and ease of maintenance. The reinforced frame construction enhances stability and longevity, while easily accessible maintenance points simplify routine care. The onboard diagnostics notify users of potential issues before they become major problems, which enhances the overall reliability of the machines.
Additionally, both models feature a hydrostatic transmission that allows for smooth acceleration and effortless operation. This technology provides seamless control, enabling users to navigate various terrains without the need for shifting gears manually.
In summary, the Yard-Man 31AE573H401 and 31AE553F401 are top-tier garden tractors that embody reliability, comfort, and innovative features. Whether it's mowing a vast lawn or maneuvering through tight spaces, these machines make the task efficient and enjoyable. Ideal for homeowners seeking a dependable solution for lawn maintenance, these tractors are a valuable addition to any gardening equipment arsenal.

