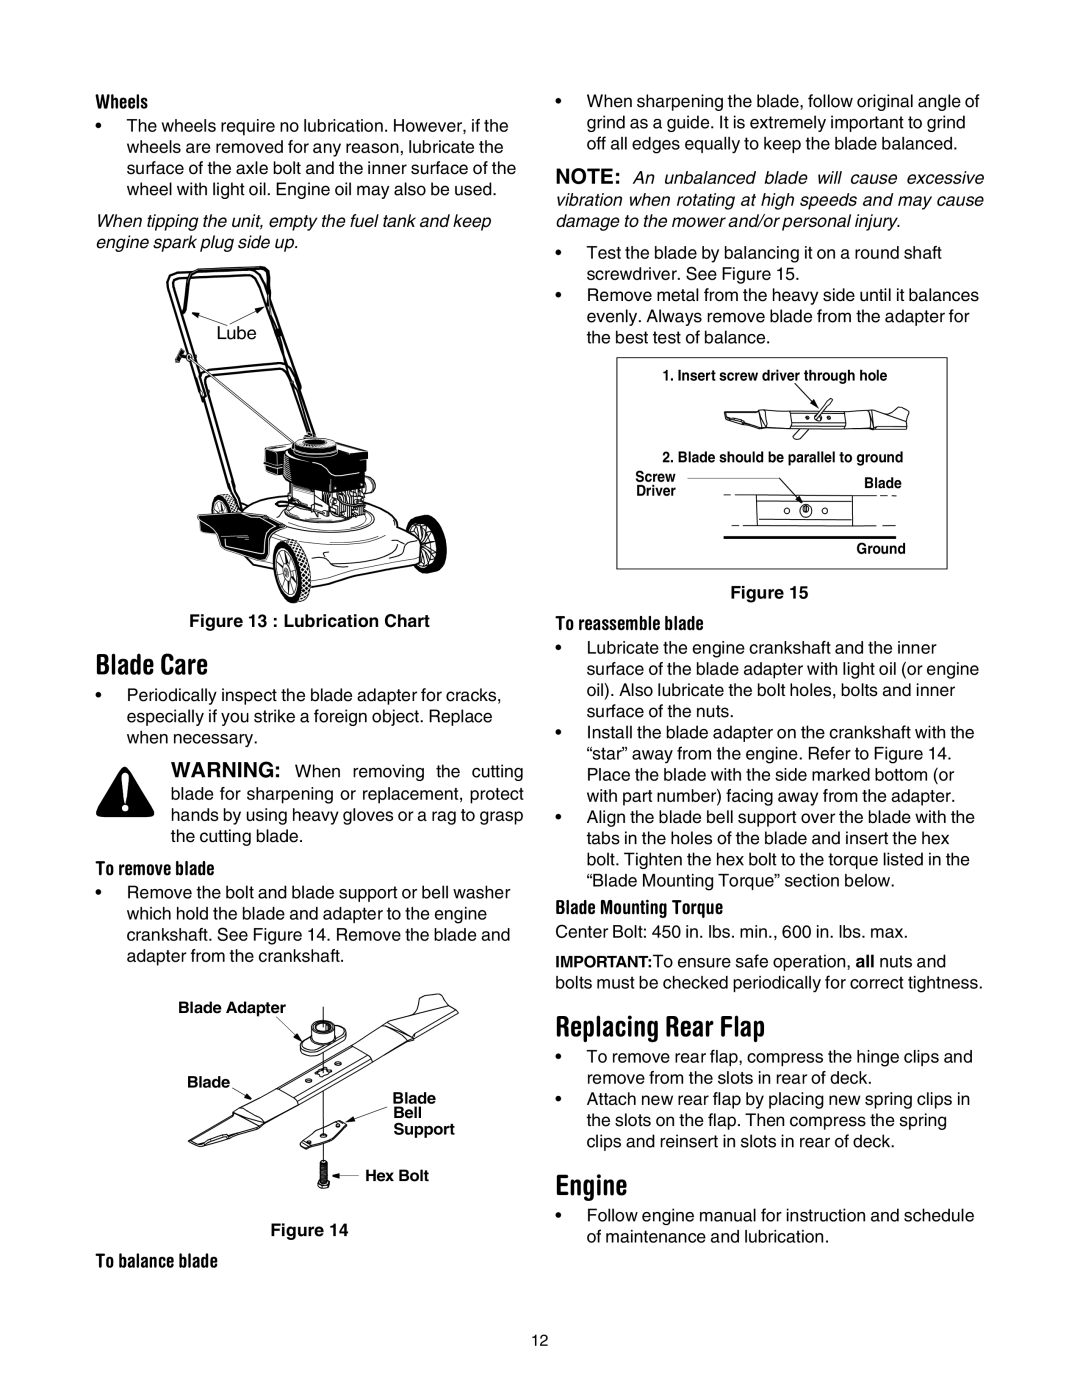
Wheels

The wheels require no lubrication. However, if the wheels are removed for any reason, lubricate the surface of the axle bolt and the inner surface of the wheel with light oil. Engine oil may also be used.

When tipping the unit, empty the fuel tank and keep engine spark plug side up.

Lube

Figure 13 : Lubrication Chart

Blade Care

Periodically inspect the blade adapter for cracks, especially if you strike a foreign object. Replace when necessary.

WARNING: When removing the cutting blade for sharpening or replacement, protect hands by using heavy gloves or a rag to grasp the cutting blade.

To remove blade

Remove the bolt and blade support or bell washer which hold the blade and adapter to the engine crankshaft. See Figure 14. Remove the blade and adapter from the crankshaft.

Blade Adapter

Blade

Blade

Bell

Support

Hex Bolt

Figure 14

To balance blade

When sharpening the blade, follow original angle of grind as a guide. It is extremely important to grind off all edges equally to keep the blade balanced.

NOTE: An unbalanced blade will cause excessive vibration when rotating at high speeds and may cause damage to the mower and/or personal injury.

Test the blade by balancing it on a round shaft screwdriver. See Figure 15.

Remove metal from the heavy side until it balances evenly. Always remove blade from the adapter for the best test of balance.

1.Insert screw driver through hole

2.Blade should be parallel to ground

Screw


Blade

Driver


Ground

Figure 15

To reassemble blade

Lubricate the engine crankshaft and the inner surface of the blade adapter with light oil (or engine oil). Also lubricate the bolt holes, bolts and inner surface of the nuts.

Install the blade adapter on the crankshaft with the “star” away from the engine. Refer to Figure 14. Place the blade with the side marked bottom (or with part number) facing away from the adapter.

Align the blade bell support over the blade with the tabs in the holes of the blade and insert the hex bolt. Tighten the hex bolt to the torque listed in the “Blade Mounting Torque” section below.

Blade Mounting Torque

Center Bolt: 450 in. lbs. min., 600 in. lbs. max.

IMPORTANT:To ensure safe operation, all nuts and bolts must be checked periodically for correct tightness.

Replacing Rear Flap

To remove rear flap, compress the hinge clips and remove from the slots in rear of deck.

Attach new rear flap by placing new spring clips in the slots on the flap. Then compress the spring clips and reinsert in slots in rear of deck.

Engine

Follow engine manual for instruction and schedule of maintenance and lubrication.

12

Page 12
Image 12
Yard Machines 20 manual Blade Care, Replacing Rear Flap, Engine

20 specifications

The Yard Machines 20 is a versatile and powerful outdoor equipment designed for homeowners looking for efficiency and ease of use in their lawn care routine. This machine brings a blend of technology and practical features that make lawn maintenance tasks simpler and more effective.

One of the standout characteristics of the Yard Machines 20 is its robust engine. Equipped with a reliable 140cc OHV engine, this machine provides ample power for tackling a variety of lawn challenges. Whether you are mowing through thick grass or dealing with uneven terrain, the engine's performance ensures a consistent and effective cutting experience.

The cutting deck of the Yard Machines 20 is another impressive feature. With a 20-inch steel deck, it offers a durable and stable cutting surface. The size of the deck strikes an excellent balance between maneuverability and cutting width, allowing users to navigate through tight spots while still covering a significant amount of ground quickly.

Additionally, the Yard Machines 20 offers adjustable cutting height settings, providing users with the flexibility to choose the grass height that best suits their lawn’s needs. This feature accommodates various grass types and personal preferences, ensuring an even cut every time.

In terms of comfort, the Yard Machines 20 is designed with ergonomics in mind. Its adjustable handle allows users of different heights to find a comfortable grip, reducing fatigue during prolonged use. This attention to user comfort extends to features like easy-start technology, making it convenient to get the machine running with minimal effort.

The Yard Machines 20 also boasts a compact design, making storage easy when the mowing season is over. Its lightweight construction allows for easy transport, whether moving it around the yard or taking it elsewhere.

Overall, the Yard Machines 20 combines power, efficiency, and user-friendly features to make it a fantastic option for homeowners seeking to maintain their lawns effortlessly. With its durable construction and thoughtful design, this machine is set to become an essential tool in any garden enthusiast’s collection. Whether you are a seasoned gardener or a novice, the Yard Machines 20 is geared towards making lawn care a more enjoyable and efficient process.