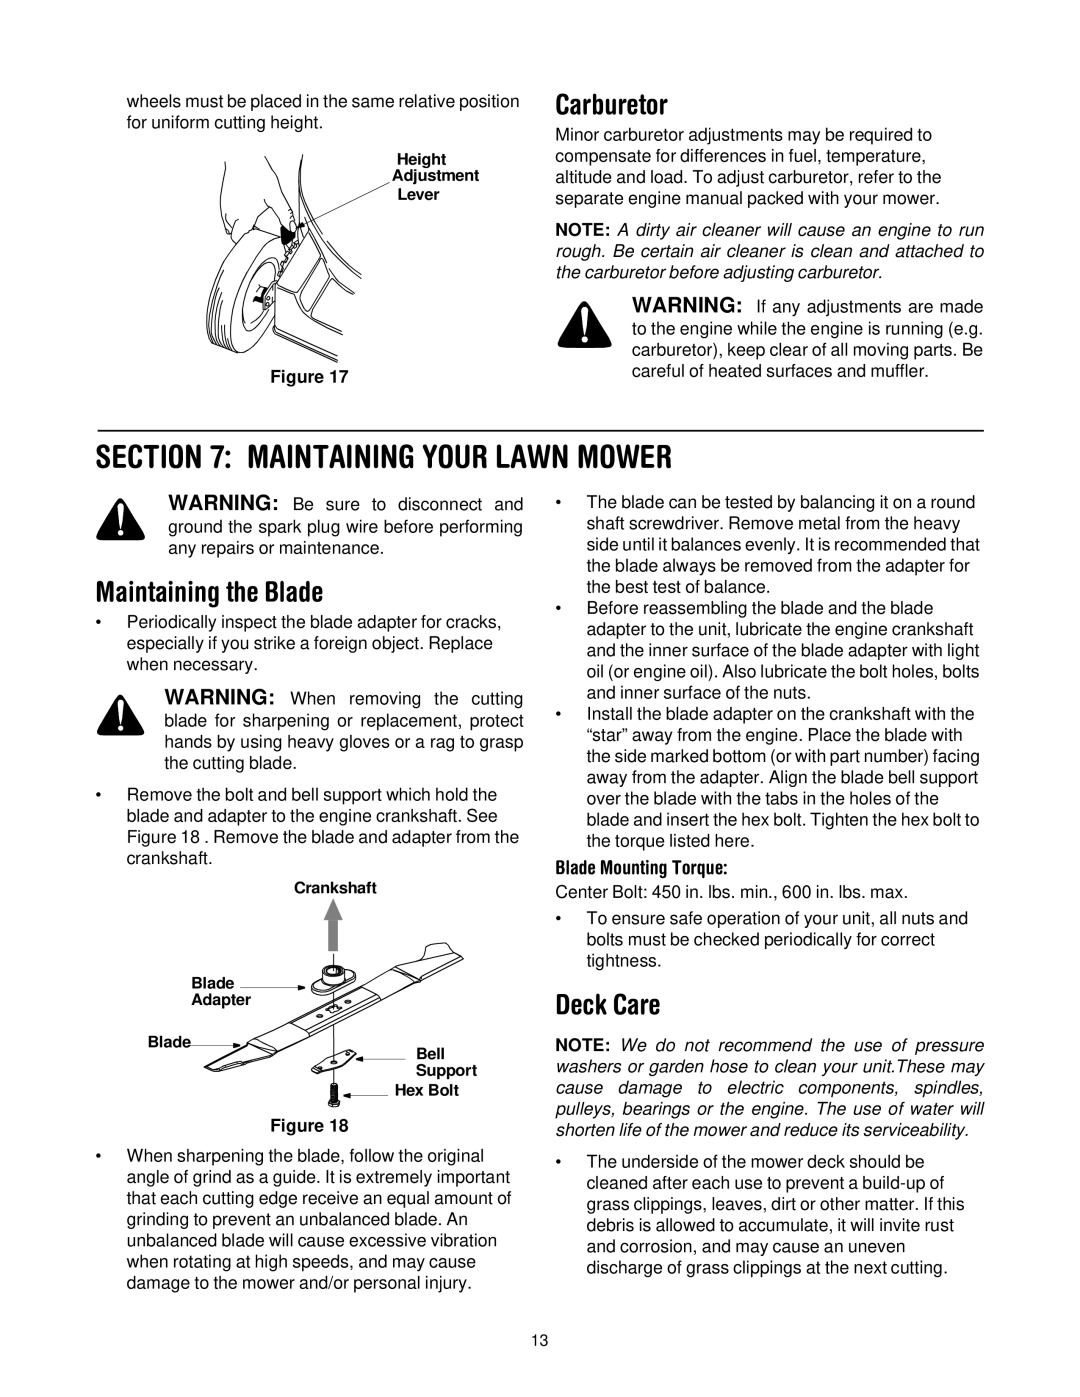
wheels must be placed in the same relative position for uniform cutting height.

Height

Adjustment

Lever

Figure 17

Carburetor

Minor carburetor adjustments may be required to compensate for differences in fuel, temperature, altitude and load. To adjust carburetor, refer to the separate engine manual packed with your mower.

NOTE: A dirty air cleaner will cause an engine to run rough. Be certain air cleaner is clean and attached to the carburetor before adjusting carburetor.

WARNING: If any adjustments are made to the engine while the engine is running (e.g. carburetor), keep clear of all moving parts. Be careful of heated surfaces and muffler.

SECTION 7: MAINTAINING YOUR LAWN MOWER

WARNING: Be sure to disconnect and ground the spark plug wire before performing any repairs or maintenance.

Maintaining the Blade

Periodically inspect the blade adapter for cracks, especially if you strike a foreign object. Replace when necessary.

WARNING: When removing the cutting blade for sharpening or replacement, protect hands by using heavy gloves or a rag to grasp the cutting blade.

Remove the bolt and bell support which hold the blade and adapter to the engine crankshaft. See Figure 18 . Remove the blade and adapter from the crankshaft.

Crankshaft

Blade

Adapter

Blade

Bell

Support

Hex Bolt

Figure 18

When sharpening the blade, follow the original angle of grind as a guide. It is extremely important that each cutting edge receive an equal amount of grinding to prevent an unbalanced blade. An unbalanced blade will cause excessive vibration when rotating at high speeds, and may cause damage to the mower and/or personal injury.

The blade can be tested by balancing it on a round shaft screwdriver. Remove metal from the heavy side until it balances evenly. It is recommended that the blade always be removed from the adapter for the best test of balance.

Before reassembling the blade and the blade adapter to the unit, lubricate the engine crankshaft and the inner surface of the blade adapter with light oil (or engine oil). Also lubricate the bolt holes, bolts and inner surface of the nuts.

Install the blade adapter on the crankshaft with the “star” away from the engine. Place the blade with the side marked bottom (or with part number) facing away from the adapter. Align the blade bell support over the blade with the tabs in the holes of the blade and insert the hex bolt. Tighten the hex bolt to the torque listed here.

Blade Mounting Torque:

Center Bolt: 450 in. lbs. min., 600 in. lbs. max.

To ensure safe operation of your unit, all nuts and bolts must be checked periodically for correct tightness.

Deck Care

NOTE: We do not recommend the use of pressure washers or garden hose to clean your unit.These may cause damage to electric components, spindles, pulleys, bearings or the engine. The use of water will shorten life of the mower and reduce its serviceability.

The underside of the mower deck should be cleaned after each use to prevent a build-up of grass clippings, leaves, dirt or other matter. If this debris is allowed to accumulate, it will invite rust and corrosion, and may cause an uneven discharge of grass clippings at the next cutting.

13

Page 13
Image 13
Yard Machines 429 manual Maintaining Your Lawn Mower, Carburetor, Maintaining the Blade, Deck Care, Blade Mounting Torque

429 specifications

The Yard Machines 429 is a versatile and reliable lawn mower designed for homeowners who prioritize both performance and ease of use. This model stands out in the competitive lawn care market due to its impressive features and innovative technologies, making it an ideal choice for maintaining lush, healthy lawns.

At the core of Yard Machines 429 is a powerful engine that provides ample power to tackle various grass types and terrain. Typically equipped with a 140cc OHV engine, it offers a balance of efficiency and performance, ensuring that users can mow their lawns quickly and effectively. The engine is also designed for easy starting, reducing frustration and saving time when it's time to cut the grass.

One of the standout features of the Yard Machines 429 is its adjustable cutting height. With several height settings, users can customize the mower to achieve their desired grass length, promoting healthier lawn growth while accommodating different mowing conditions. This feature is particularly beneficial for homeowners who want to maintain a manicured appearance.

The 429 model also boasts a lightweight, compact design that enhances maneuverability, allowing users to navigate tight spaces and tricky corners with ease. Its durable construction ensures longevity, standing up to the rigors of regular lawn maintenance. Additionally, the mower's larger rear wheels facilitate smooth operation over uneven terrain, improving overall stability.

Another significant characteristic of the Yard Machines 429 is its user-friendly controls. With simple, intuitive controls, even novice users can operate the mower without a steep learning curve. Safety features are paramount; this model includes a safety key and a blade brake, giving users peace of mind while mowing.

For maintenance, the Yard Machines 429 is designed with user convenience in mind. The engine’s accessible components make routine maintenance tasks such as oil changes and air filter replacements straightforward. This focus on maintenance ease helps prolong the mower's lifespan and keeps it performing at its best.

Overall, the Yard Machines 429 is a well-rounded lawn mower, combining power, efficiency, and user-friendly features. With its reliable engine, adjustable cutting height, and innovative design, this model is an excellent choice for homeowners looking to achieve a professional-looking lawn with minimal effort. Whether facing tall grass or uneven terrain, the Yard Machines 429 equips its users with the performance needed to conquer any mowing task.