Hardware Installation
Below are the steps necessary to install a NetBlaster CompactPCI adapter into a standard, compliant system. In most systems, the configuration is “plug and play”, which requires no operations on the part of the installer. The following are detailed instructions for the hardware installation procedure.
Installing the Hardware
This installation procedure is for installing an adapter into standard, compliant systems. Some steps in this procedure may vary depending on the specific system used. Refer to the system’s documentation if necessary.
The figure on the following page shows the installation of an adapter in a typical system.
1.Turn off your system.
2.Discharge any static electricity from your body by touching the metal case, or by using an
3.Select an available CompactPCI slot.
4.Remove the slot cover from the front panel slot filler bracket.
5.Insert the ZNYX adapter into the slot. Make certain that you push the adapter straight into the slot; the bracket and the slot must be properly aligned and the adapter fully “seated”. A good “seat” is when the bracket touches the system case, up to the extraction levers.
6.Pull up on the extraction levers to finish seating the adapter.
7.Secure the retaining screws.
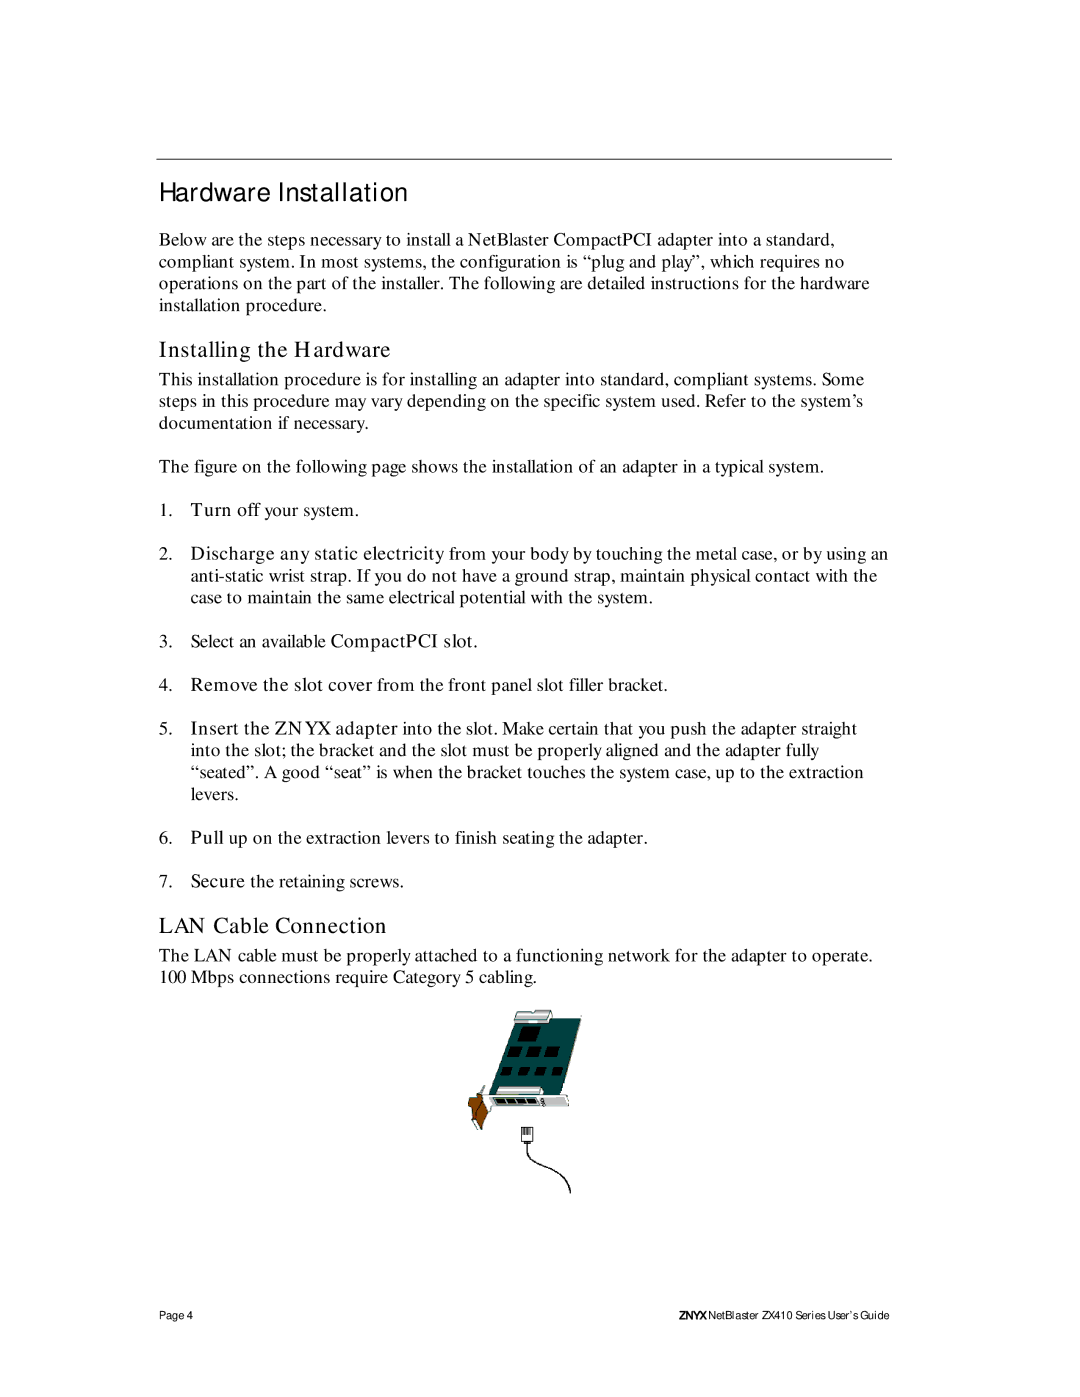
LAN Cable Connection
The LAN cable must be properly attached to a functioning network for the adapter to operate. 100 Mbps connections require Category 5 cabling.
Page 4 | ZNYX NetBlaster ZX410 Series User’s Guide |