SPX Operation Manual | 7 |
Operating your Luminaire
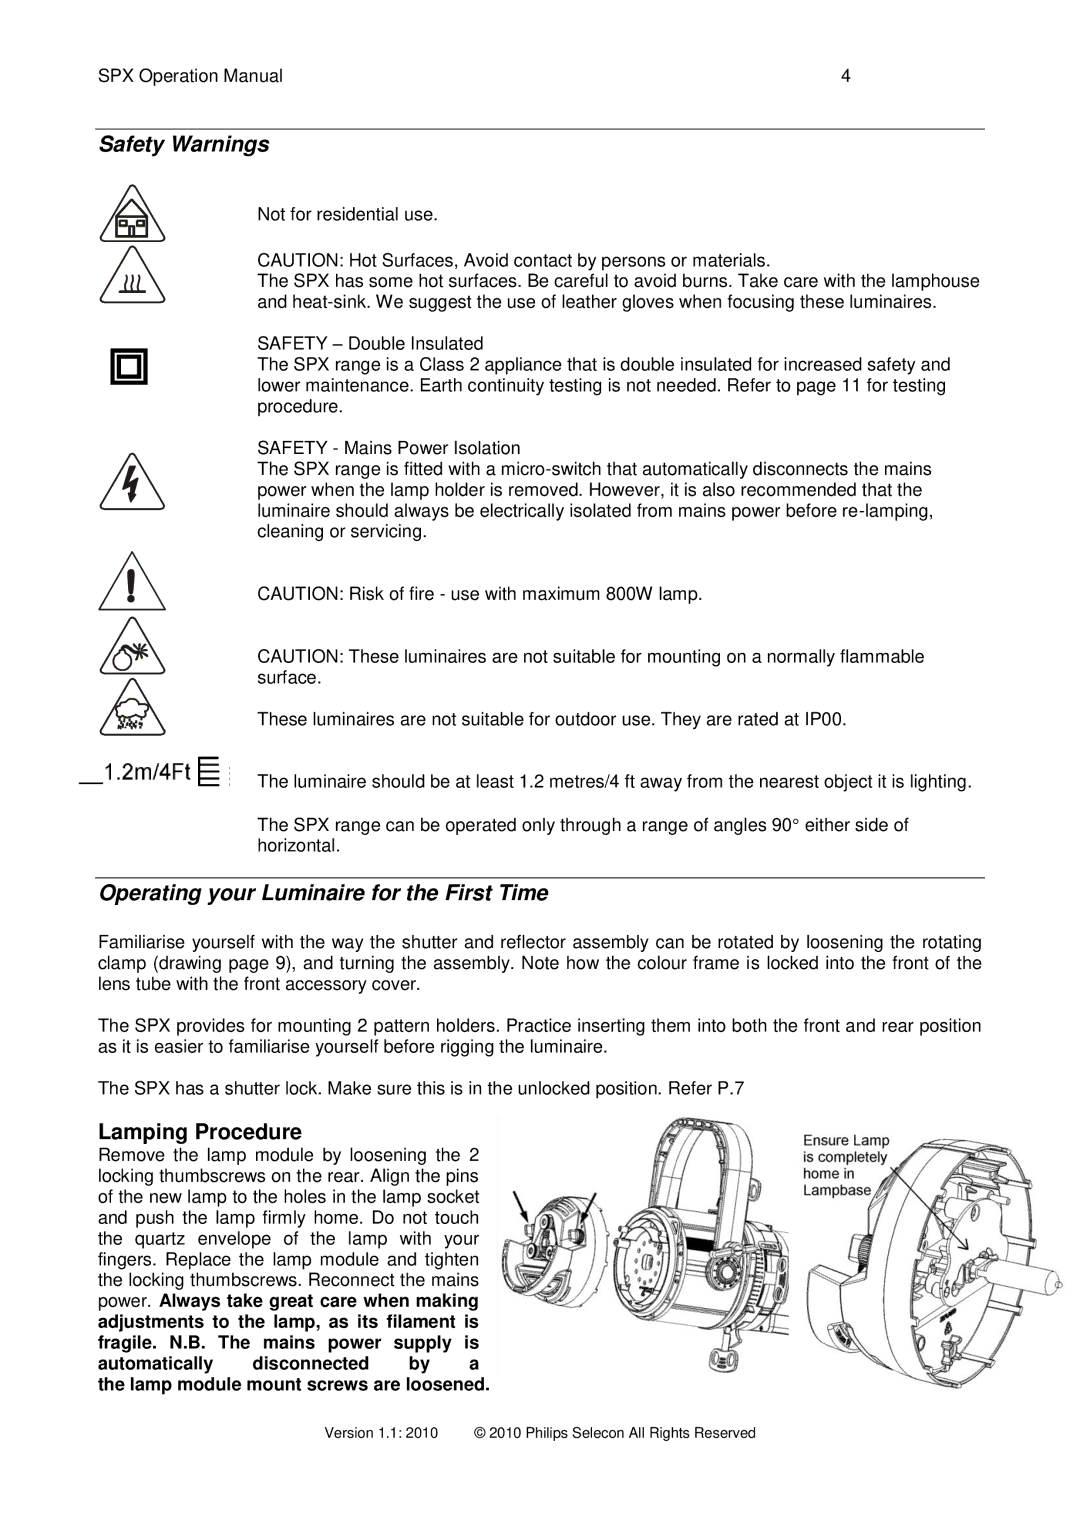
Please note that as the handles and knobs on the SPX range can reach high temperatures depending on the position or orientation of the luminaire, gloves should always be worn when focusing these luminaires.
Pan and Tilt Adjustment
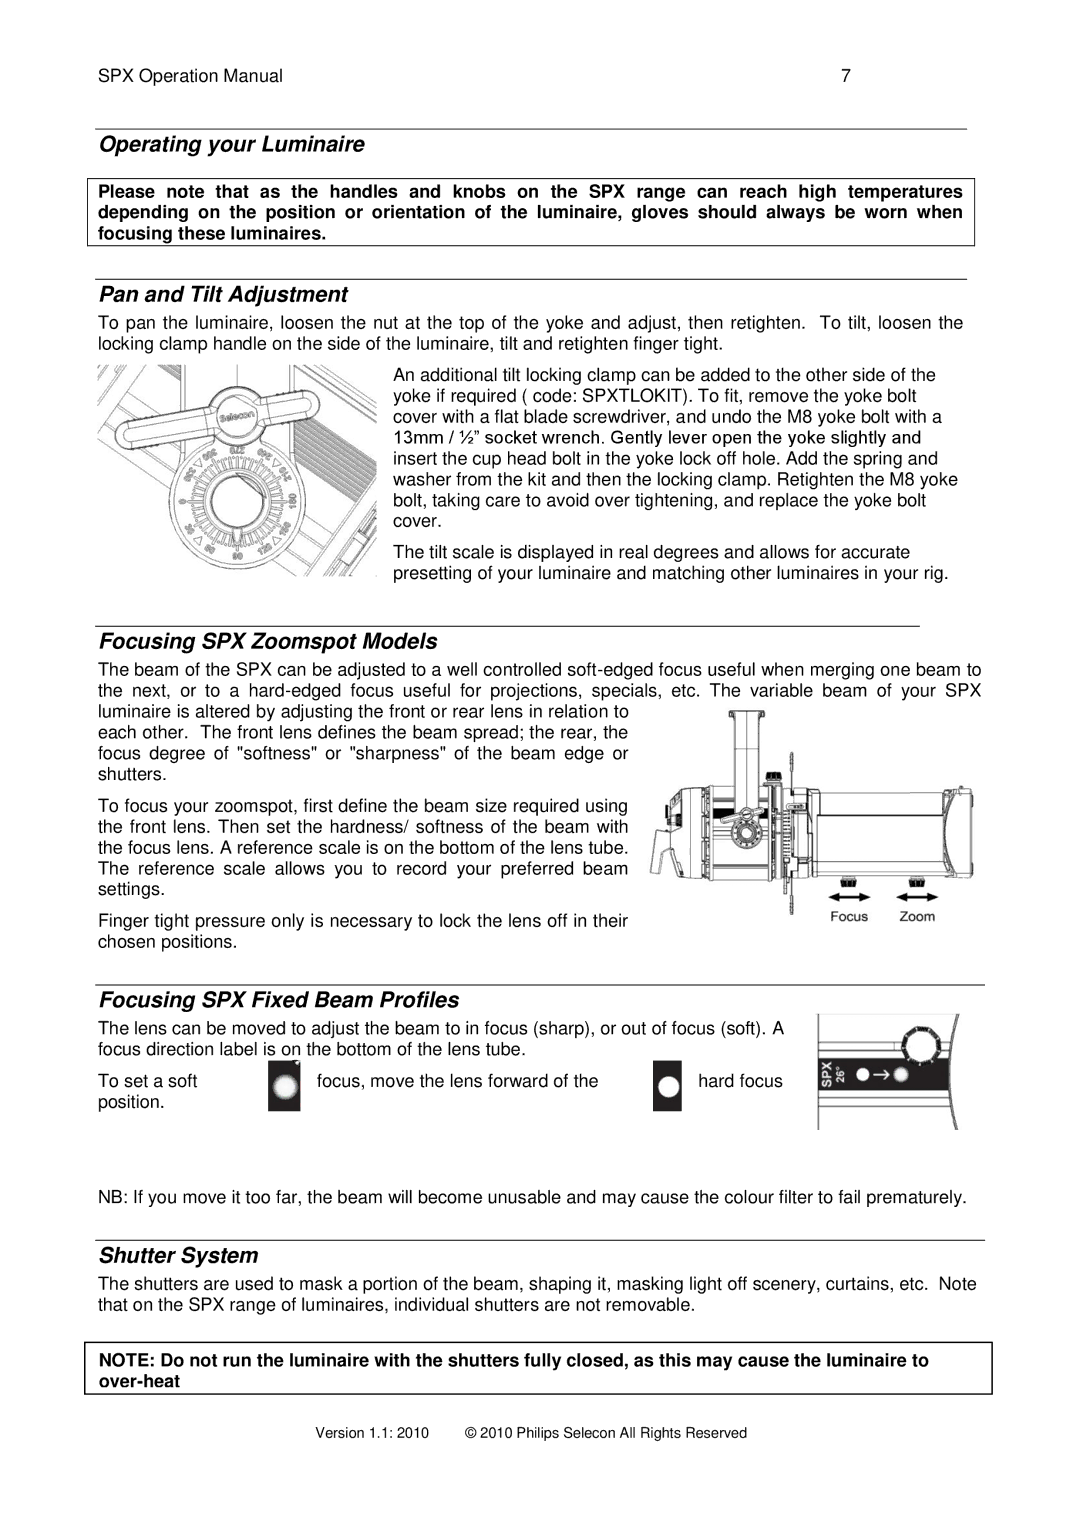
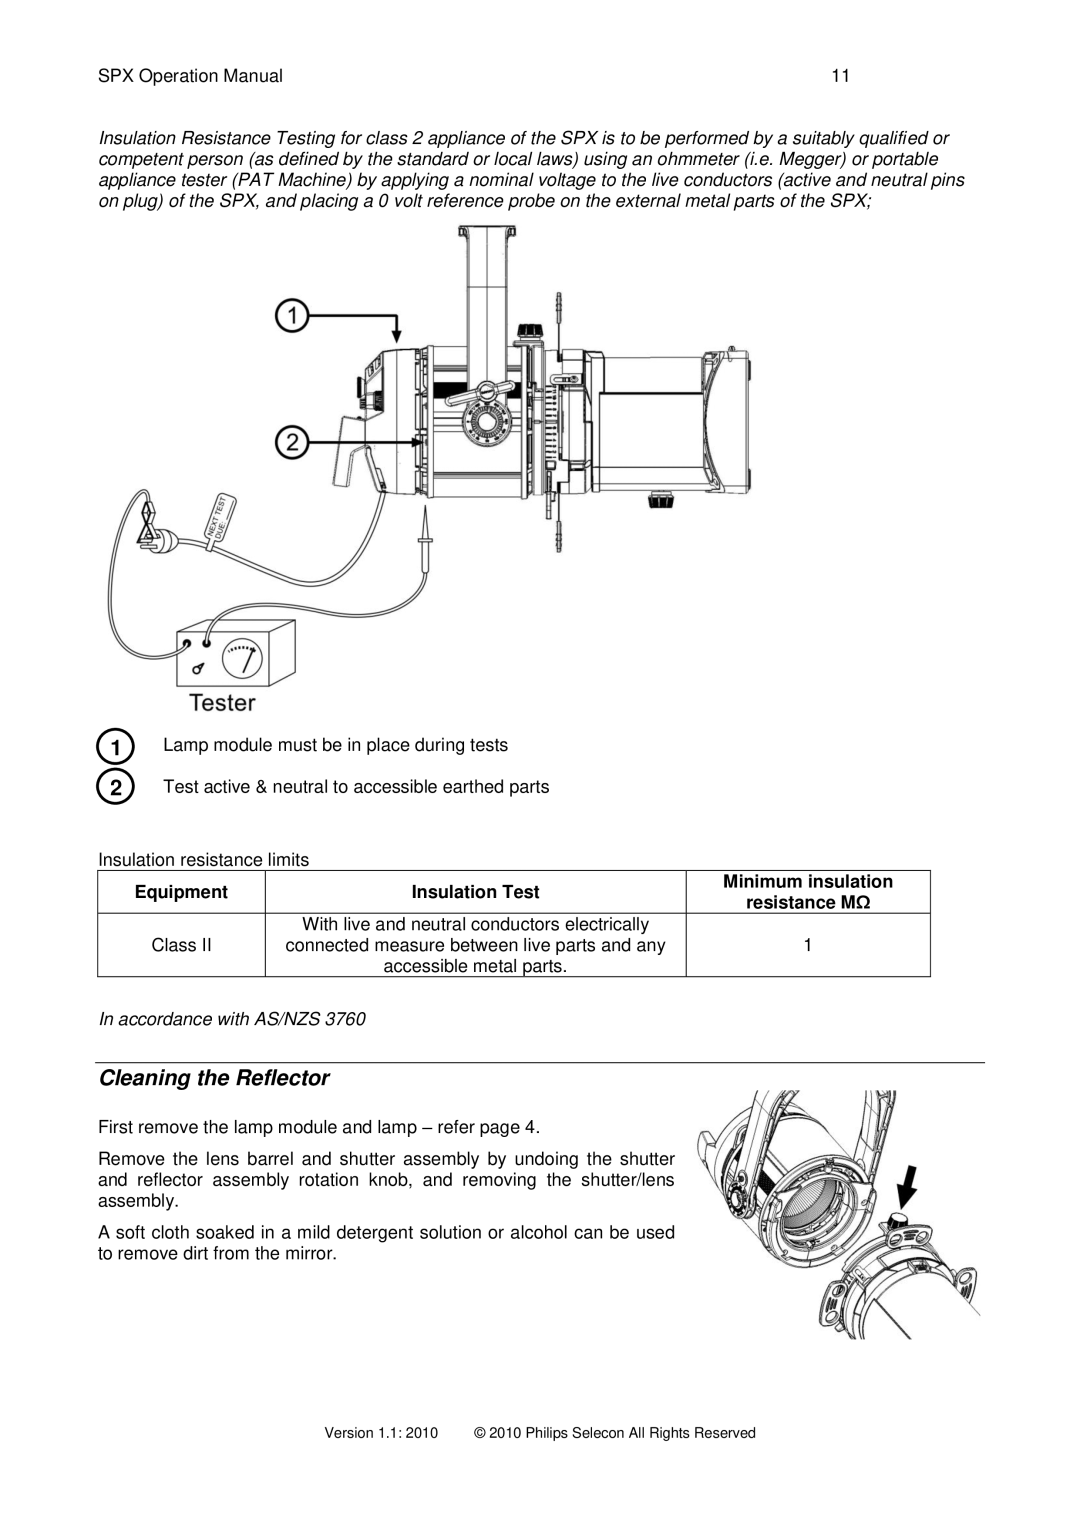
To pan the luminaire, loosen the nut at the top of the yoke and adjust, then retighten. To tilt, loosen the locking clamp handle on the side of the luminaire, tilt and retighten finger tight.
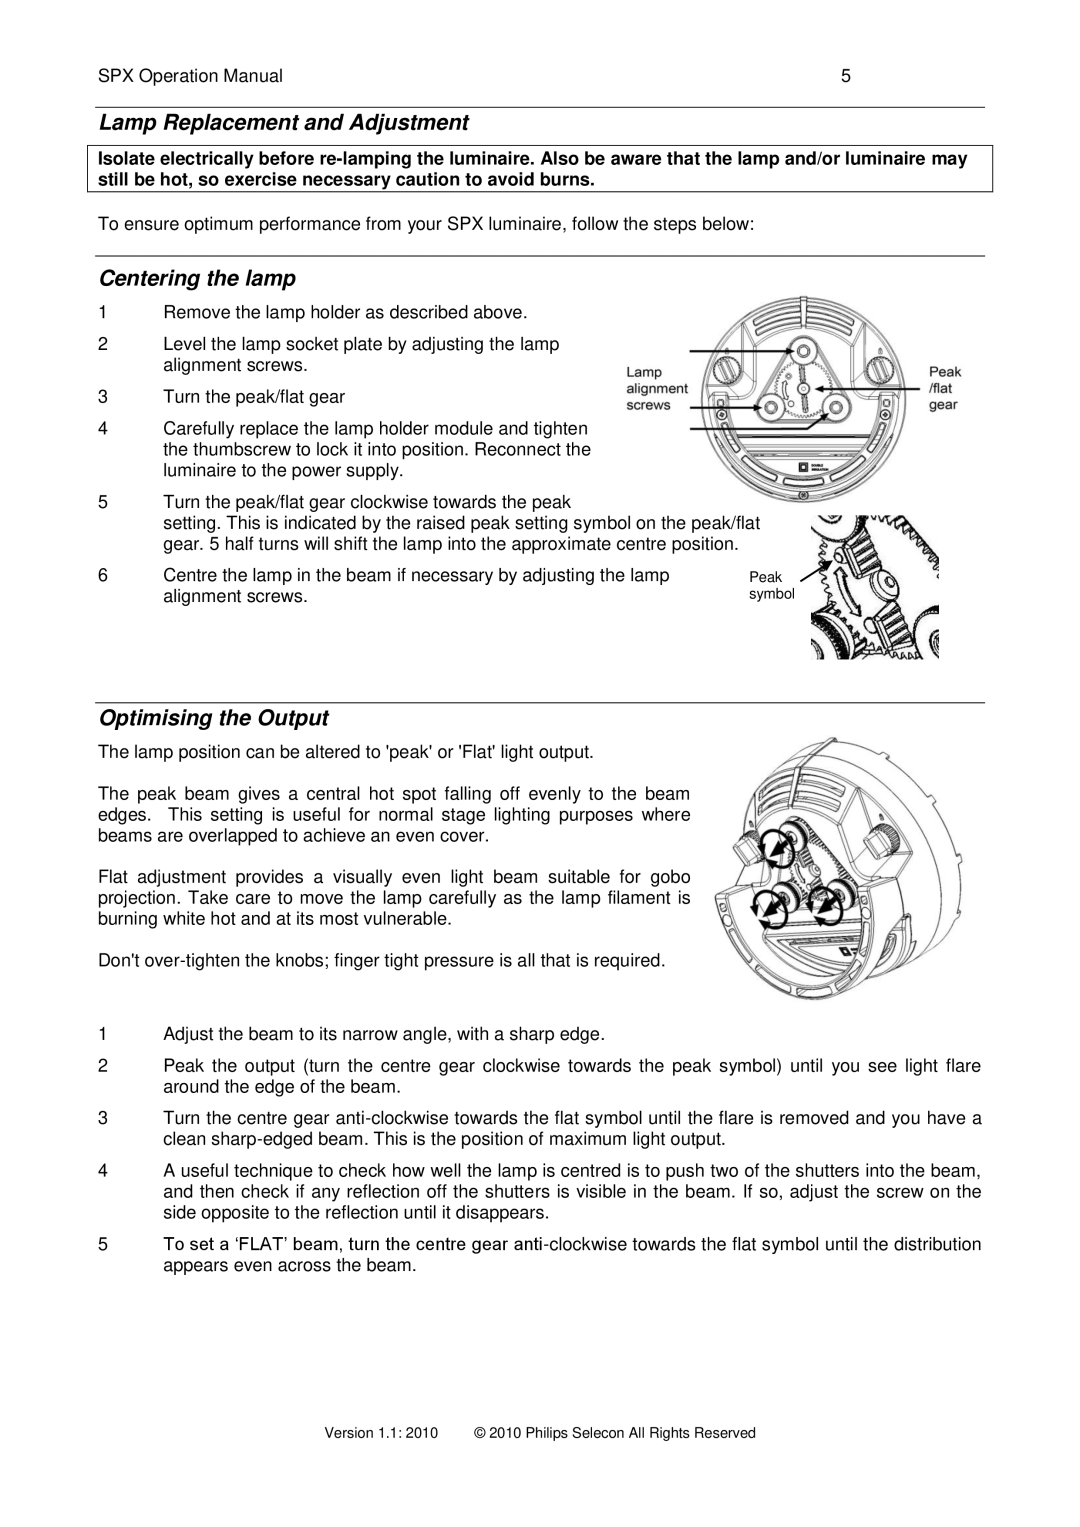
An additional tilt locking clamp can be added to the other side of the yoke if required ( code: SPXTLOKIT). To fit, remove the yoke bolt cover with a flat blade screwdriver, and undo the M8 yoke bolt with a 13mm / ½” socket wrench. Gently lever open the yoke slightly and insert the cup head bolt in the yoke lock off hole. Add the spring and washer from the kit and then the locking clamp. Retighten the M8 yoke bolt, taking care to avoid over tightening, and replace the yoke bolt cover.
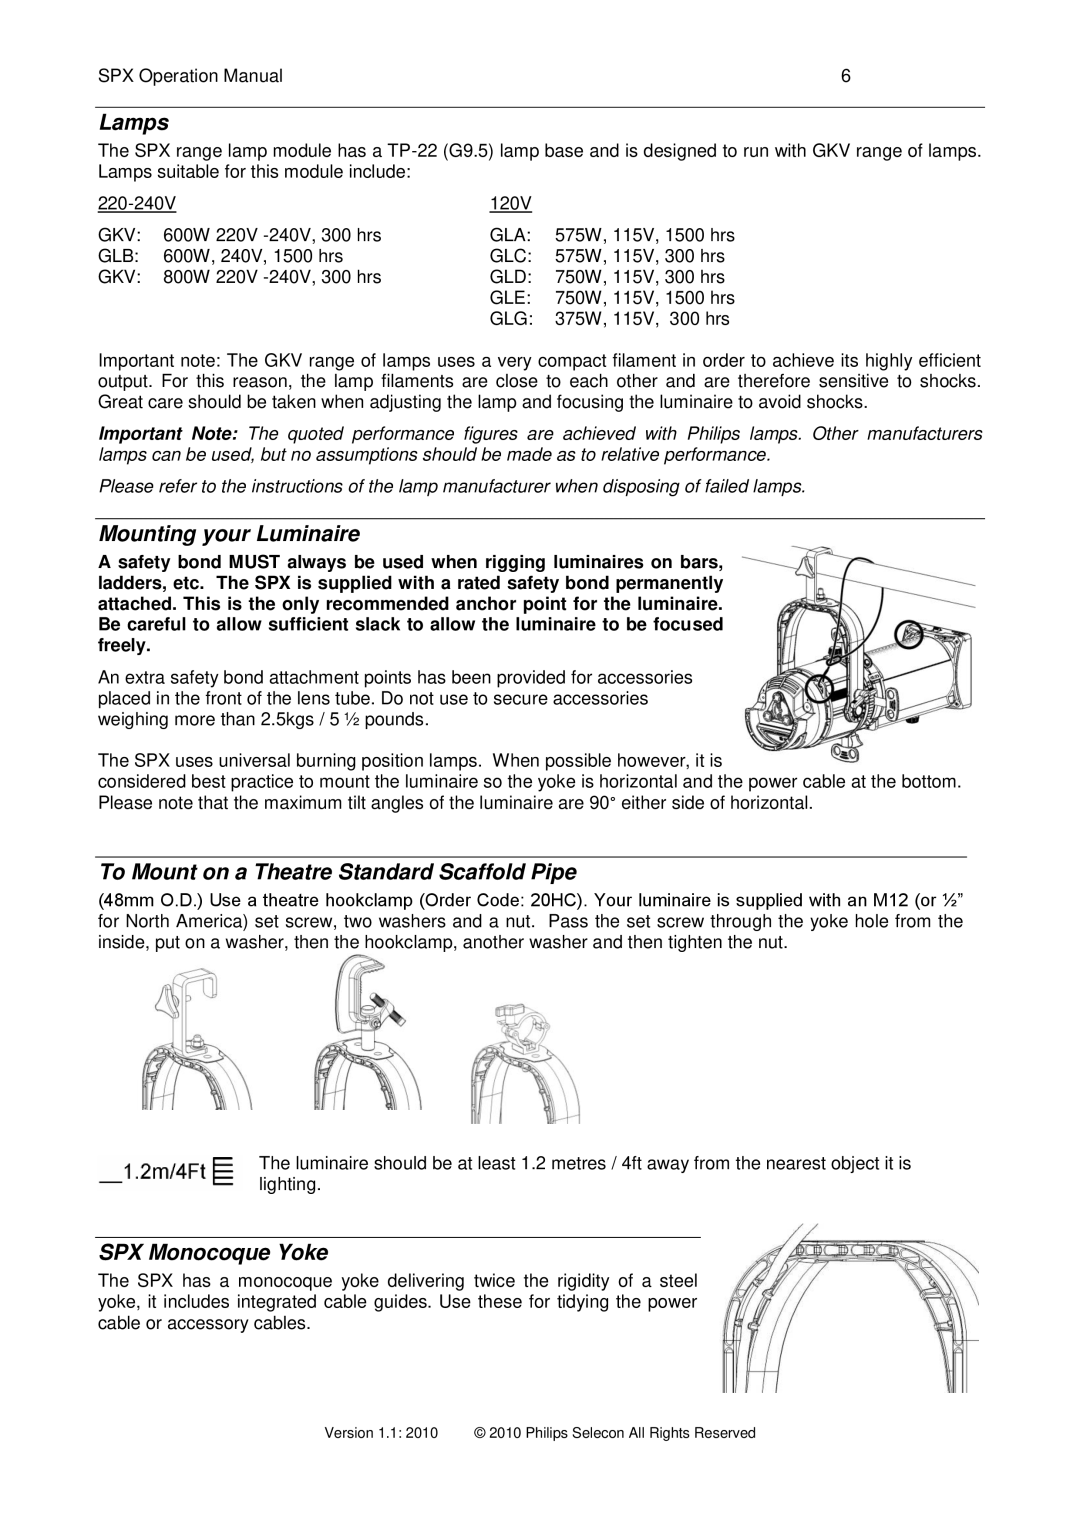
The tilt scale is displayed in real degrees and allows for accurate presetting of your luminaire and matching other luminaires in your rig.
Focusing SPX Zoomspot Models
The beam of the SPX can be adjusted to a well controlled
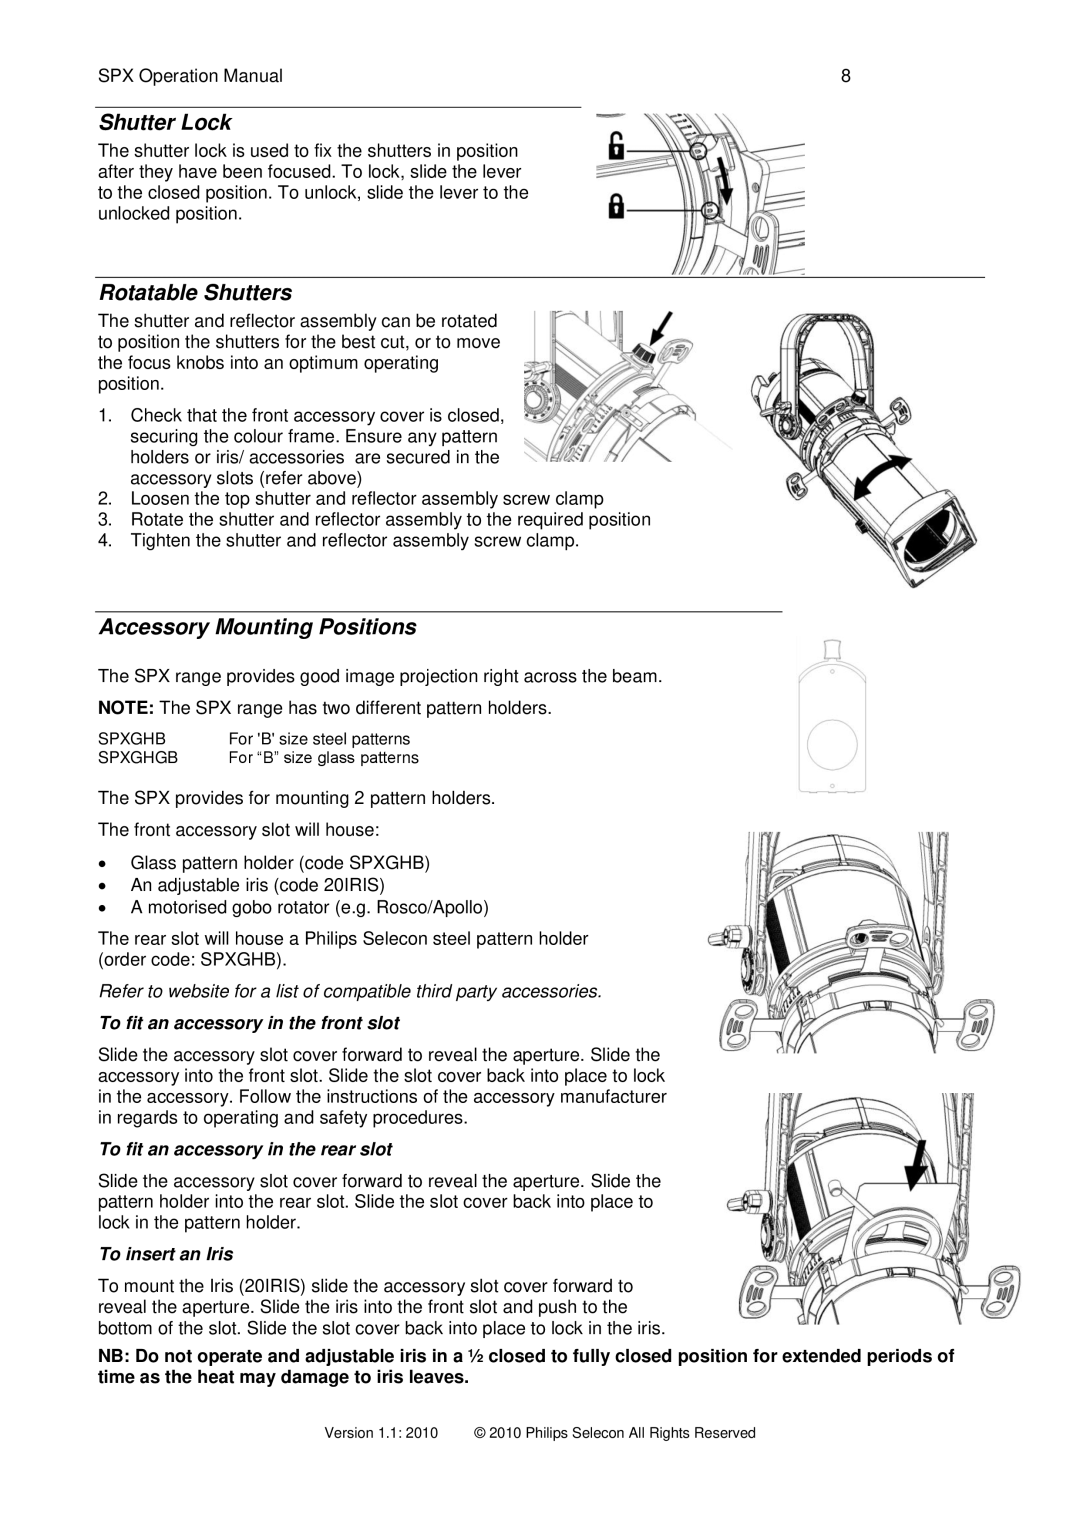
each other. The front lens defines the beam spread; the rear, the focus degree of "softness" or "sharpness" of the beam edge or shutters.
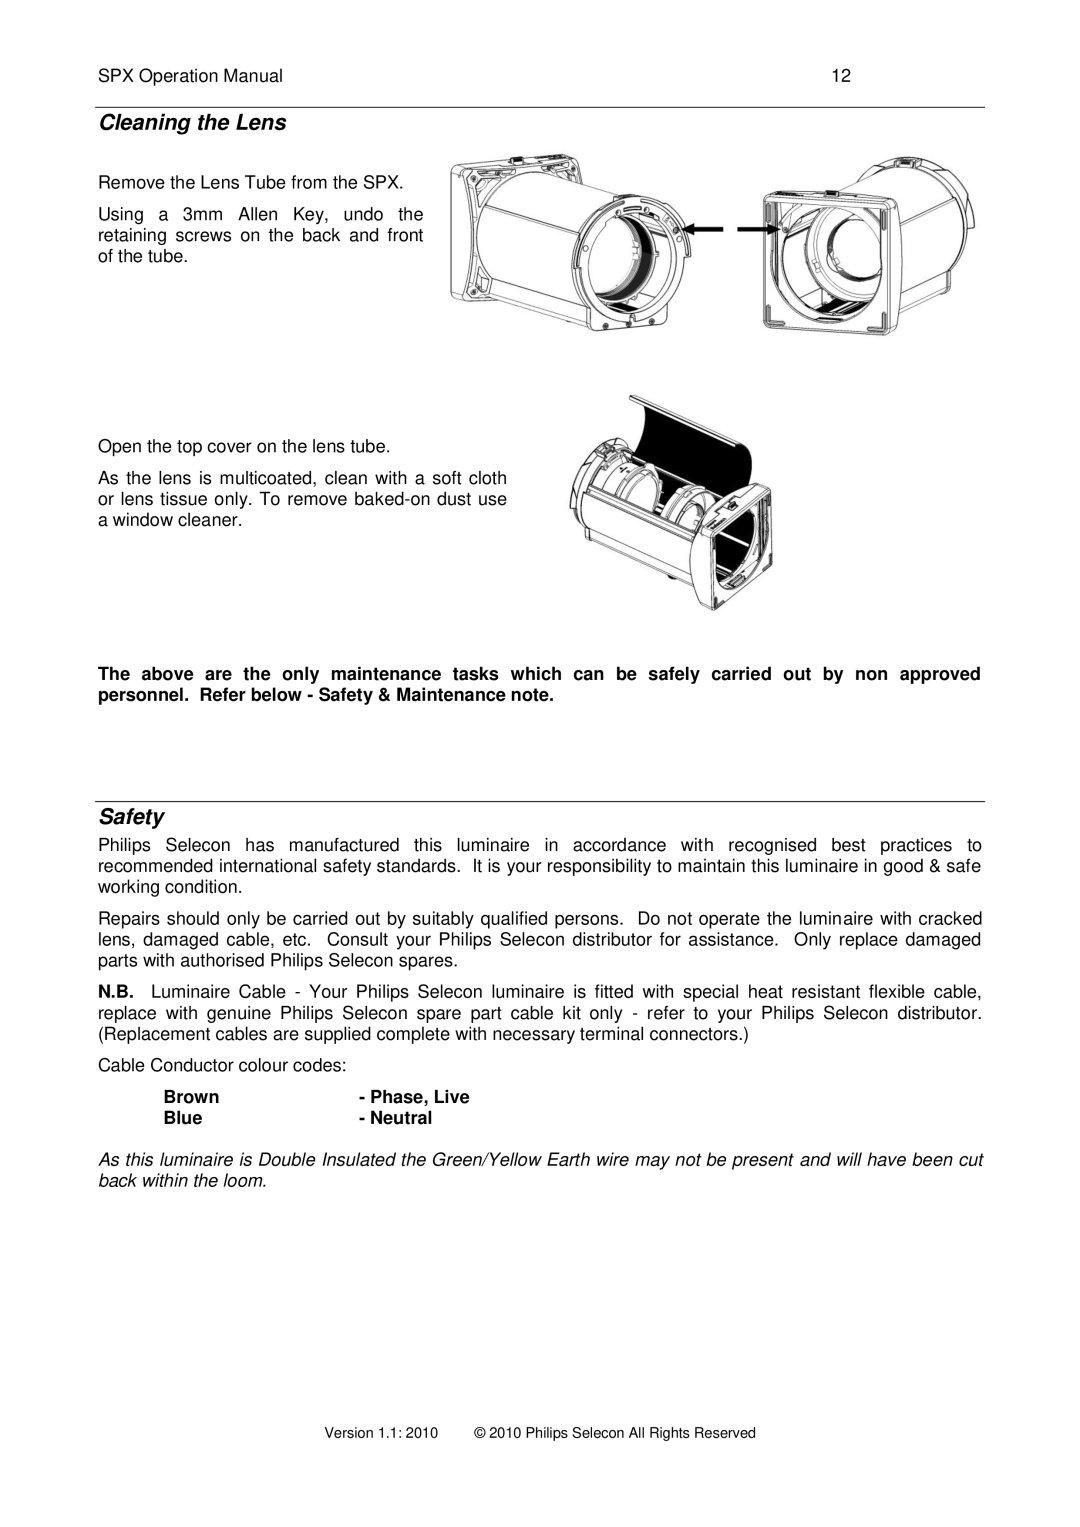
To focus your zoomspot, first define the beam size required using the front lens. Then set the hardness/ softness of the beam with the focus lens. A reference scale is on the bottom of the lens tube. The reference scale allows you to record your preferred beam settings.
Finger tight pressure only is necessary to lock the lens off in their chosen positions.
Focusing SPX Fixed Beam Profiles
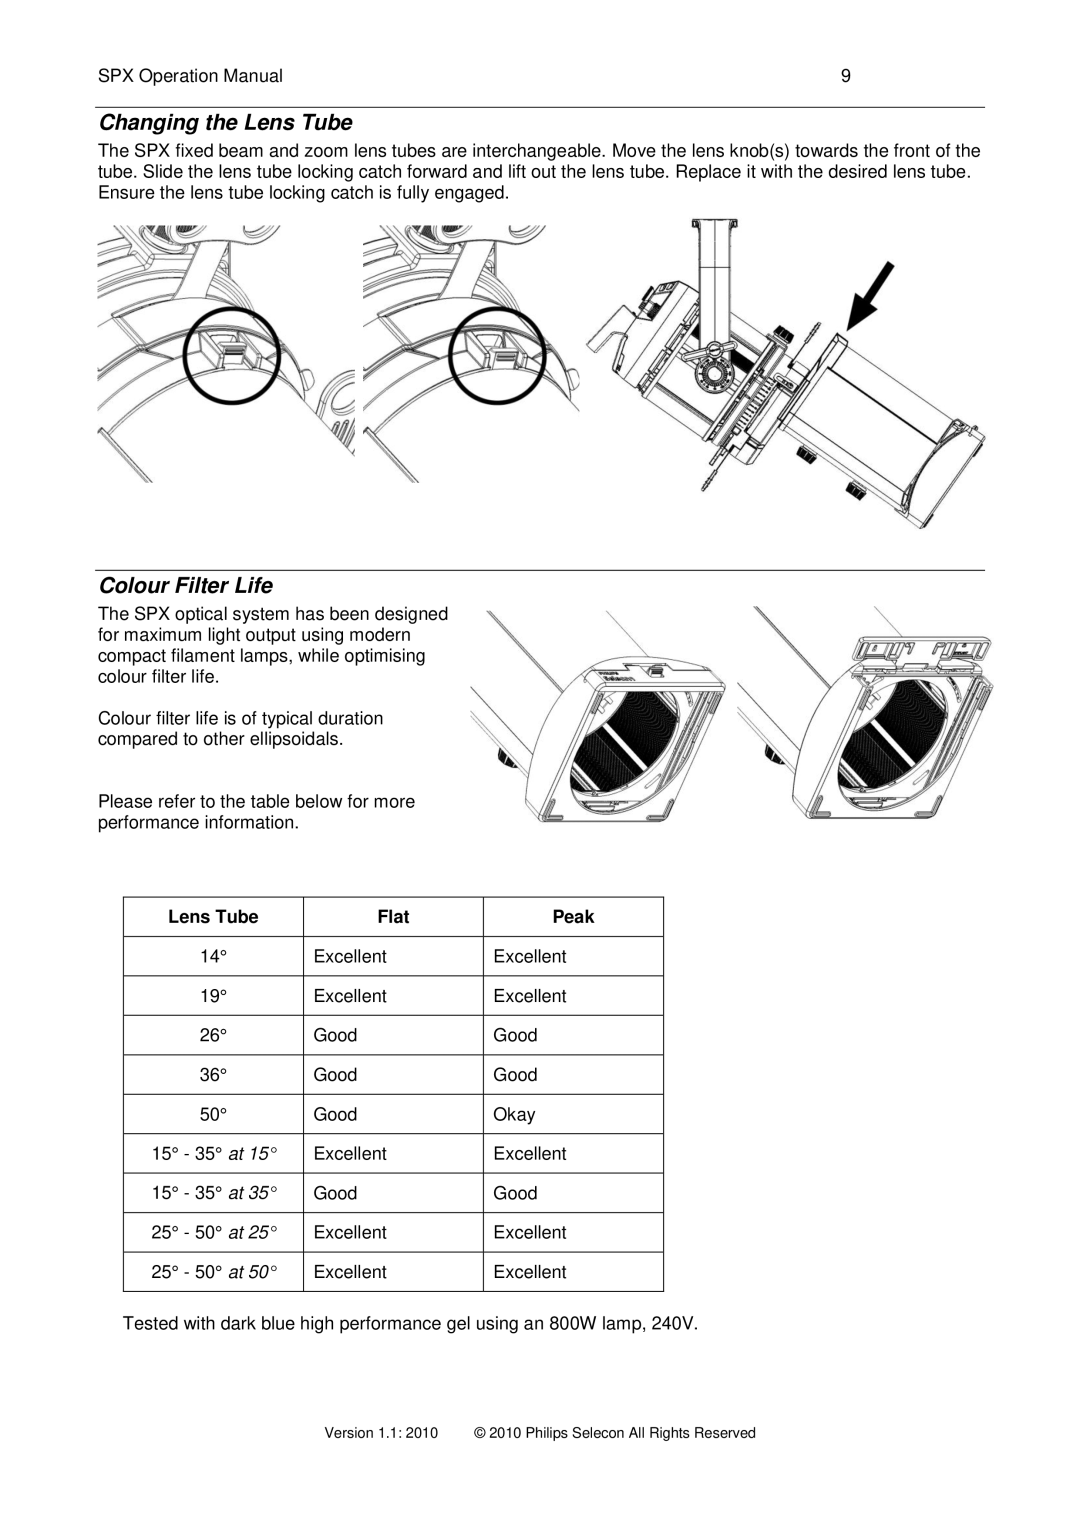
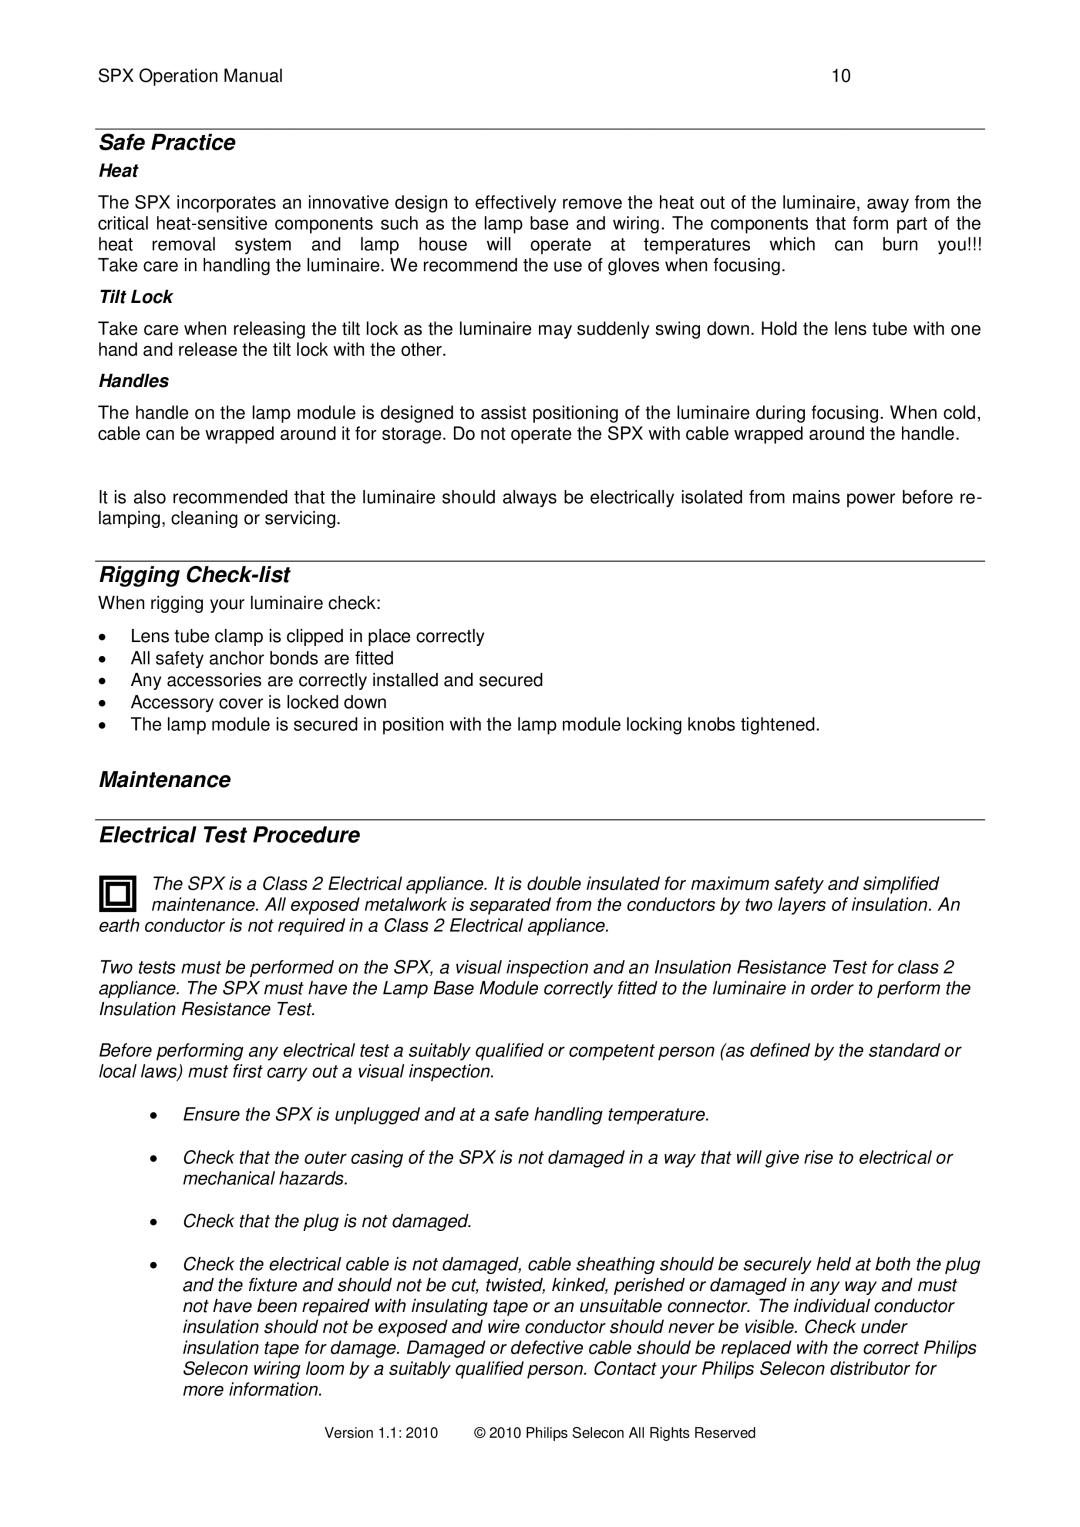
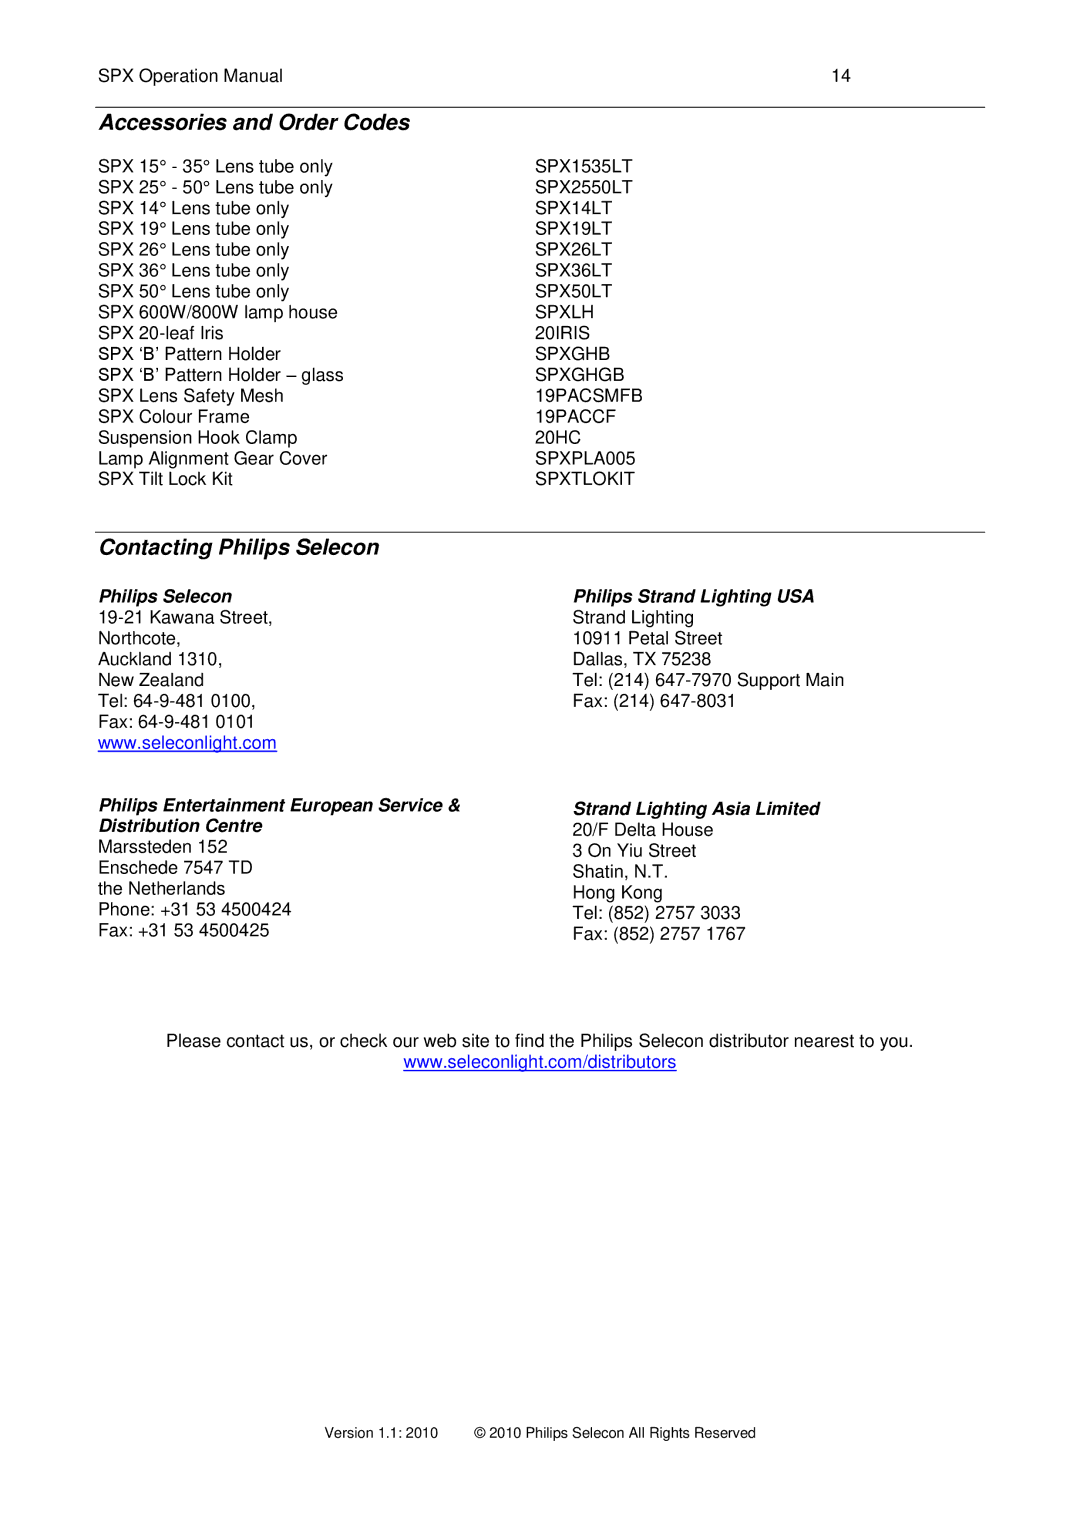
The lens can be moved to adjust the beam to in focus (sharp), or out of focus (soft). A focus direction label is on the bottom of the lens tube.
To set a soft | focus, move the lens forward of the | hard focus |
position. |
|
|
NB: If you move it too far, the beam will become unusable and may cause the colour filter to fail prematurely.
Shutter System
The shutters are used to mask a portion of the beam, shaping it, masking light off scenery, curtains, etc. Note that on the SPX range of luminaires, individual shutters are not removable.
NOTE: Do not run the luminaire with the shutters fully closed, as this may cause the luminaire to
