Philips LX3600 warranty Tuner Operations, Tuning to radio stations, Presetting radio stations

Page 38

Tuner Operations

E n g l i s h

IMPORTANT!

Make sure the FM and AM antennas are connected.

Tuning to radio stations

1Press TUNER on the remote (or press SOURCE control on front panel) to select “FM” or “AM”.

2Press 3 / 4 briefly on the remote.

"SEARCH" appears.

The next radio station will tune automatically.

3To tune a weak station, press S / T briefly and repeatedly until an optimal reception is found.

Presetting radio stations

You can store up to 20 FM and 10 AM preset radio stations in the memory.

Helpful Hints:

The system will exit presetting mode if no button is pressed within 20 seconds.

If no stereo frequency is detected during Plug and Play, "CHECK ANTENNA" appears.

Using the Plug and Play

Plug and Play allows you to store all available radio stations automatically.

PLAY/PAUSE

AUTO INSTALL PRESS PLAY

VOLUME


OPEN/CLOSE

PLAY/PAUSE

STOP

IR

SOURCE

PREV

NEXT

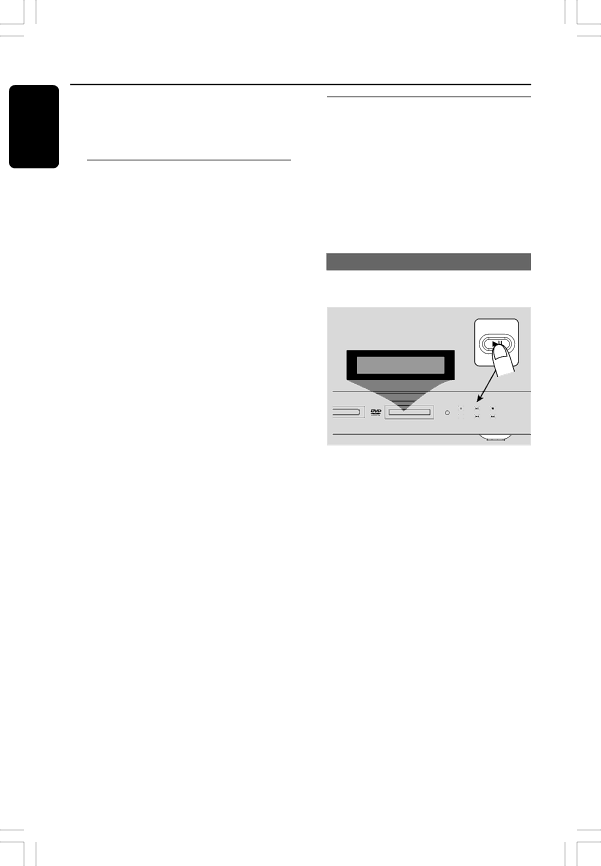
1 For first time setup, on the DVD system press SOURCE or TUNER to select TUNER mode,

"AUTO INSTALL PRESS PLAY" appears.

2 Press ÉÅ on the front panel to start installation.

"INSTALL TUNER" appears.

All previously stored radio stations will be replaced.

Once completed, the last tuned radio station will play.

FM followed by AM bands will be stored.

38

001-046_LX36_17_Eng

38

3139 115 22851

29/08/2003, 2:45 PM

Image 38
Contents LX3600 Model Registration Warranty VerificationOwner Confirmation For Customer UseHurry Dear Philips product ownerUse only with the cart, stand Class II equipment symbolOnly use attachments/accessories EL 6475-E004 02/8English FrançaisEnvironmental information Index EspañolContents DVD Menu Options Sound and Volume ControlsTroubleshooting Tuner OperationsGeneral Information Care and safety informationSupplied accessories Set up the speakers Connecting speakers Subwoofer ConnectionsPlacing the speakers and subwoofer Using Component Video jacks Pr Pb Y Connecting TVUsing Composite Video jack Cvbs Using S-Video jack Using an accessory RF modulatorConnecting FM/AM Antennas Power cord On the DVD system, press Source to select Tuner modeConnections Optional Connecting a VCRUsing the VCR for recording DVD playback Viewing and listening to the playbackMain unit and remote control Functional OverviewControl buttons available on the remote only Getting Started Inserting batteries into the remote controlSetting the TV Corresponds to your TV Setting the speakers’ channelsSelecting the color system that Setting the OSD Language Setting the Audio, Subtitle and Disc menu languageLanguage Code Playing discs Disc OperationsPlayable discs Your DVD home cinema system will playUsing the Disc Menu Auto Eco Power standby modeZoom Repeat play modeRepeat A-B DVD/VCD/CD Special DVD Features Preview Function Special VCD & Svcd FeaturesPlayback Control PBC General Operation Setting the TVYou have to turn on your TV and set to Playback selectionSpecial MP3/JPEG features Basic Operations General Setup menuDVD Menu Options Program not for Picture CD/MP3Quit the program playback Program cont’dPlayback tracks Screen SaverAnalog Output Audio Setup MenuSpeaker Setup TV Display cont’d Video Setup MenuTV Display 169 Letter Box Pan ScanTo deactivate Progressive manually Closed CaptionProgressive Brightness Password Setup MenuPicture Setting Preference Setup Menu ParentalDefault Setup MP3/JPEG NavigatorUsing the Plug and Play Tuning to radio stationsPresetting radio stations Tuner OperationsDeleting a preset radio station Selecting a preset radio stationAutomatic presetting Manual presetting Sound and Volume Controls Volume controlUsing the remote to operate your ‘Philips’ television Setting the Sleep timerSwitching on/off Other FunctionsTroubleshooting ProblemCheck the disc type, color system and region code. see Specifications Amplifier SectionGlossary Limited Warranty