8. Starting the projector
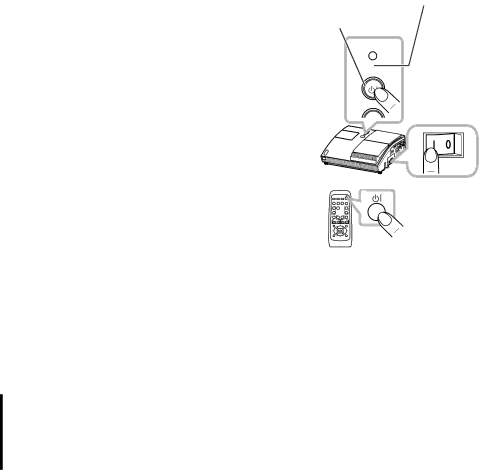
Turn on the projector and the connected devices. Turn on the projector ahead of other connected devices, unless mentioned in the manuals.
For this projector, follow the procedure below.
1. | Press the side marked “ I ” of the power switch, | POWER indicator | |
STANDBY/ON button | |||
| as the |
The POWER indicator lights up in orange.
NOTE
•For a couple of seconds after the power indicator lights up, wait to use the control buttons (on the projector and remote control). The buttons may not work soon.
2.Confirm that there is nothing that the lens door hits while opening.
Then, press the STANDBY/ON button (on the projector or remote control).
The lens door opens, the projection lamp lights up, and the POWER indicator begins to blink green.
When the projector starts completely, the indicator will turn steady green.
NOTE
![]() LAMP
LAMP
![]() TEMP
TEMP
![]() POWER
POWER
STANDBY/ON
INPUT
Power switch
STANDBY/ON button
•This projector has the DIRECT POWER ON function. For details, see the Operating Guide in the CD.
•Install the projector in the way specified in this manual. Otherwise the projection lamp may not light.
![]() WARNING
WARNING
■Never look into the projection lens or mirror while the projection lamp lights, since the projection lamp ray may cause a trouble on your eyes.
![]() CAUTION
CAUTION
■Be careful not to pinch your finger with the lens door, as it may cause an injury.
8