
 SuperLoader™ 3A Series Quick Start Guide
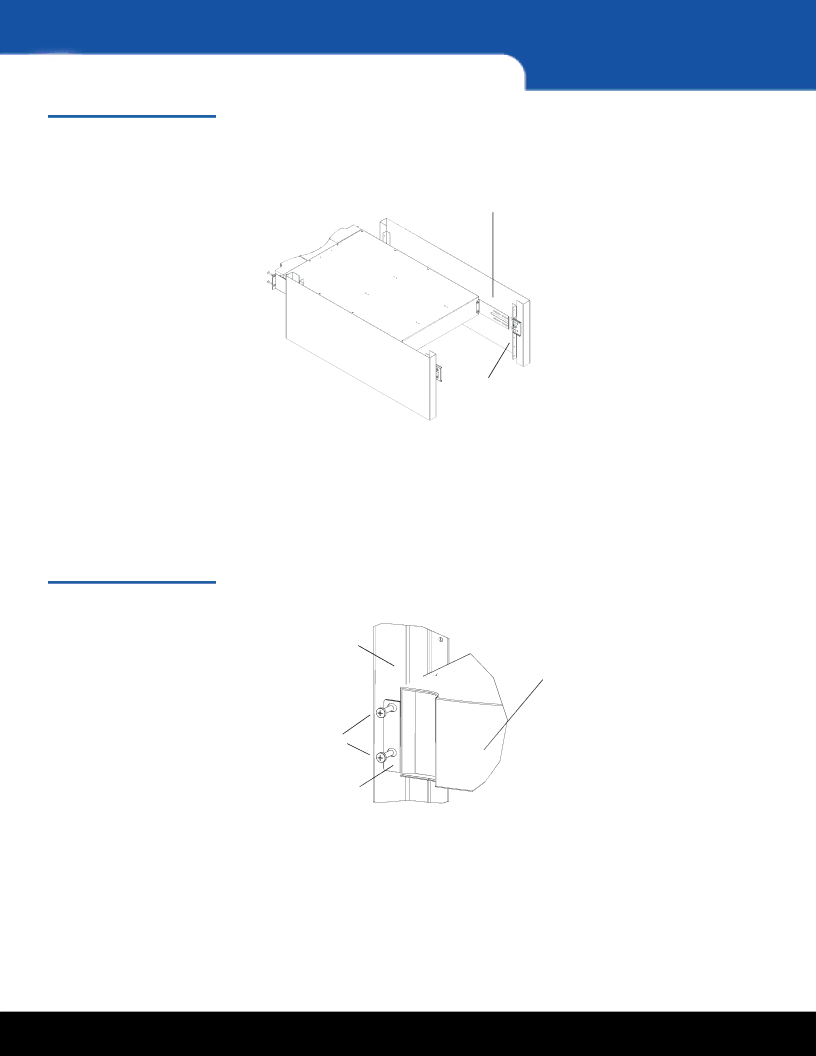
Figure 5 Sliding Autoloader into Rack
Autoloader bracket
Support bracket
5While the other installer holds the front end of the autoloader, secure the front end of the autoloader to the rack using four rack screws (two per tab) as shown in figure 6. Tighten the screws just enough to secure the autoloader to the front rails.
Figure 6 Front Alignment
Front rail
Autoloader ![]()
![]() (front)
(front)
Rack screws
Tab (one per side)
6Install four screws (two per side) to secure the support brackets to the autoloader brackets (see figure 7).
10 | Rack Mounting the Autoloader |