Contents
Users Guide
Product Registration
Important Information
Table of Contents
Types of discs your DVD player can play
Connections and Setup
Position cables properly to avoid audio interference
Connection Pictures
Coaxial
Components Cables Needed
Audio/video
To play a videotape
To watch one program while you record another
Go to
Connection Digital Media Recorder + TV + VCR optional
Recorded to the Digital Media Recorder
To play a disc or a show you’ve
Connect the VCR to the TV optional
Connection Digital Media Recorder + TV + Cable Box
Than the one pictured here
To watch TV satellite programming
Connect the satellite receiver to the TV
Connection Digital Media Recorder + TV + Satellite Receiver
R right
Please Read This Before Using the Digital Audio Jacks
Digital Media Recorder’s Audio Jacks
Output Audio L left
Link cable
Turn on the TV and Digital Media Recorder
Setup and Connections
Install Batteries in the Remote
Complete the Interactive Setup
Connection List
Guide Plus+ setup
Channel List
3d. Confirming Your Settings
Satellite Receiver
Channel Search
Turn on the Digital Media Recorder to Watch TV
What to Expect
Guide Plus+ Program Guide
Channel Number
How to find your TV’s Video Input Channel
Button/Switch On the TV
Button on TV remote
Chapter
Explanation of Buttons
Remote Control
Find out if the remote can operate your TV
Remote Control
Programming the Remote to Operate your TV
1003, 1004, 1006, 1019, 1020
Television Codes
VCR Codes
Remote Control
Satellite
Cable Box
Audio Receivers RCA and Dimensia
Using the Recorder’s Features
Using the Recorder’s Features
Recording from the Guide Plus+ on-screen programming guide
Setting up timer recordings to record programs automatically
Renaming picture and/or music files
Copying music or pictures to the Digital Media Recorder
Copying from a disc to the Recorder’s hard disk drive
Copying music or pictures from a compact flash card
Playing programs you’ve recorded
About Guide Plus+ System Program Guide
Using the Guide Plus+ System
Guide Plus+ System Menu Bar
Locking the Video Window
Listings Guide
Sort
Action buttons
Promotions and Advertising
Setup
News
Messages
Playing Discs
Chapter
Regional Coding
Using Different Menus
To Load and Play Discs
Quick Fast Forward and Quick Reverse
Playing Discs
Search Options
Playback options
Time display Chapter Audio Angle Title Subtitles Repeat
Using the On-Screen Info Display
Time display Track
Selecting a Chapter
Playing Discs DVDs
Time Display
Selecting a Title on DVDs or a Track on CDs
Changing the Audio Language
Using the Repeat Feature
Repeating Titles, Chapters, or Tracks
AB Repeat
Program
Play Mode Feature Audio CDs
Changing the Camera Angle
Random
Playback Control PBC
Playing Discs Audio CDs
Playing Video CDs VCDs
IntroScan
Playing MP3 Discs
Playing Discs MP3s
For more help and recommendations about MP3 files, go to
Saving Jpeg files to the hard disk drive
Playing Discs Jpeg files
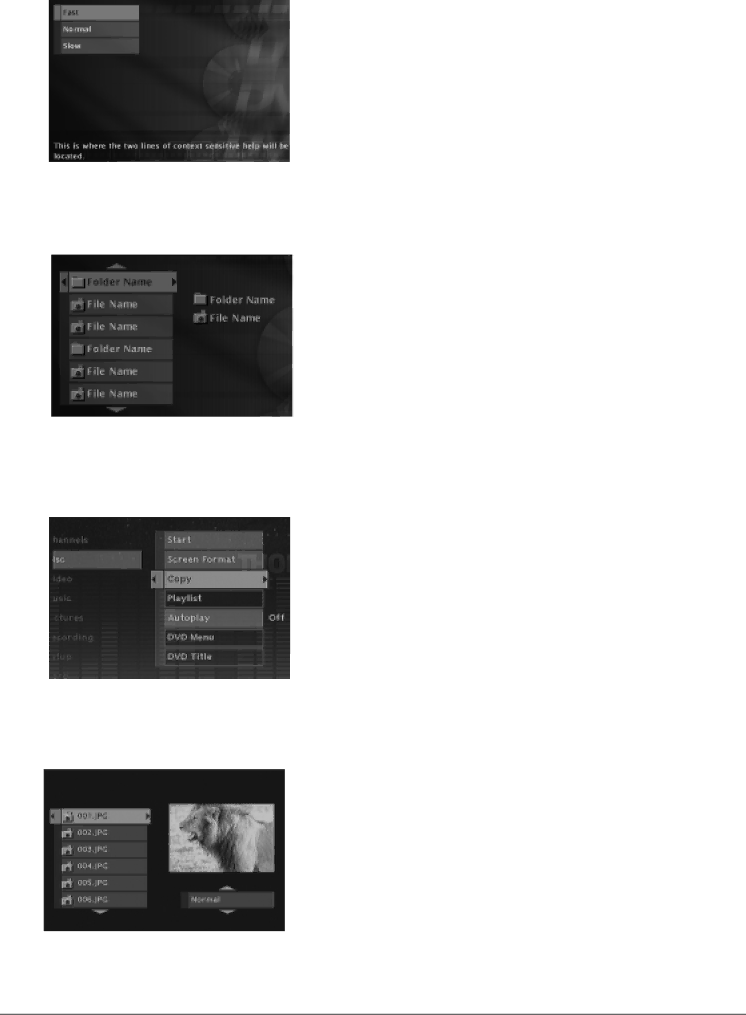
Viewing Jpeg files
Slide Show
Menu System
Main Menu
How to navigate through on-screen menus
Menu System
Overview of the Digital Media Recorder’s Menu System
Disc Menu
Channels
Recordings
Video
Music
Pictures
Setup
Memory Card
Password
Using Parental Controls
Lock and Unlock
To set Ratings
Rating Limits
Unrated Titles
Additional Information
Additional Information
Troubleshooting
Play doesn’t begin
No sound or distorted sound
Can’t advance through a movie
Picture is distorted and/or fuzzy
Can’t get to Digital Media Recorder’s main menu
Lost the remote control
Remote won’t work
Can’t program the remote
Formation of Condensation
Maintenance of Cabinet
Cleaning Discs
Handling Cautions
Explanation of Jacks from left to right
Back of the Digital Media Recorder
Underneath the door
Front Panel Controls
Audio/Video Jacks and Cables RCA-type
Explanation of Input Jacks and Cables
Component Video Y, Pb, Pr Jacks and Cables
Video Jacks and Cables
For how long after your purchase
Limited Warranty
What your warranty covers
How you get service
If you purchased your product outside the United States
What your warranty does not cover
Limitation of Warranty
How state law relates to warranty
Memory Card Readers* Not Pictured
Accessory Information
This page intentionally left blank
This page intentionally left blank
Thomson multimedia Inc
Thomson multimedia Inc North Meridian Street Indianapolis,
Trademarks Registered Marcas Registradas
Tocom 1590938A Rev