8.2.4. Time Format
(1)Select “Time Format” using the [◀/▶] or [▲ /▼ ] button and press [▷] button..
(2)Two time formats are available; ‘DD/MM/YYYY,’ ‘MM/DD/YYYY’, ‘YYYY/MM/DD’; Select a value using [▲ /▼ ] buttons and press the [EXIT] button when it is finished. (Factory default is set as ‘MM/DD/YYYY’)
8.2.5. Date
(1)Select “Date” using the [◀/▶] or the [▲ /▼ ] buttons and press [▷]. Select ‘MM’, ‘DD’, ‘YYYY’ using the [◀/▶] buttons.
(2)Press the [EXIT] button when setting is finished.
8.2.6. Time
(1)Select “Time” using the[◀/▶] or [▲ /▼ ] buttons and press [▷].
(2)Select ‘HH’, ‘MM’using the [◀/▶] buttons, and select the value using the [▲ /▼ ] button.
(3)Press the [EXIT] button when setting is finished.
8.2.7. Apply Date/Time
Most setting values are applied automatically, when exiting from the related menu page. But “Date”
&“Time” setting are not applied automatically because they may critically affect the file system of the recorded HDD. To apply Date/ Time settings confirm with [Apply Date/ Time] buttons.
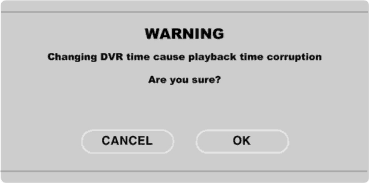
(1)Select “Apply Date/time” using the [◀/▶] or [▲ /▼ ] buttongs and press [▷]. A warning message will be appeared will be appeared as below;
(2)Select “OK” using [◀/▶] or [▲ /▼ ] buttons and press [ENTER] button. To cancel, press the [EXIT] button.
22