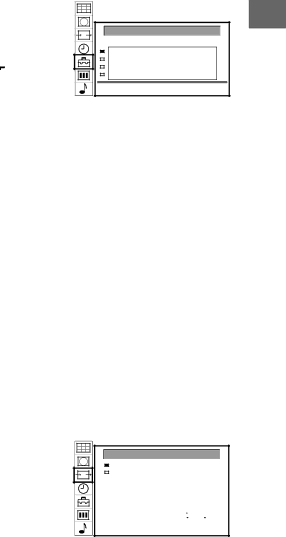
Using AV Preset
Using this function you can preset the desired input source (e.g.
![]()
![]()
![]()
![]() 1, RGB signal) to the respective AV input (AV 1
1, RGB signal) to the respective AV input (AV 1 ![]()
![]()
![]()
![]() ). In this way, a connected VCR will automatically switch to the RGB signal.
). In this way, a connected VCR will automatically switch to the RGB signal.
1Press MENU.
2Push the joystick to blue or green to select the symbol ![]() on the menu screen. Push to yellow to confirm.
on the menu screen. Push to yellow to confirm.
3Push to blue or green to select “Installation”. Push to yellow. Push to blue or green to select “AV Preset”. Push to yellow to confirm. The AV PRESET menu appears.
4Push to blue or green to select the desired AV input. Push to yellow to confirm.
5Push to blue or green to select the desired source. Push to yellow to confirm. For the respective AV inputs you have the following choice:
AV1: RGB or AV | AV3: YC3 or AV |
AV2: YC2 or AV | AV4: YC4 or AV |
6To label a source: Push to blue or green to select the first character (letter or number,
7For automatic format and PAL plus selection (Auto 16:9): Push to blue or green to select “on” for the AV input.
8Press the joystick to store.
9Repeat steps 4 to 8 for other AV inputs.
Checking and selecting the input and output sources using the menu
You can display the menu to see which input sources are selected for the TV screen, as well as which output source is selected. You can also select them on the menu display.
1Press MENU.
2Push the joystick to blue or green to select the symbol ![]()
![]() on the menu screen. Push to yellow to confirm.
on the menu screen. Push to yellow to confirm.
The VIDEO CONNECTION menu appears.
You can see which source is selected for the TV and for the output. If you want to select the input and output on this menu, go on to the next step.
3Push to blue or green to select “TV screen” (input source for TV- screen), or “Output” (output source for :2/q2).
Push to yellow to confirm.
4Push to blue or green to select the desired source. Press joystick to store.
For details about each source, see the table on page 24.
5Repeat steps 3 to 4 to select the source for other inputs or outputs.
6Press MENU to restore the normal TV picture.
GB
AV PRESET
AV1 AV AV1
AV2 YC YC2
AV3 AV AV3
AV4 AV AV4
VIDEO CONNECTION
| TV screen | [ TV | - - - - - ] | |||
| Output | [ TV | - - - - - ] | |||
|
|
|
|
|
|
|
| TV |
|
|
|
|
|
|
|
| TV | |||
|
|
|
|
|
|
|
|
|
|
|
|
|
|
|
|
|
|
|
|
|
25