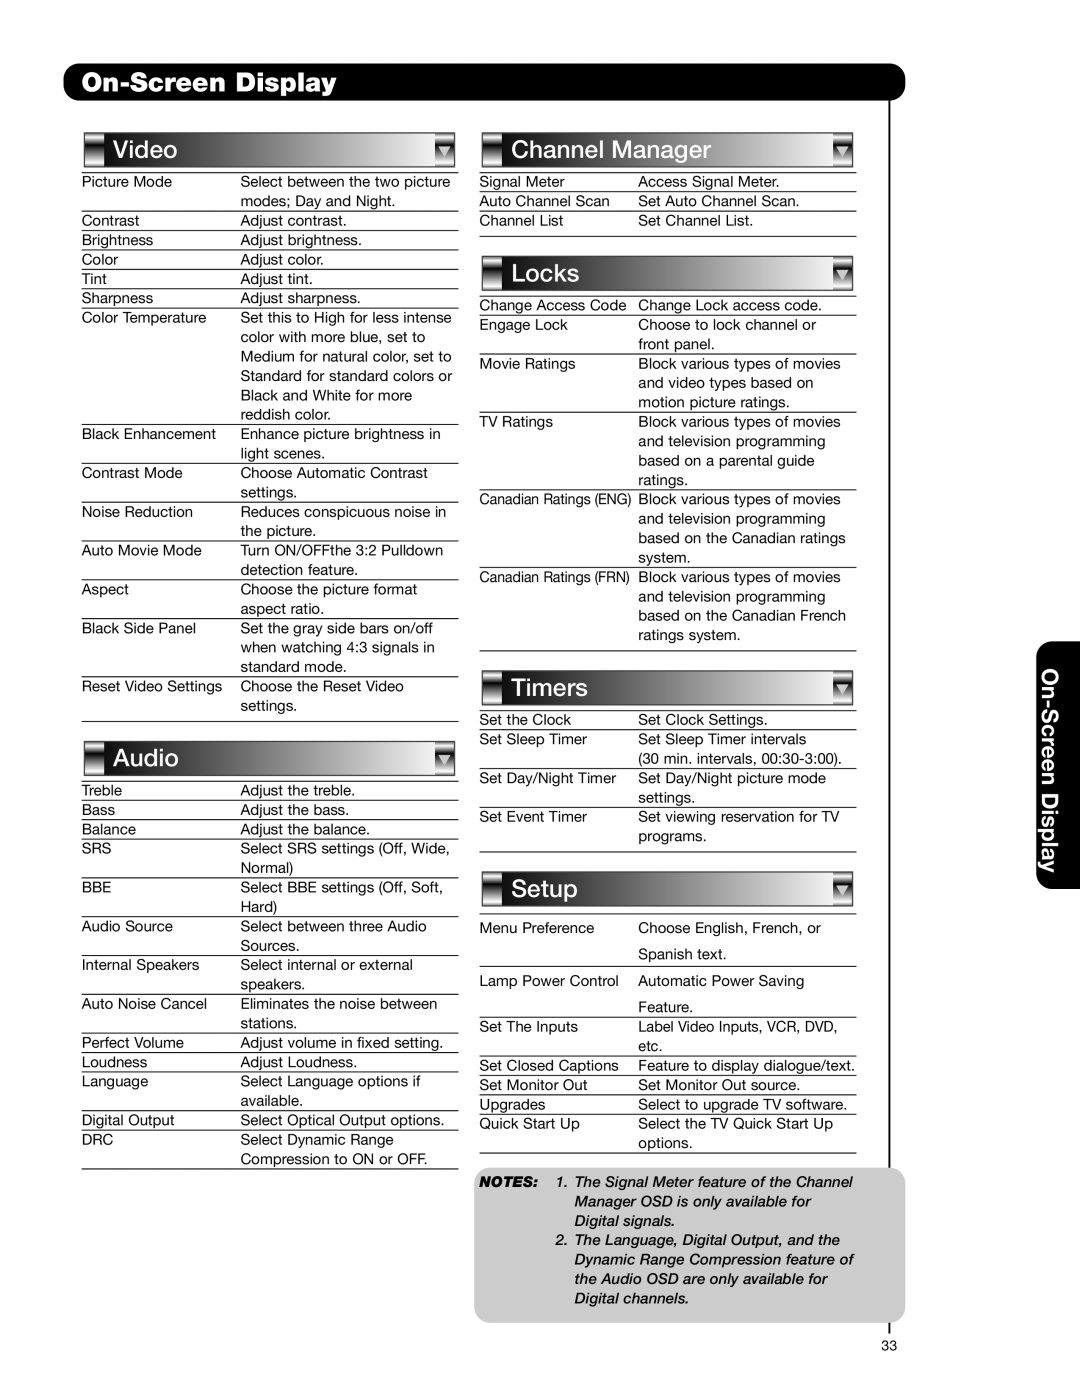
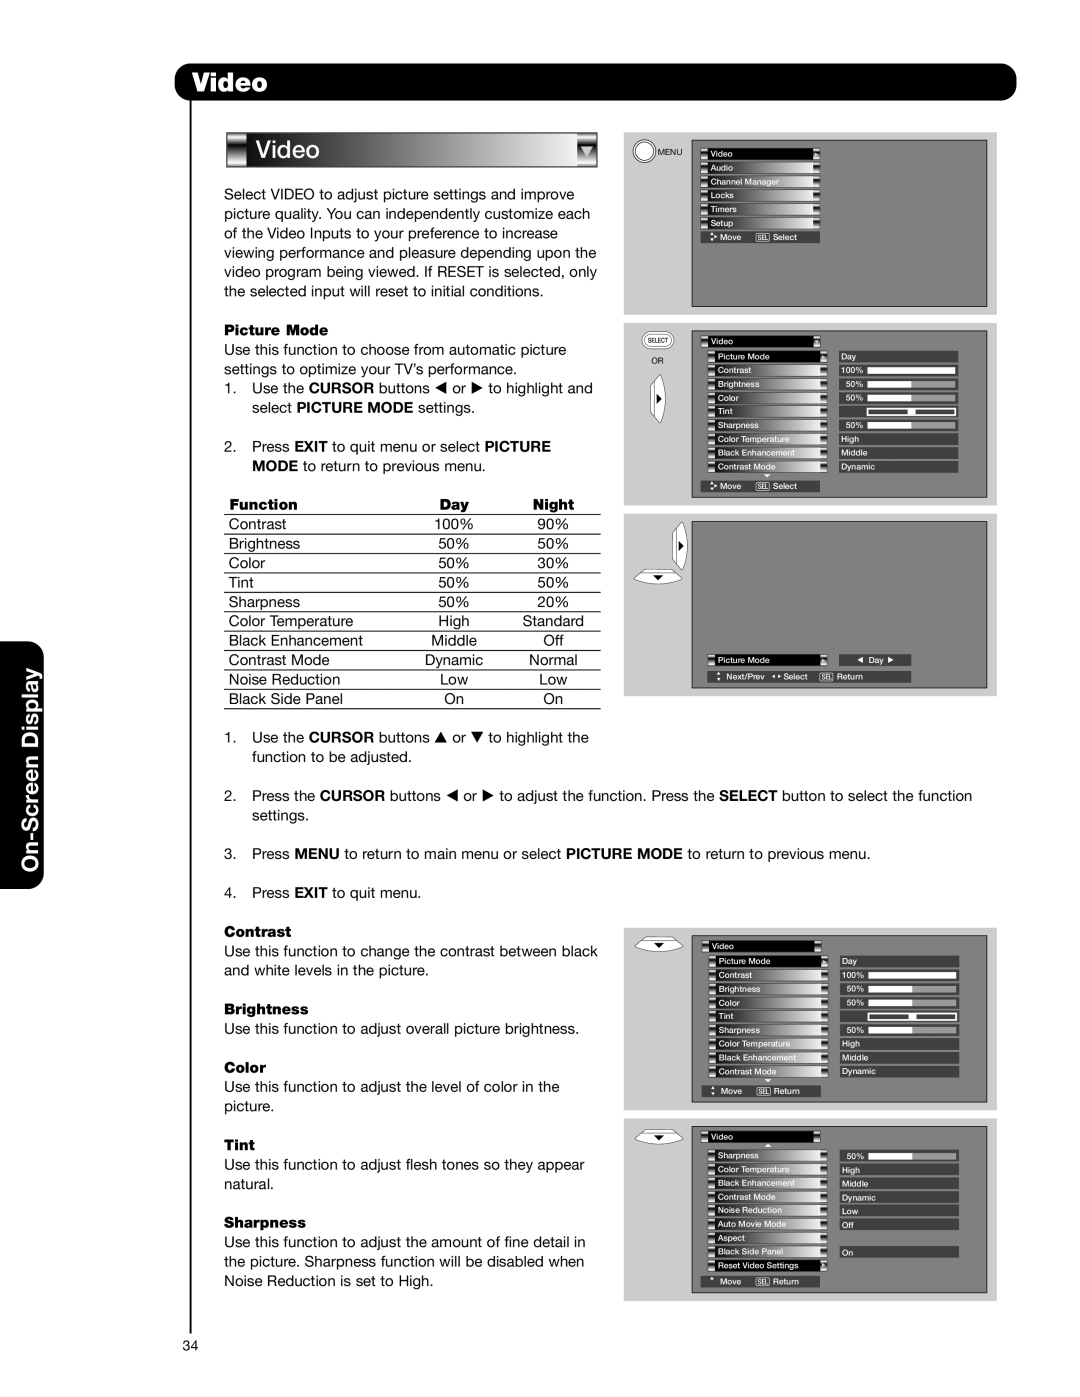
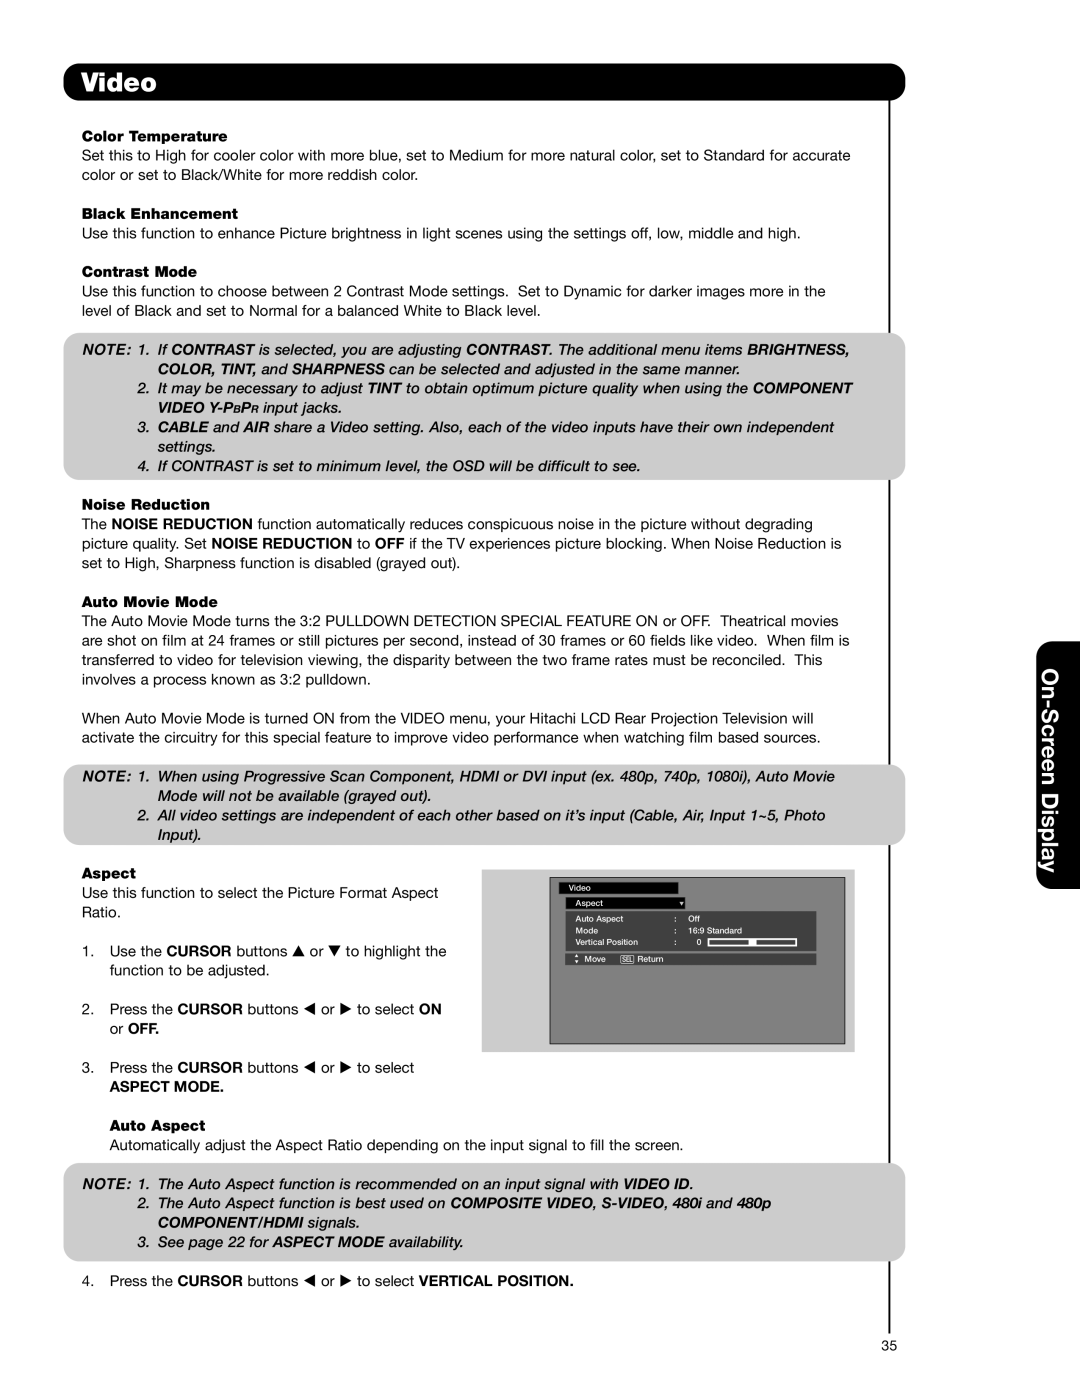
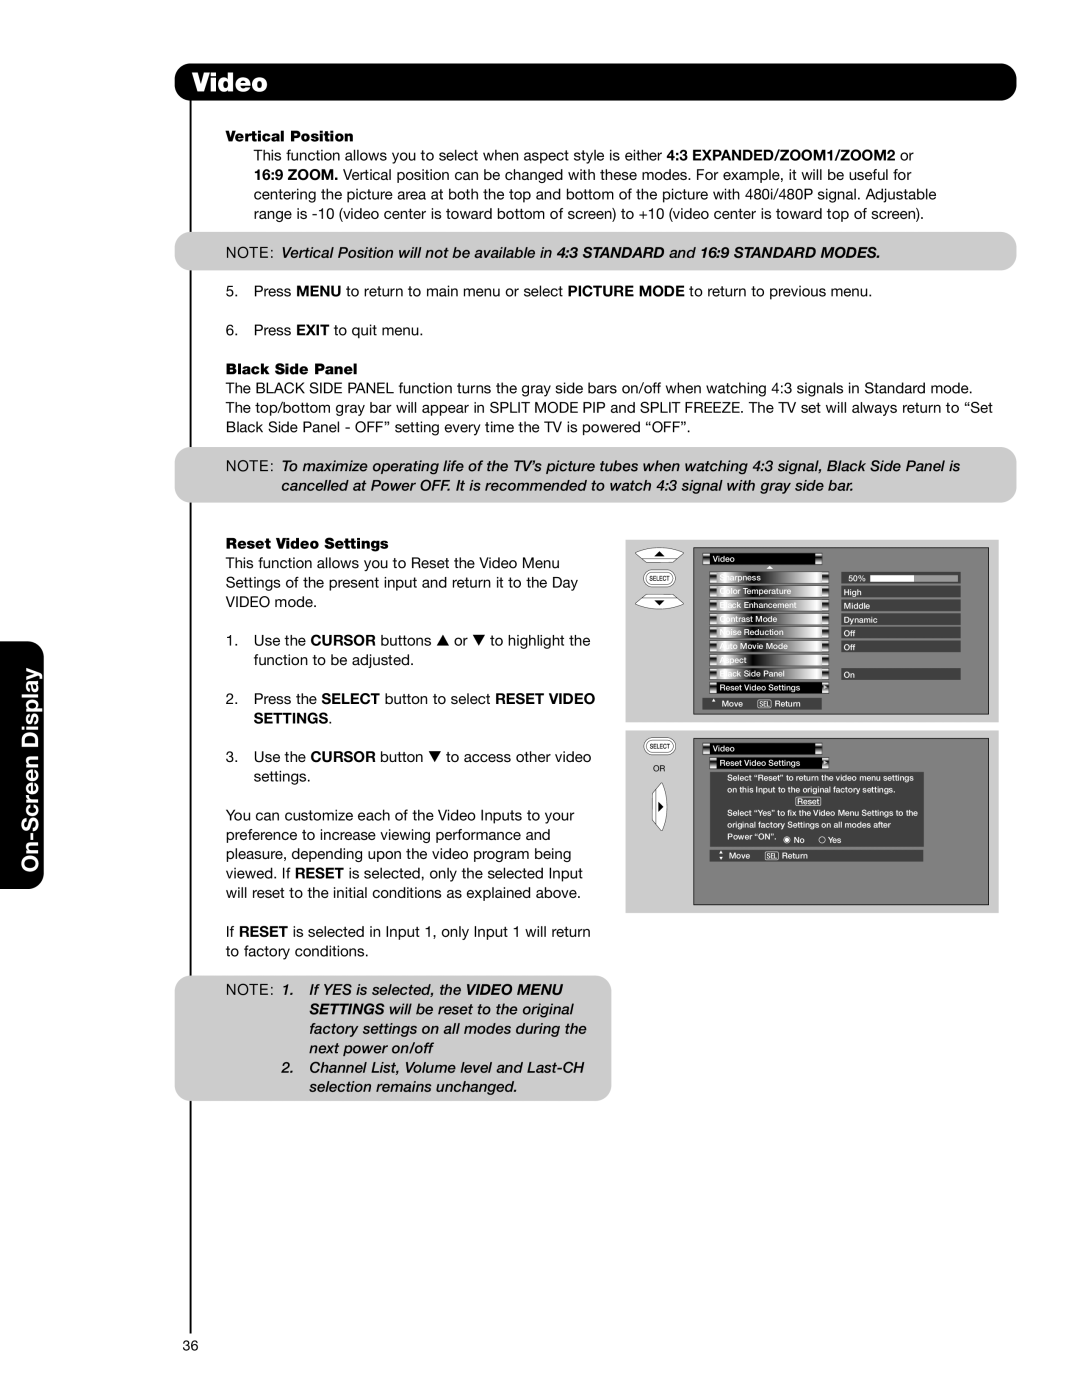
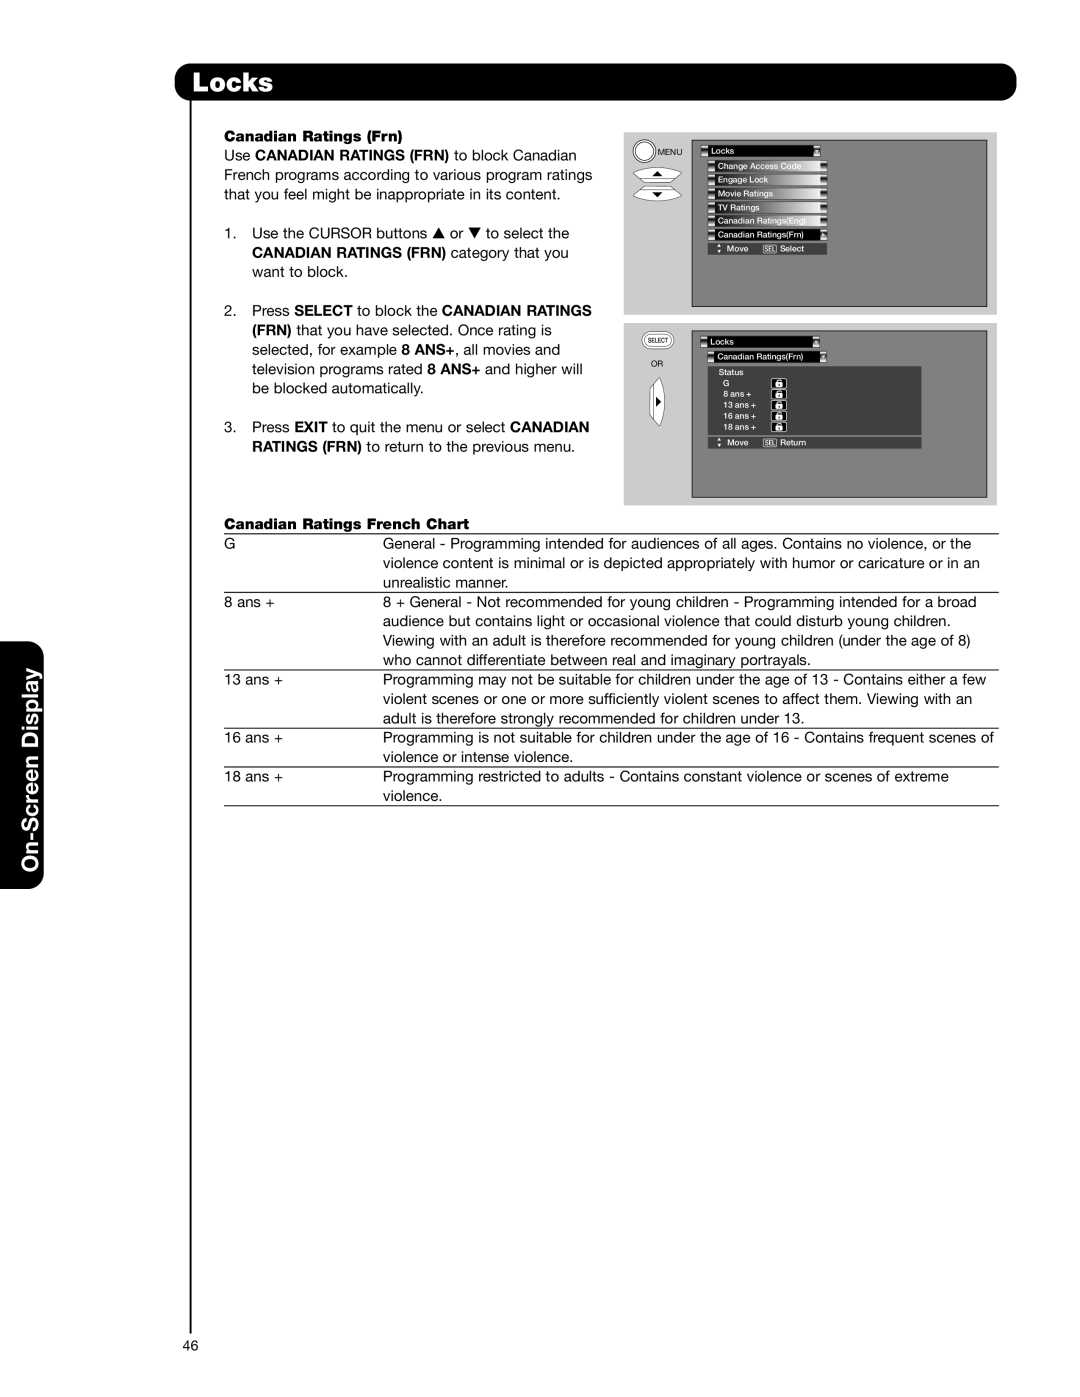
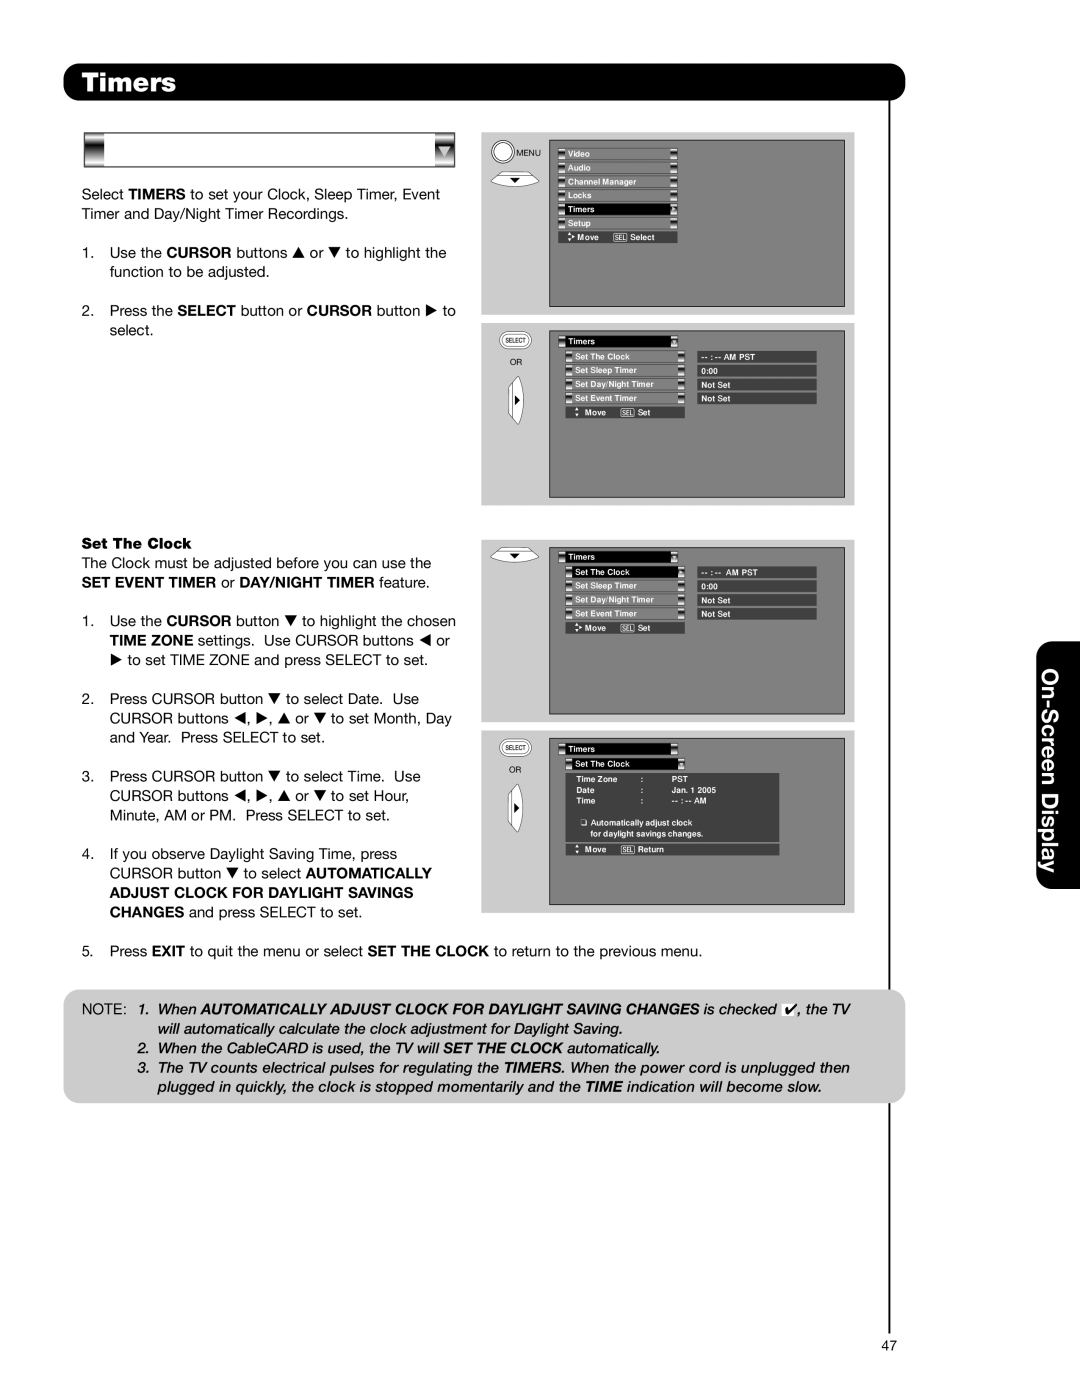
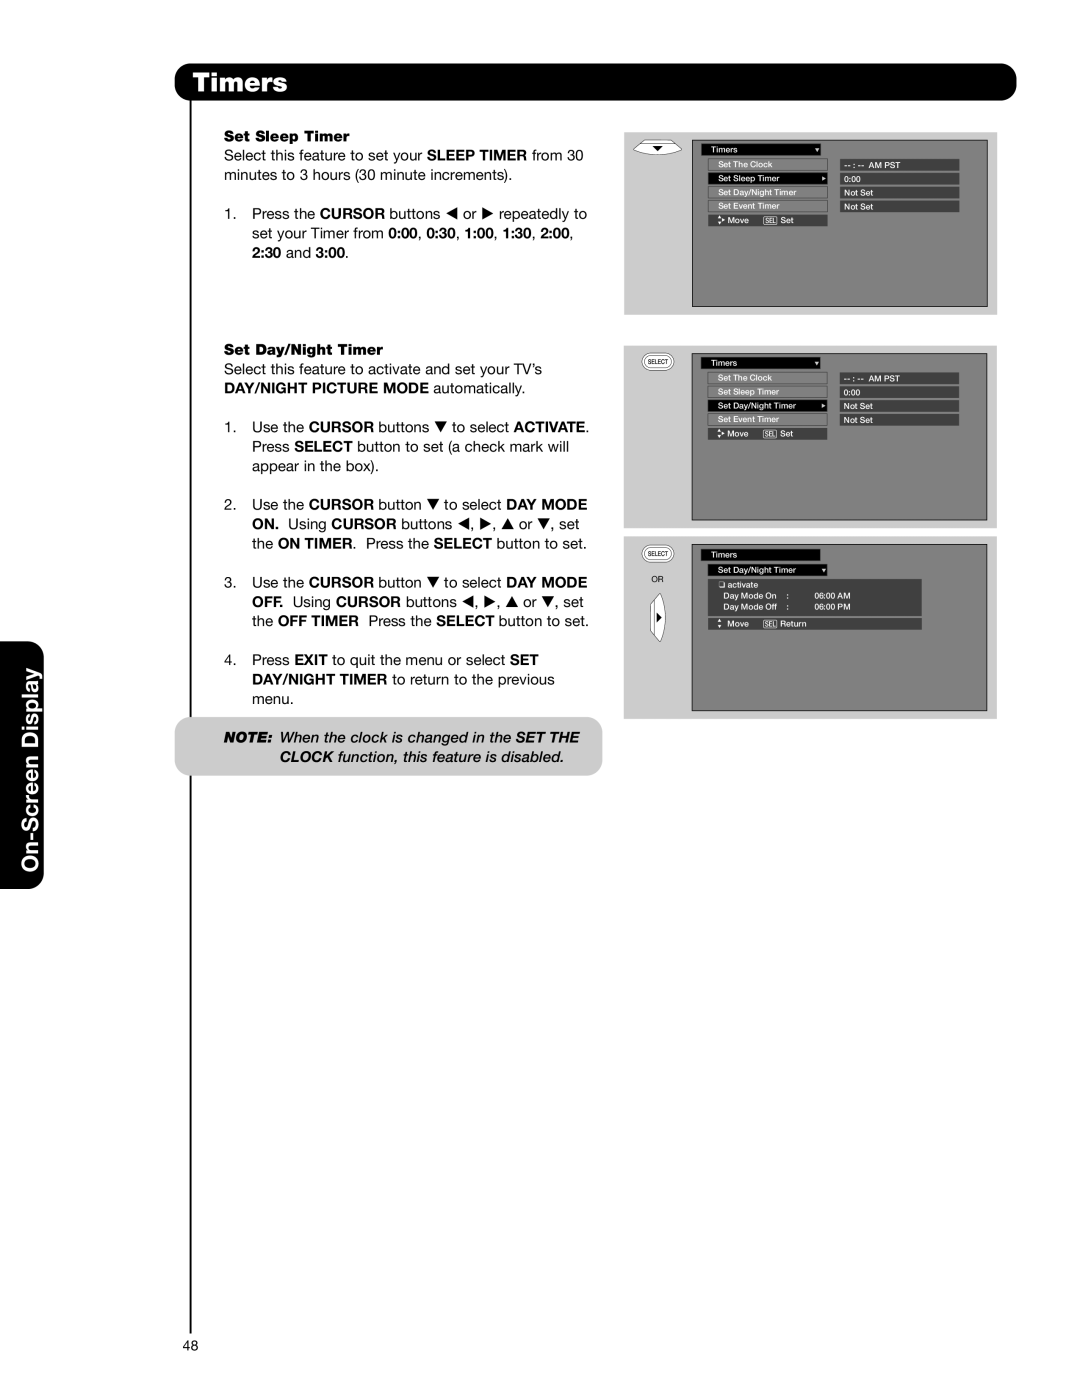
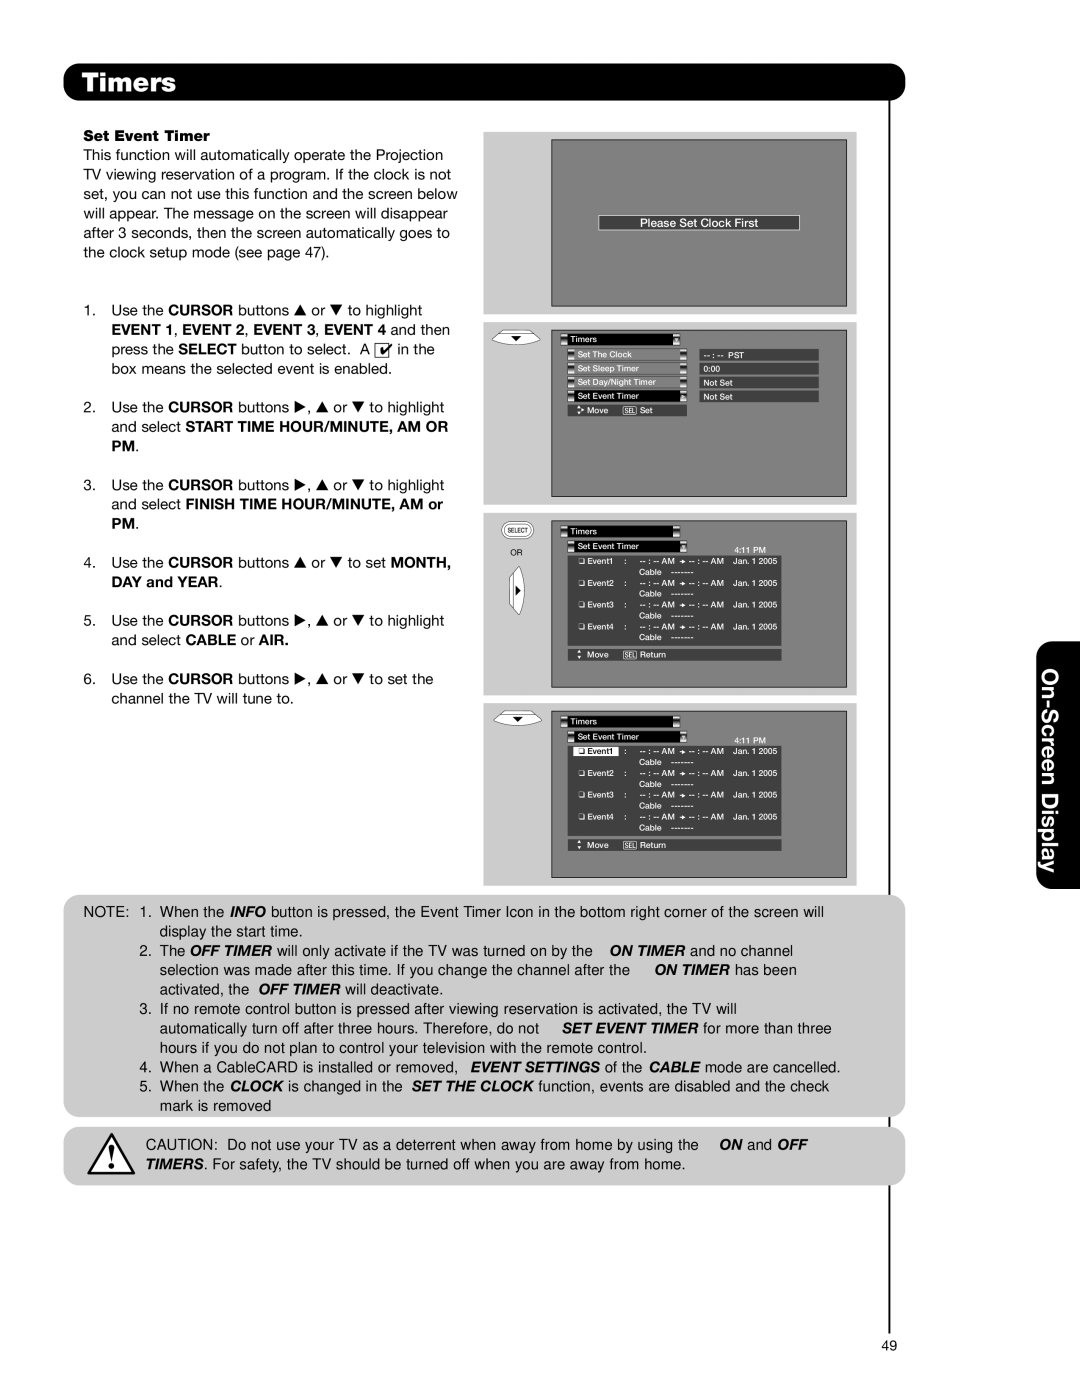
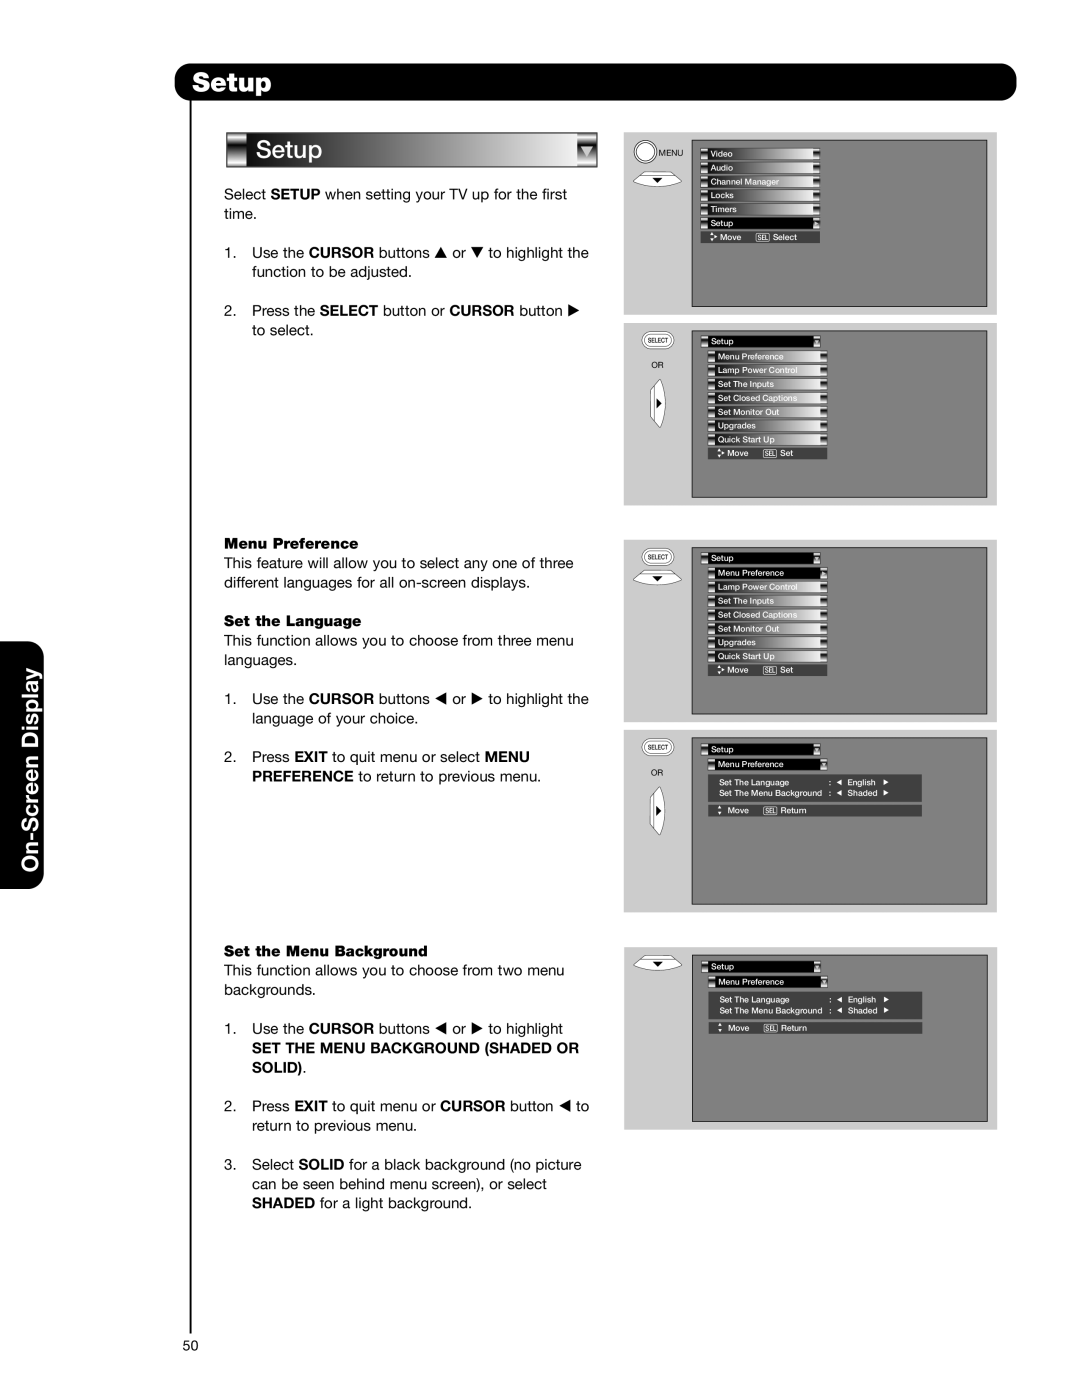
Hitachi 50V720 important safety instructions Main Freeze, Split Freeze, Strobe Freeze

Page 27

Picture-in-Picture (PIP)

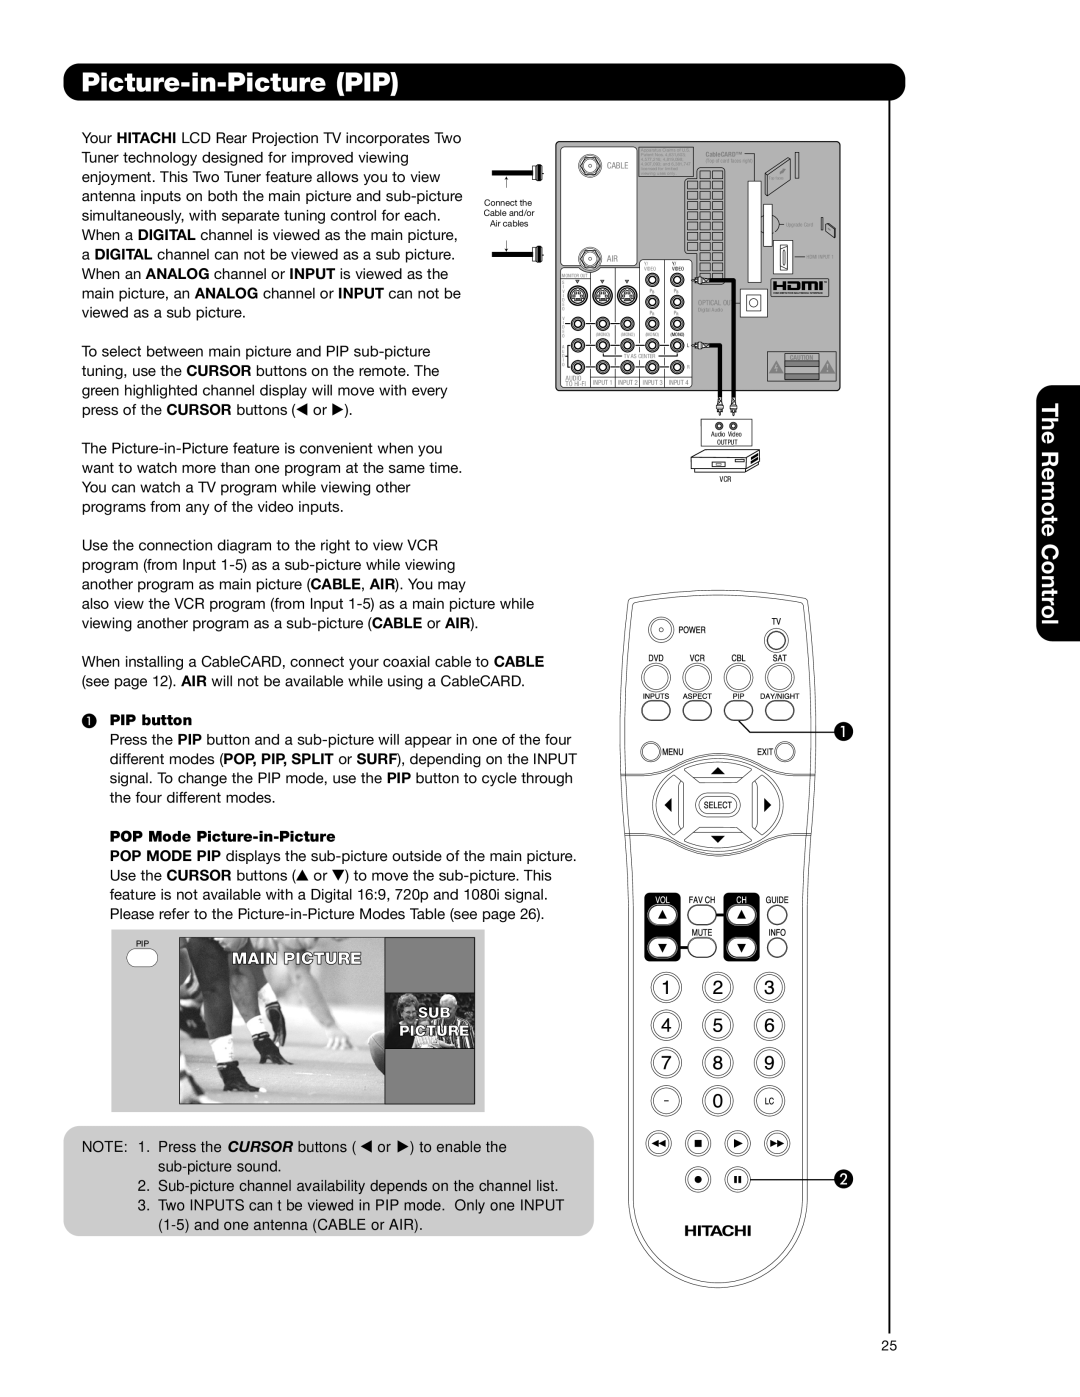
PAUSE button

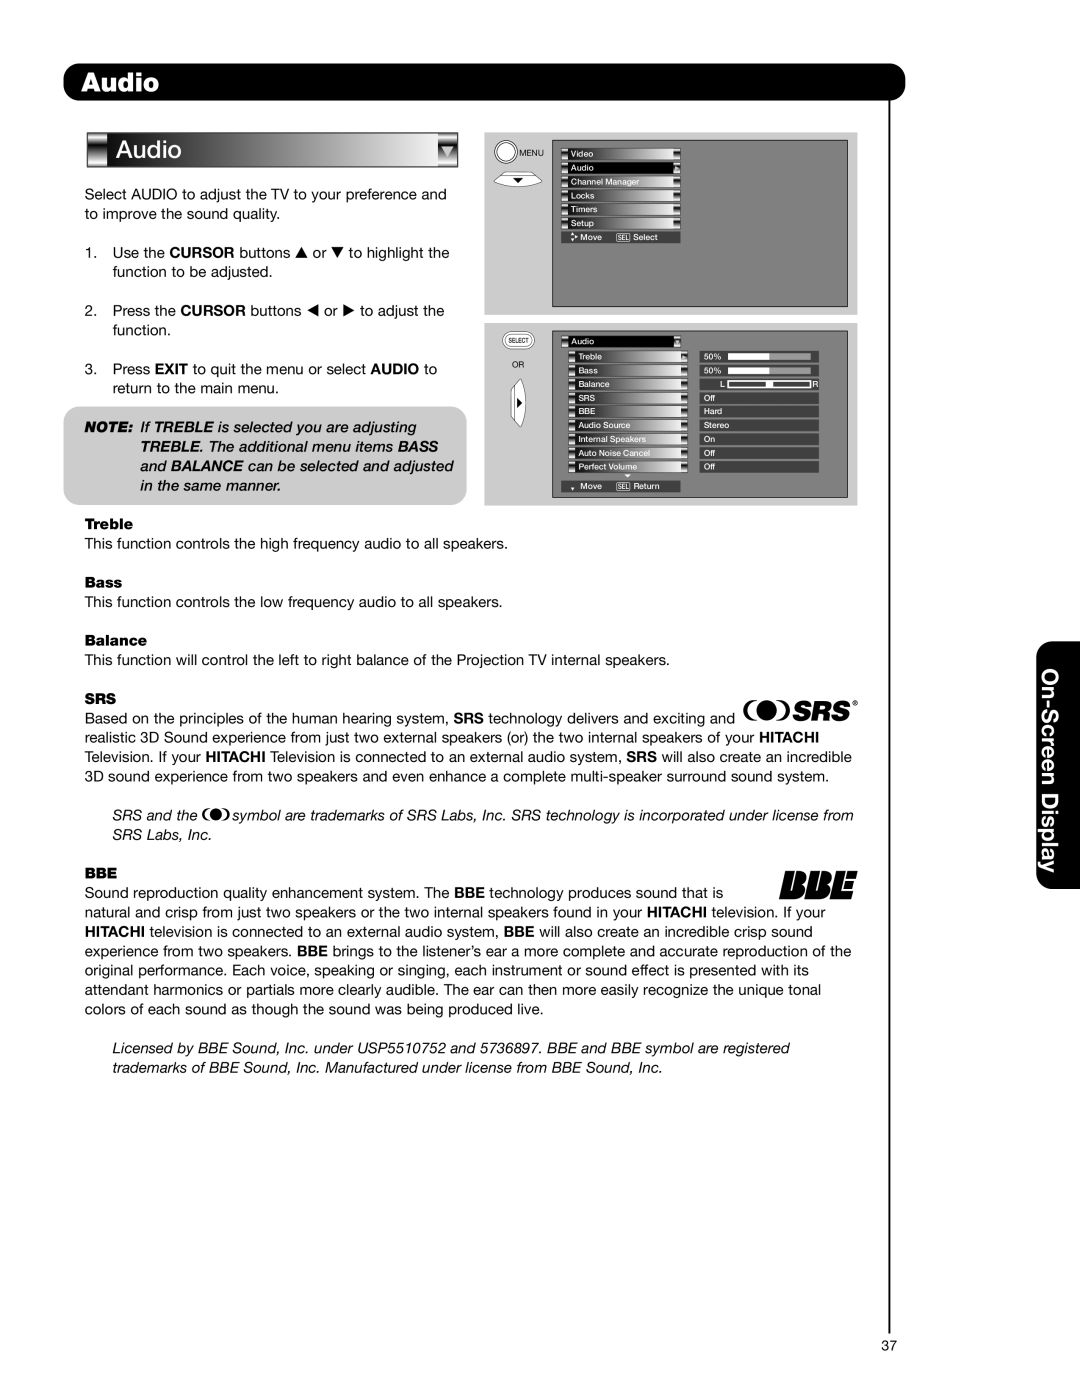
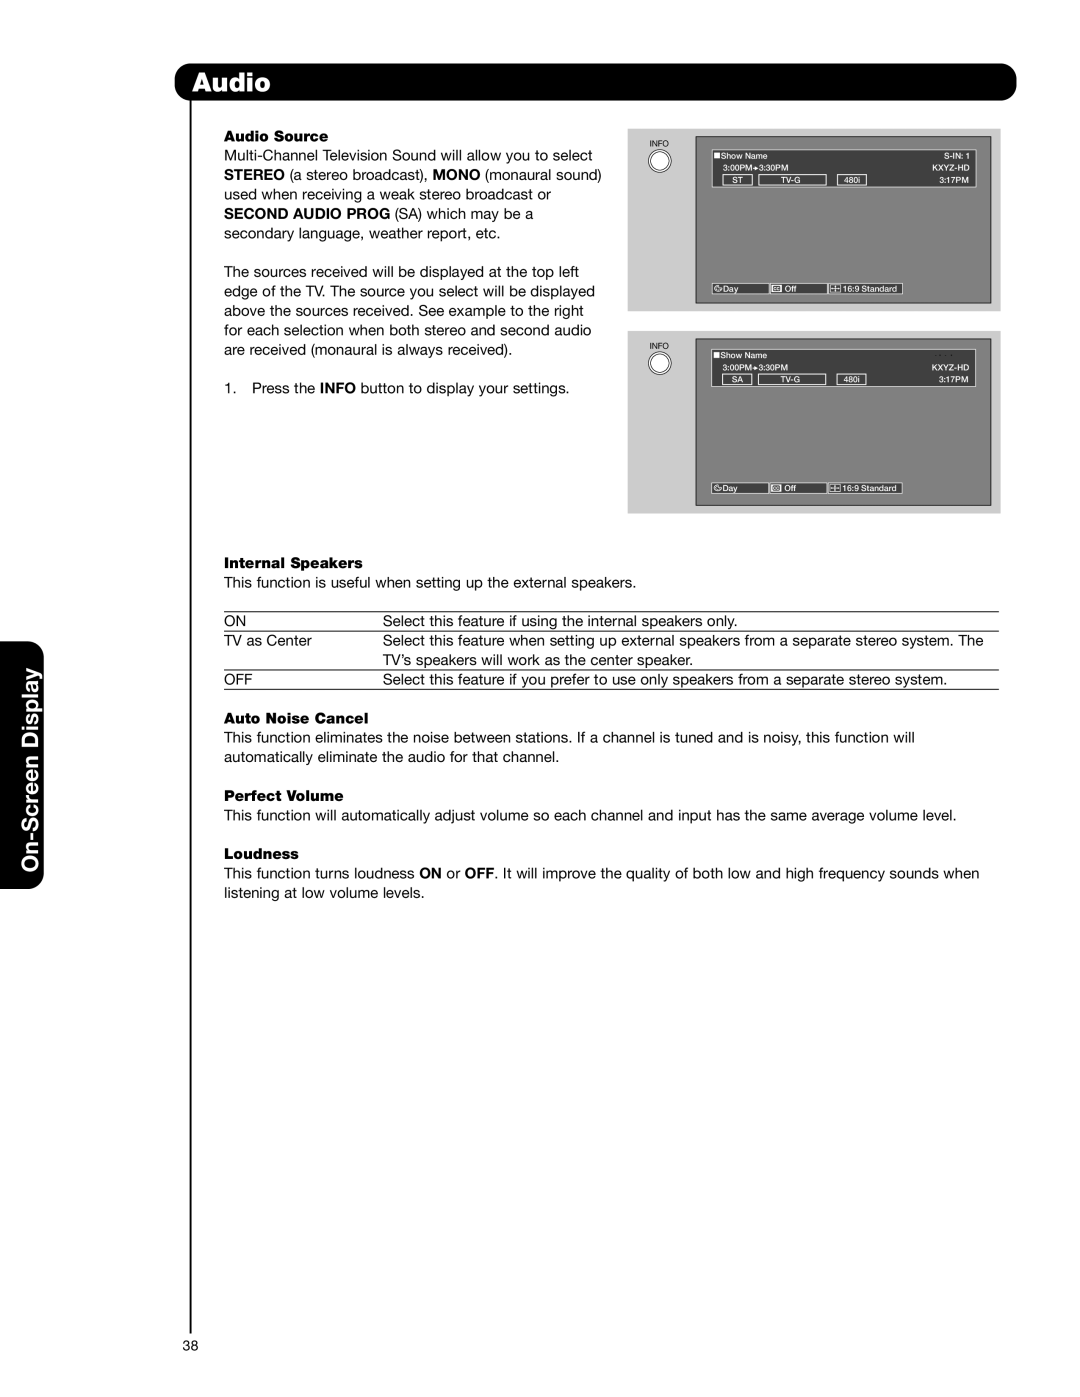
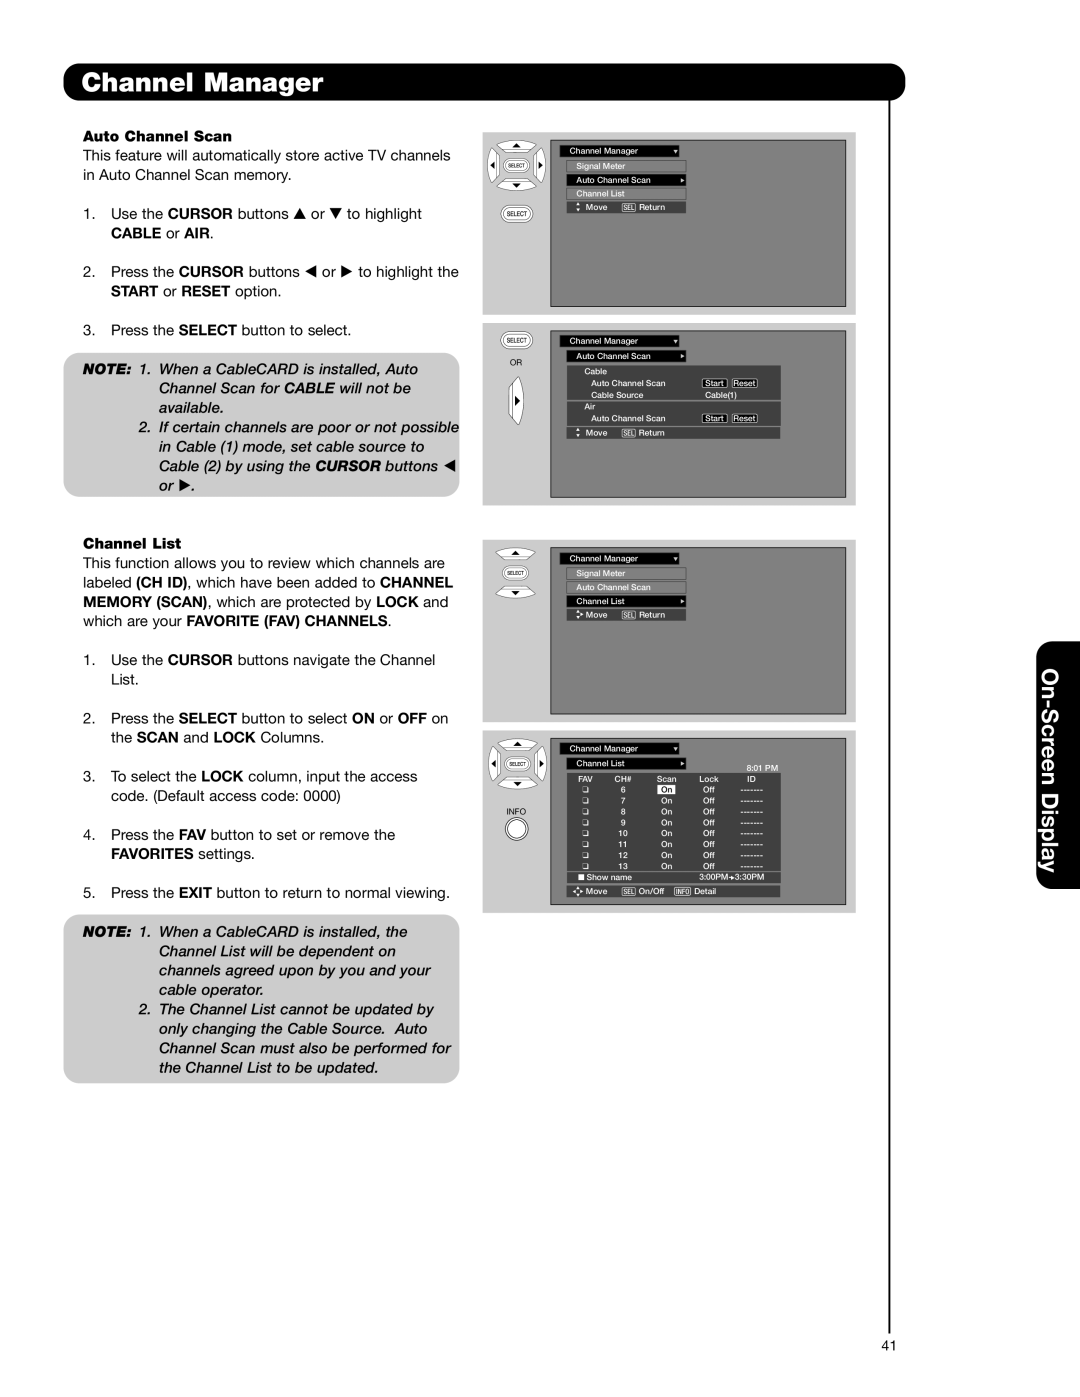
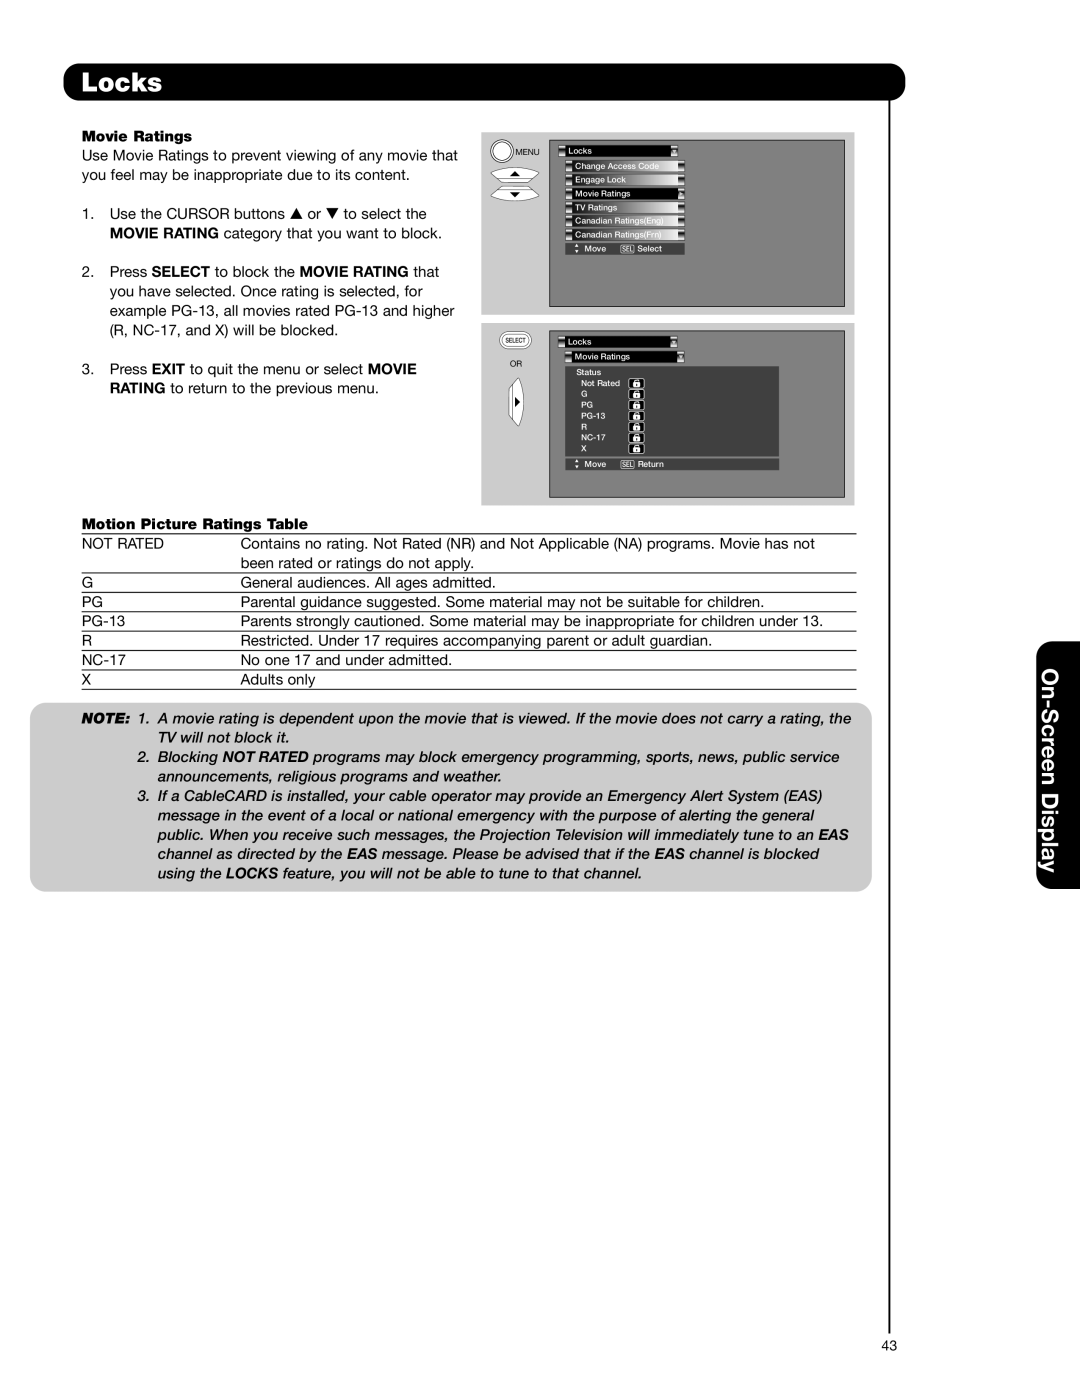
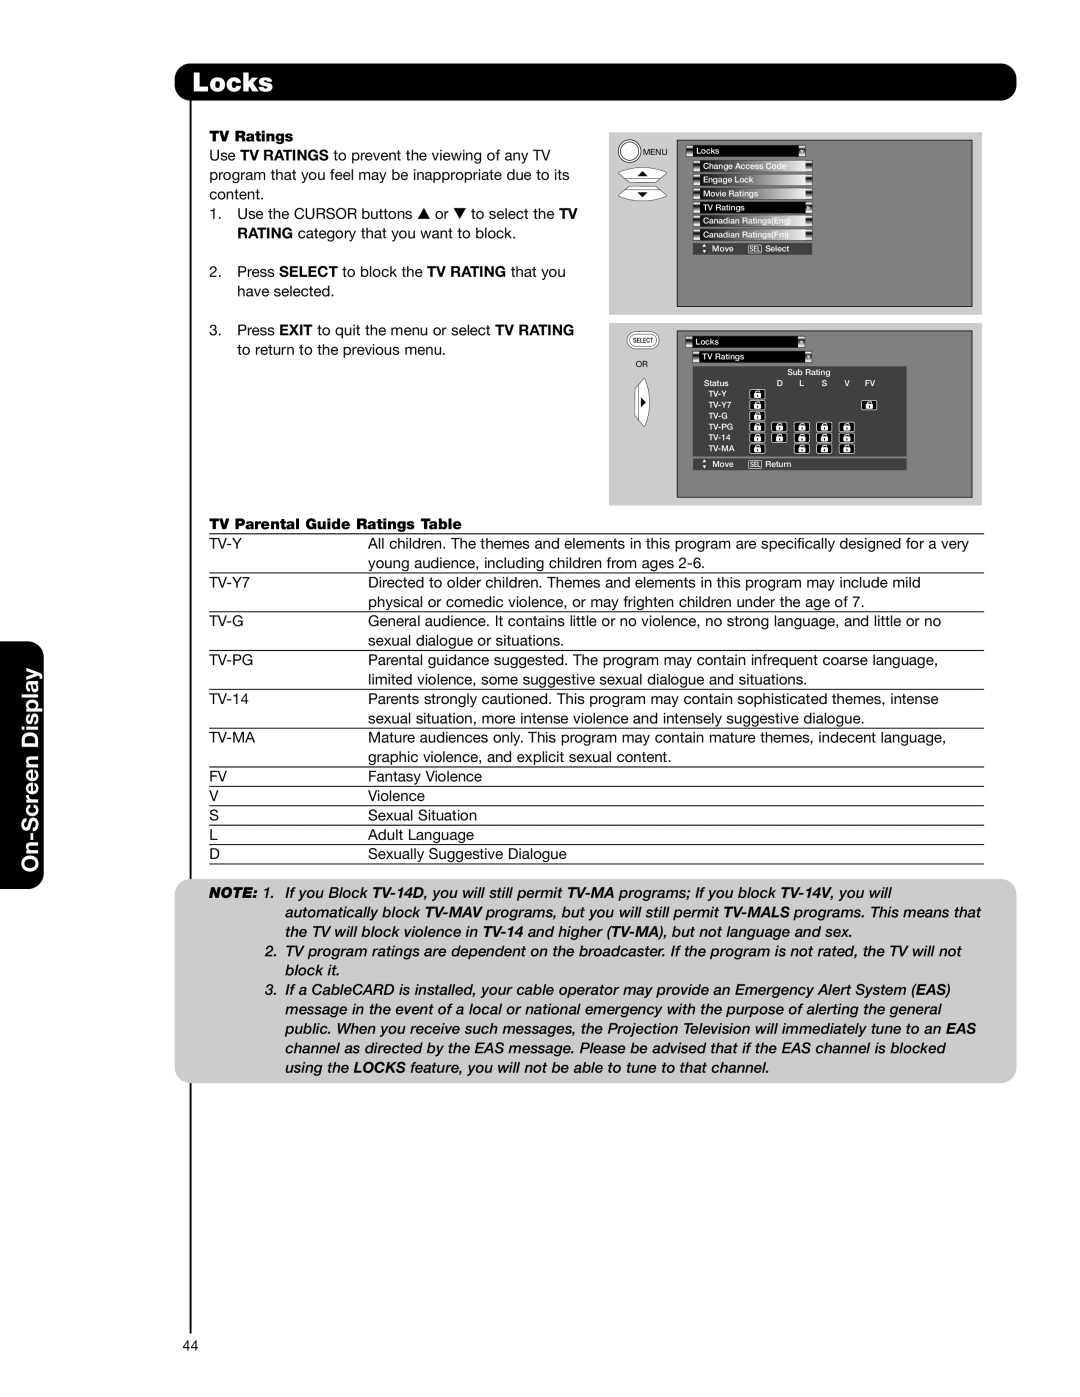
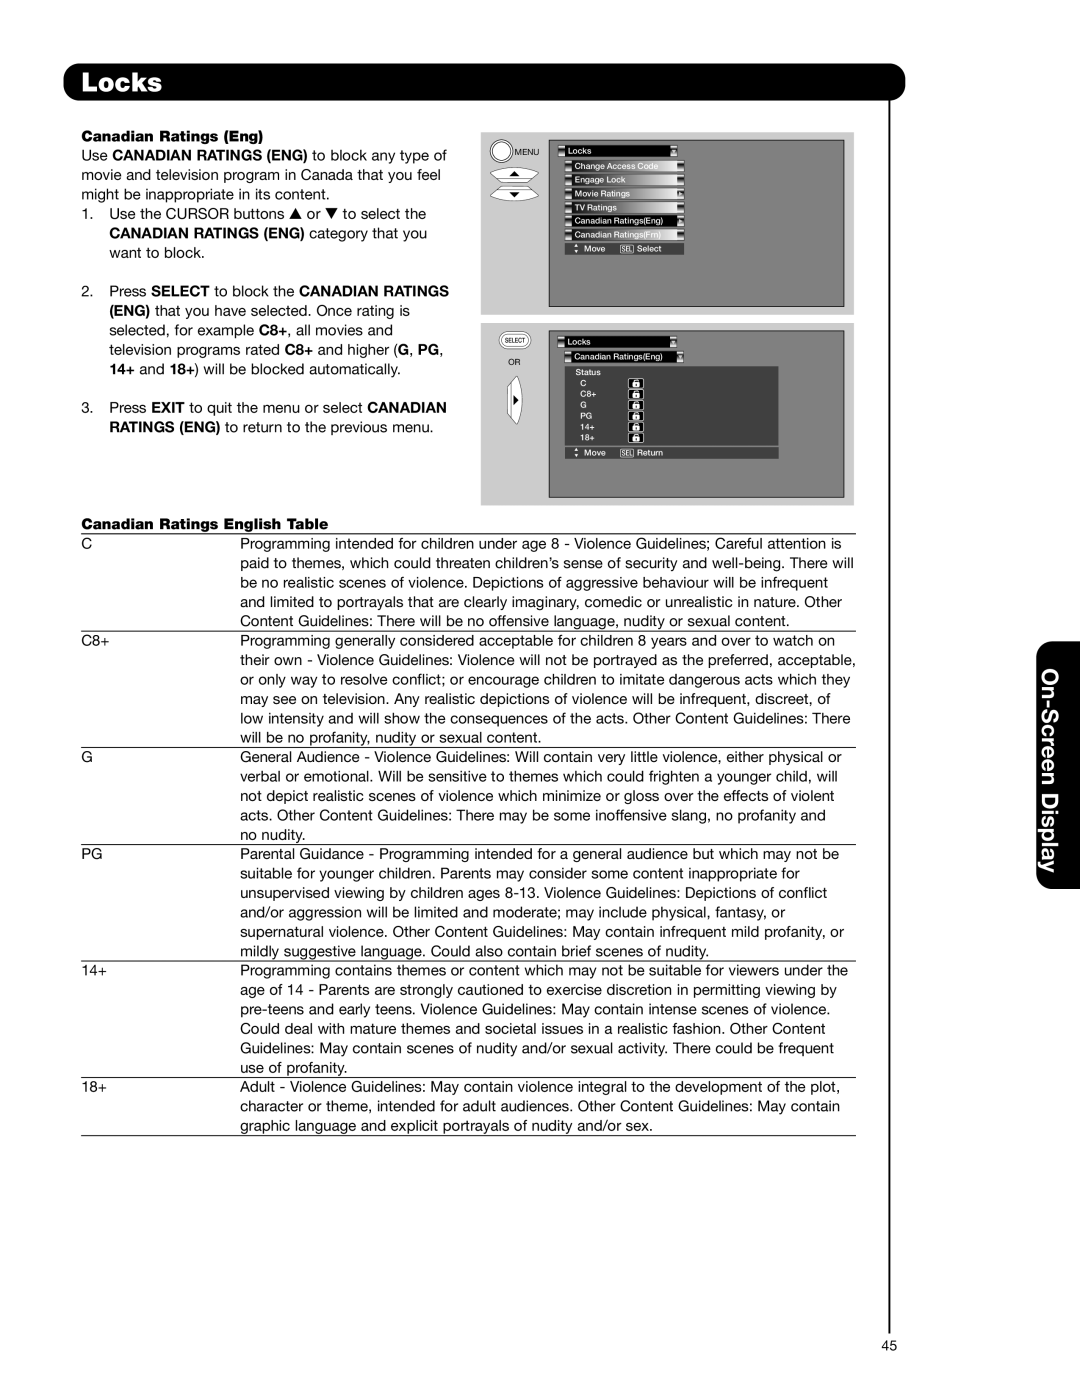
If you wish to freeze the sub-picture, press the PAUSE button. This is convenient when trying to write down the address for a mail order company, recording statistics for a sporting event, etc. To return the picture to motion, press the EXIT button. Press the PAUSE button repeatedly to toggle between FREEZE modes (Main Freeze, SPLIT and STROBE).

Freeze

Freeze

Freeze

Freeze

Freeze

EXIT

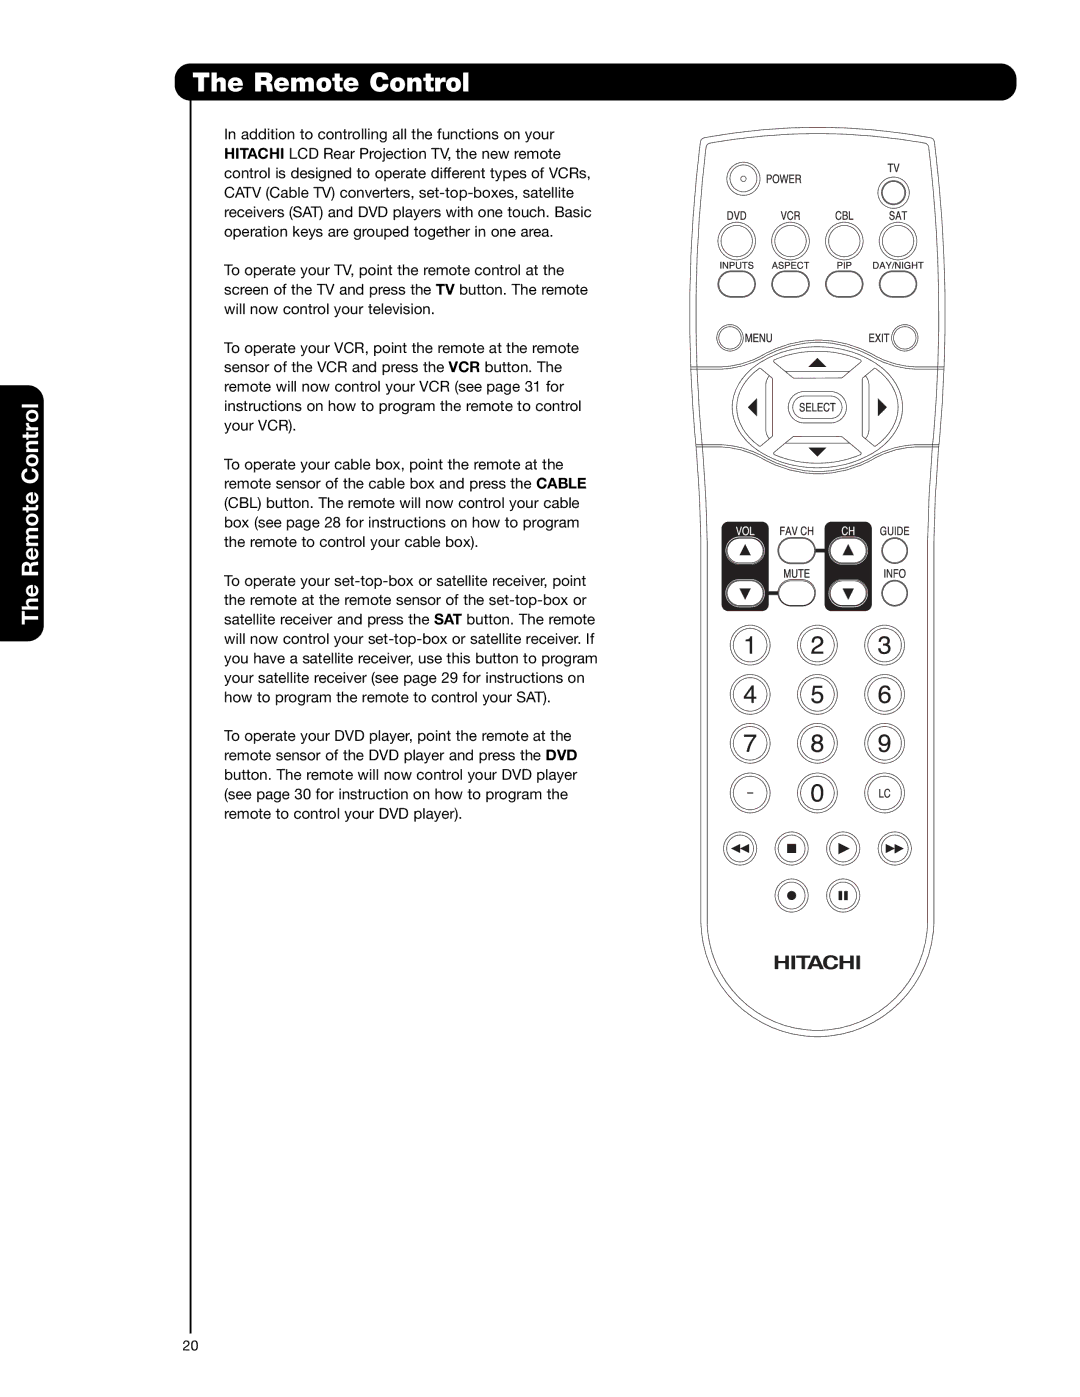
MAIN FREEZE

Press the PAUSE button to freeze one frame of the picture you are currently viewing and the frozen frame will show in the Main Picture. Press the EXIT button to return to normal viewing. This feature is useful for freezing a picture frame with addresses.

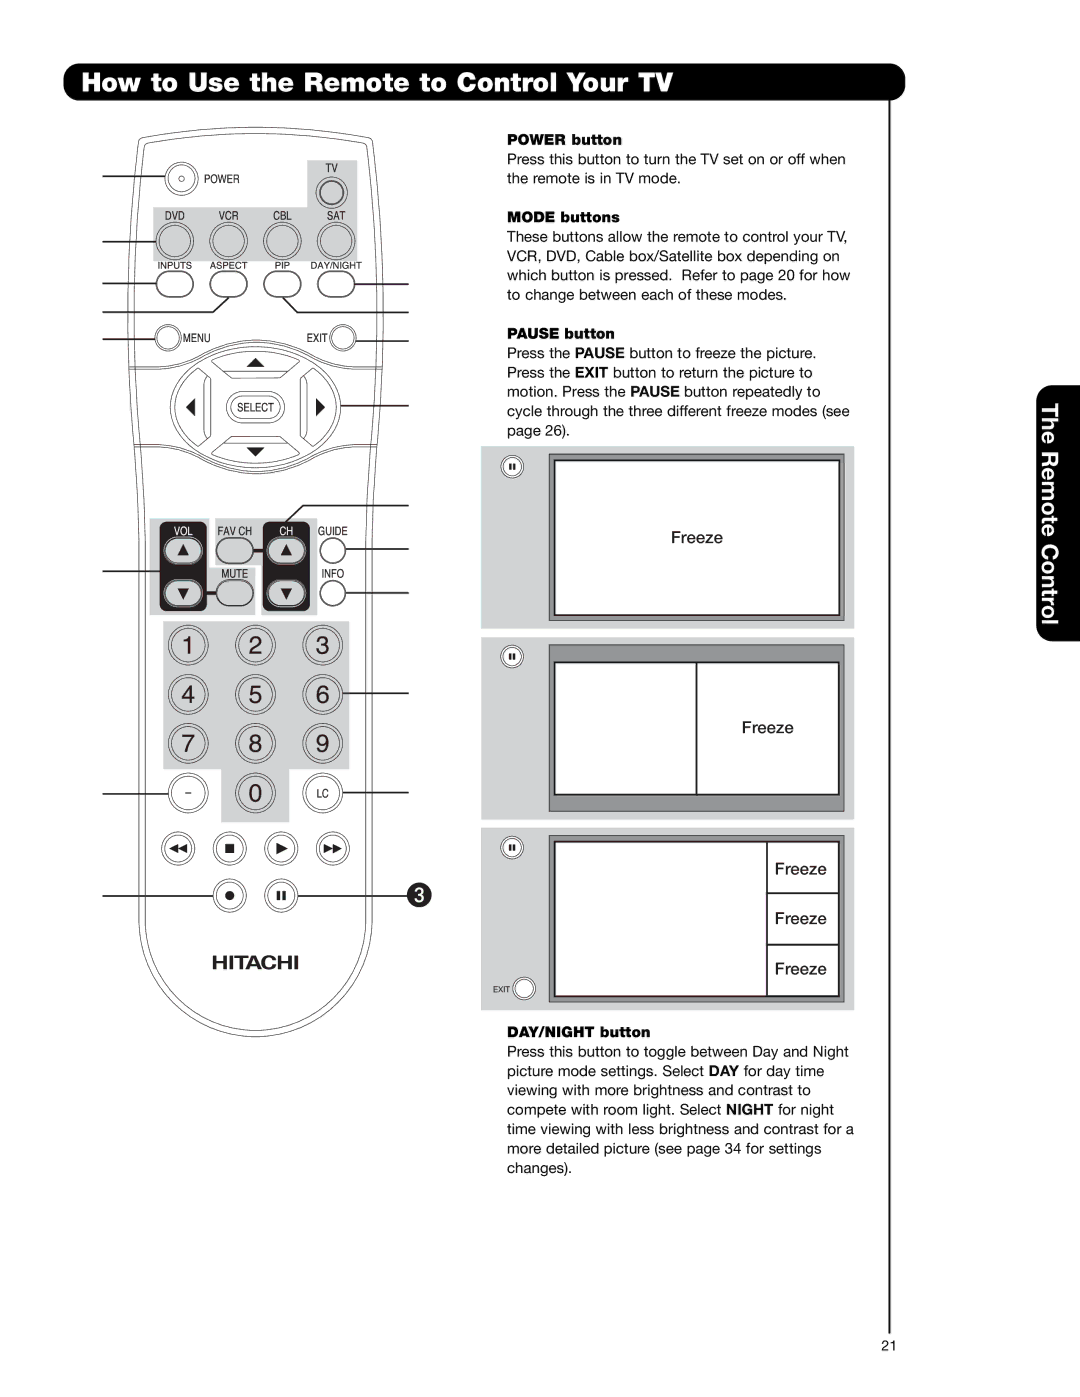
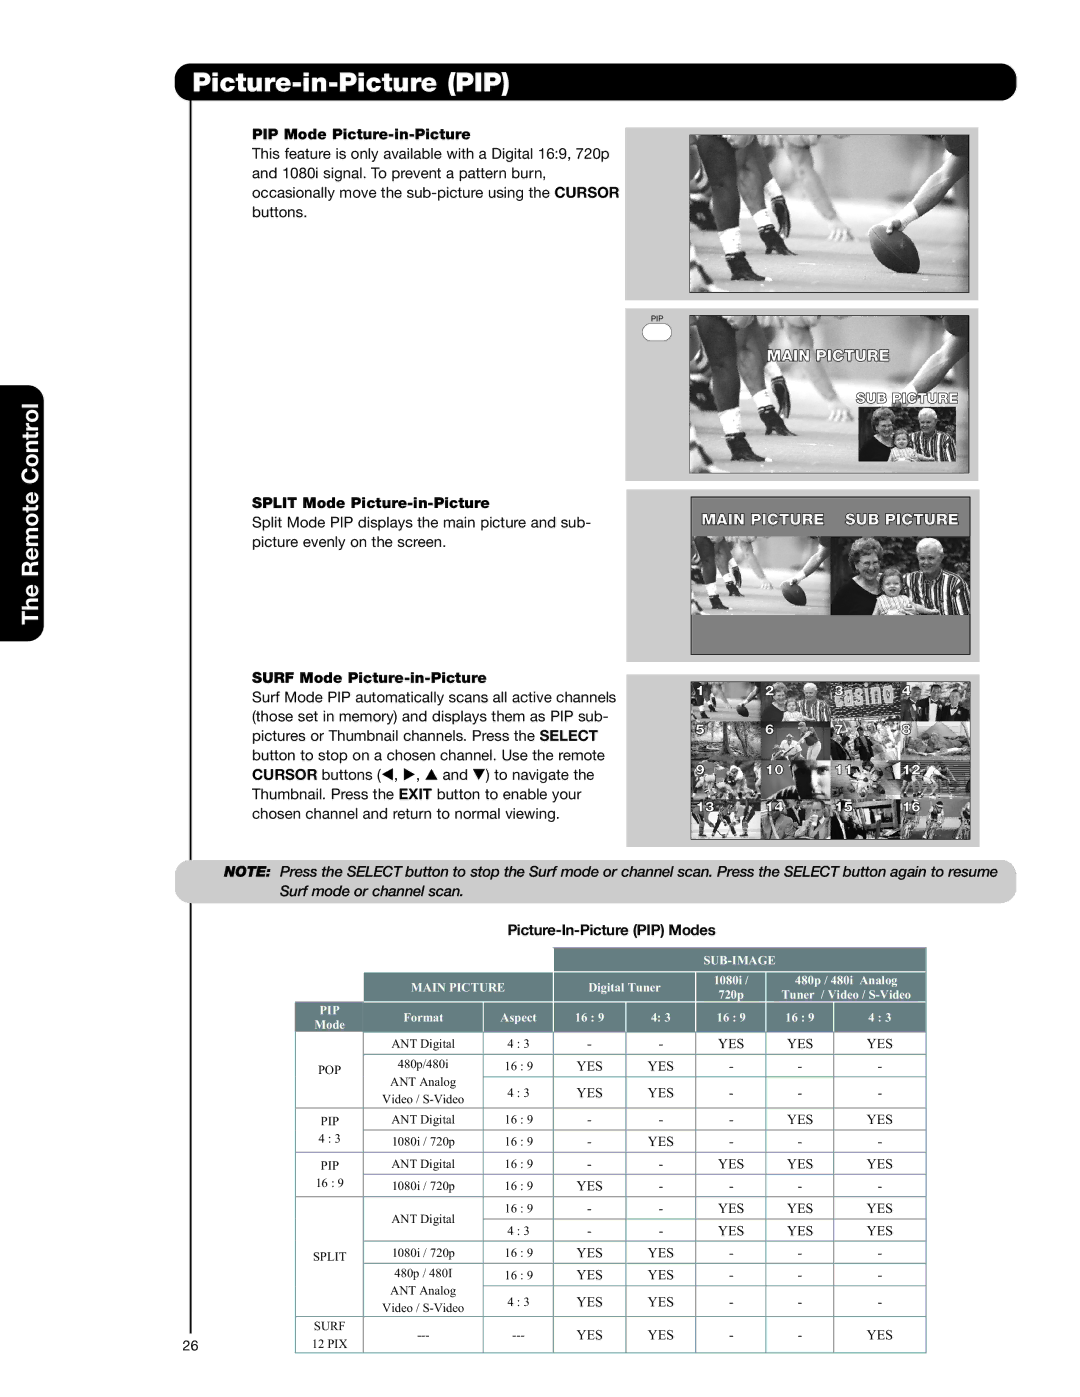
SPLIT FREEZE

Press the PAUSE button to freeze the picture you are currently viewing (only the right sub-picture will freeze). Press the EXIT button to return to normal viewing.

MAIN PICTURE SUB PICTURE

EXIT

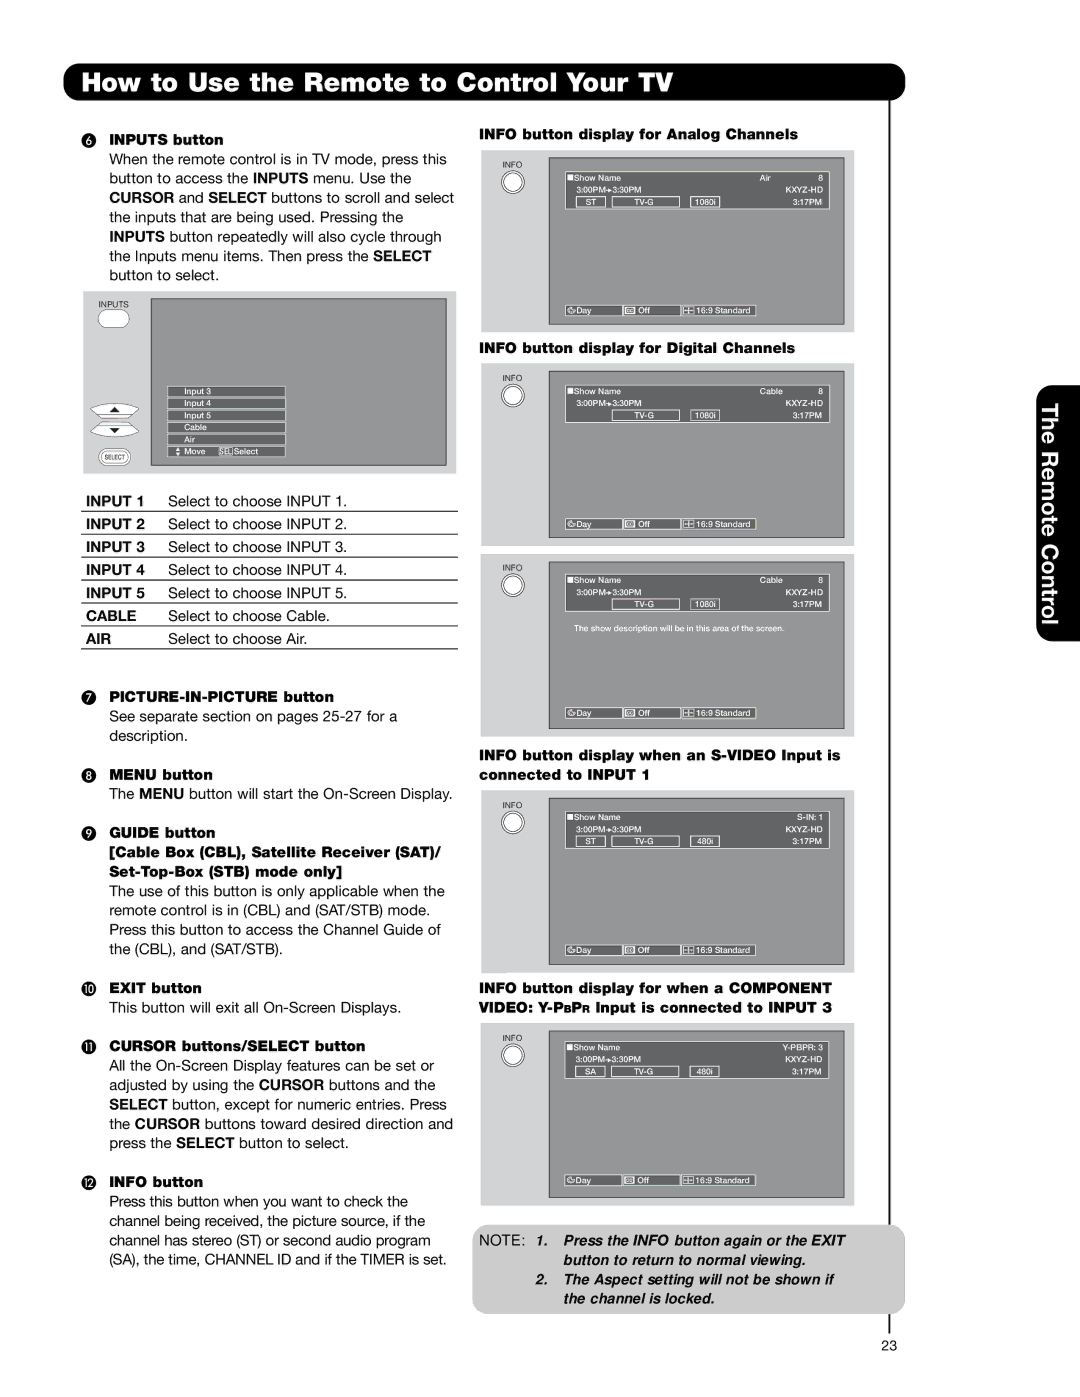
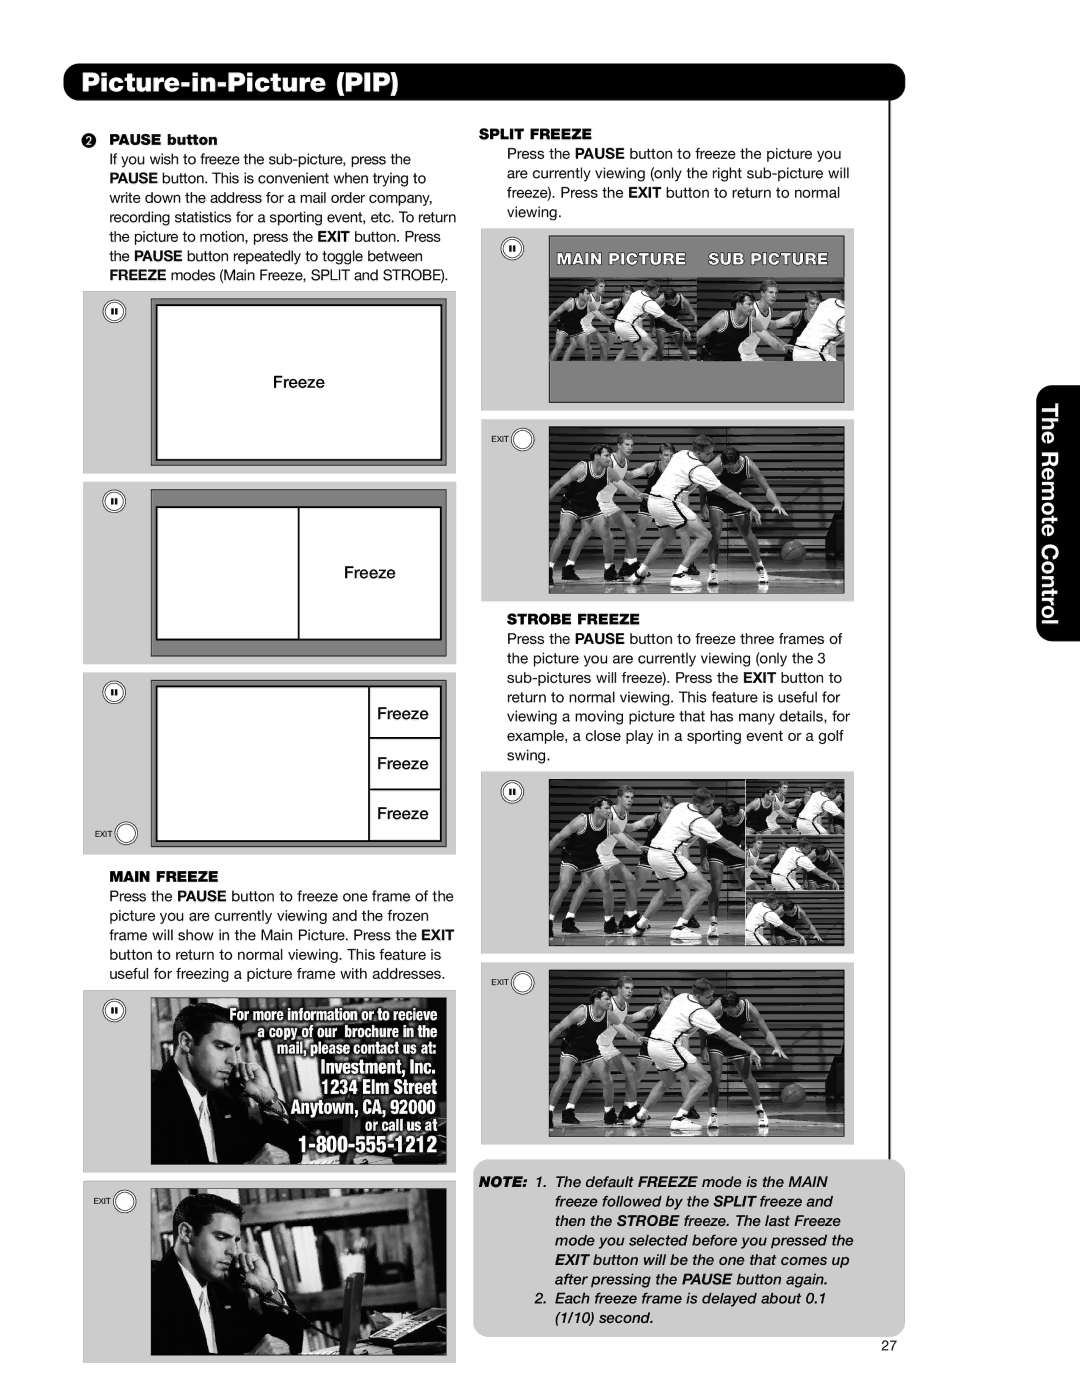
STROBE FREEZE

Press the PAUSE button to freeze three frames of the picture you are currently viewing (only the 3 sub-pictures will freeze). Press the EXIT button to return to normal viewing. This feature is useful for viewing a moving picture that has many details, for example, a close play in a sporting event or a golf swing.

EXIT

The Remote Control

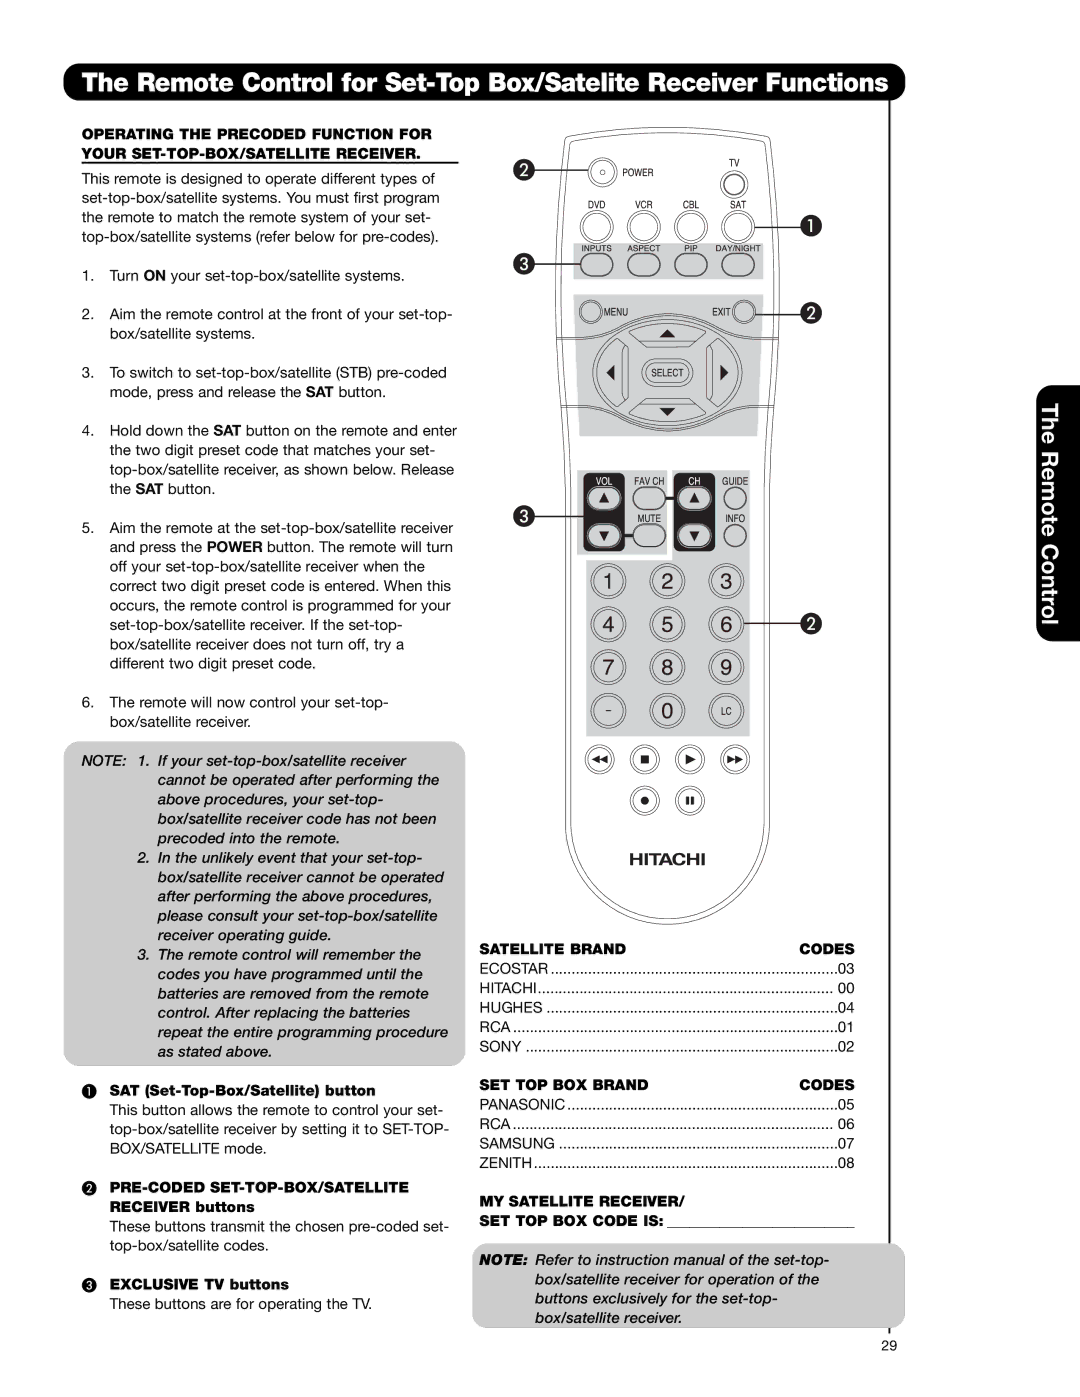
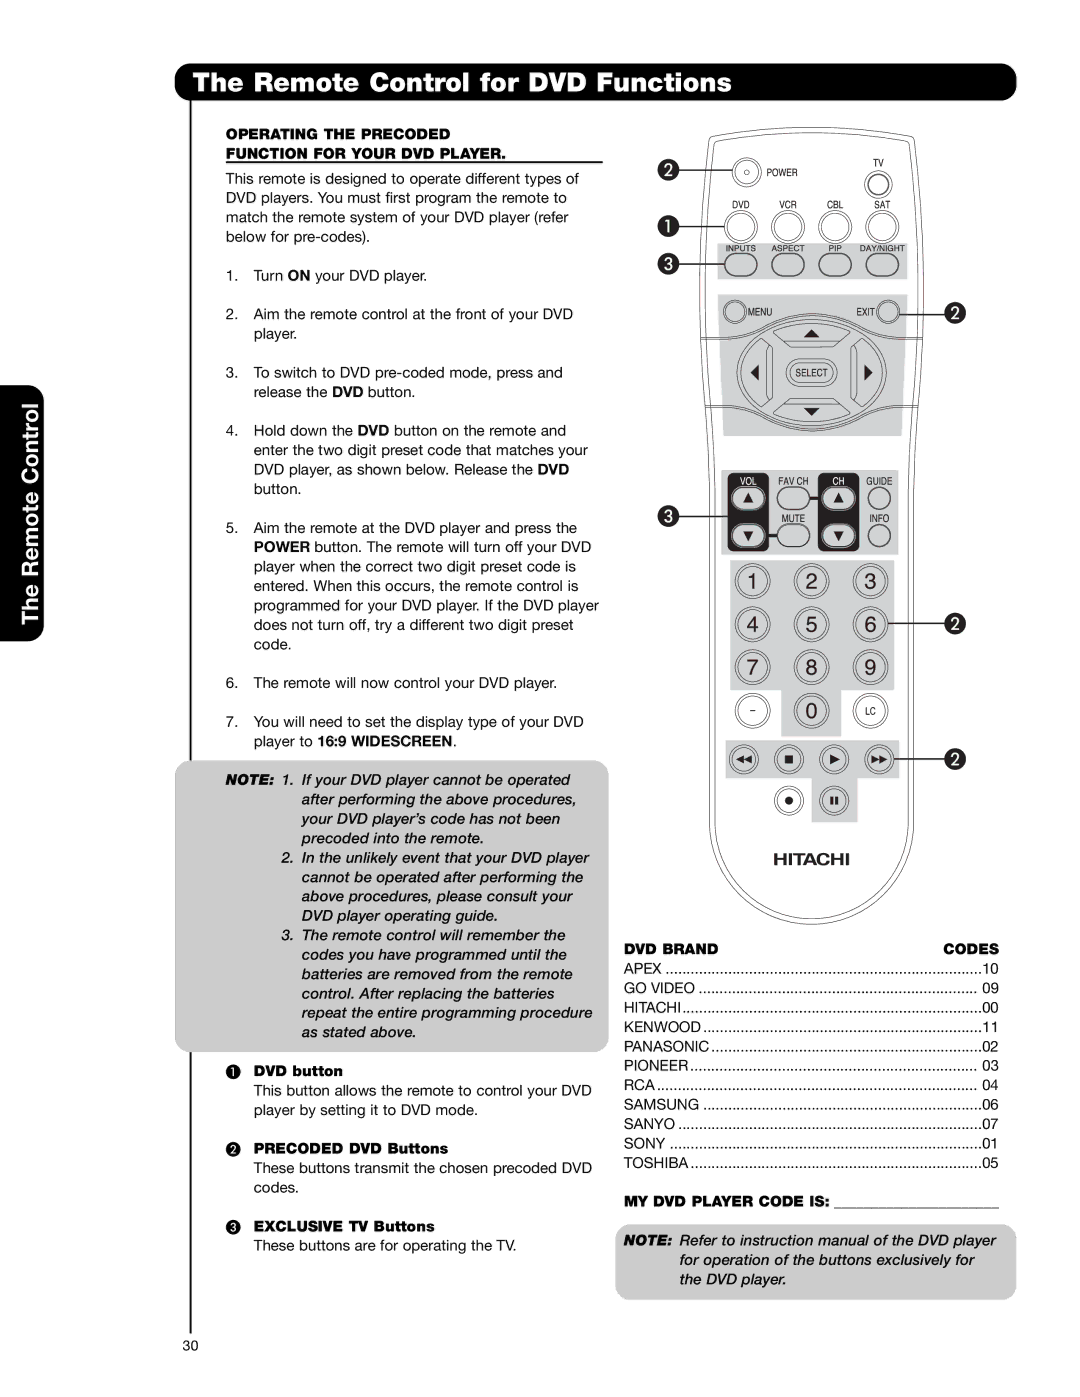
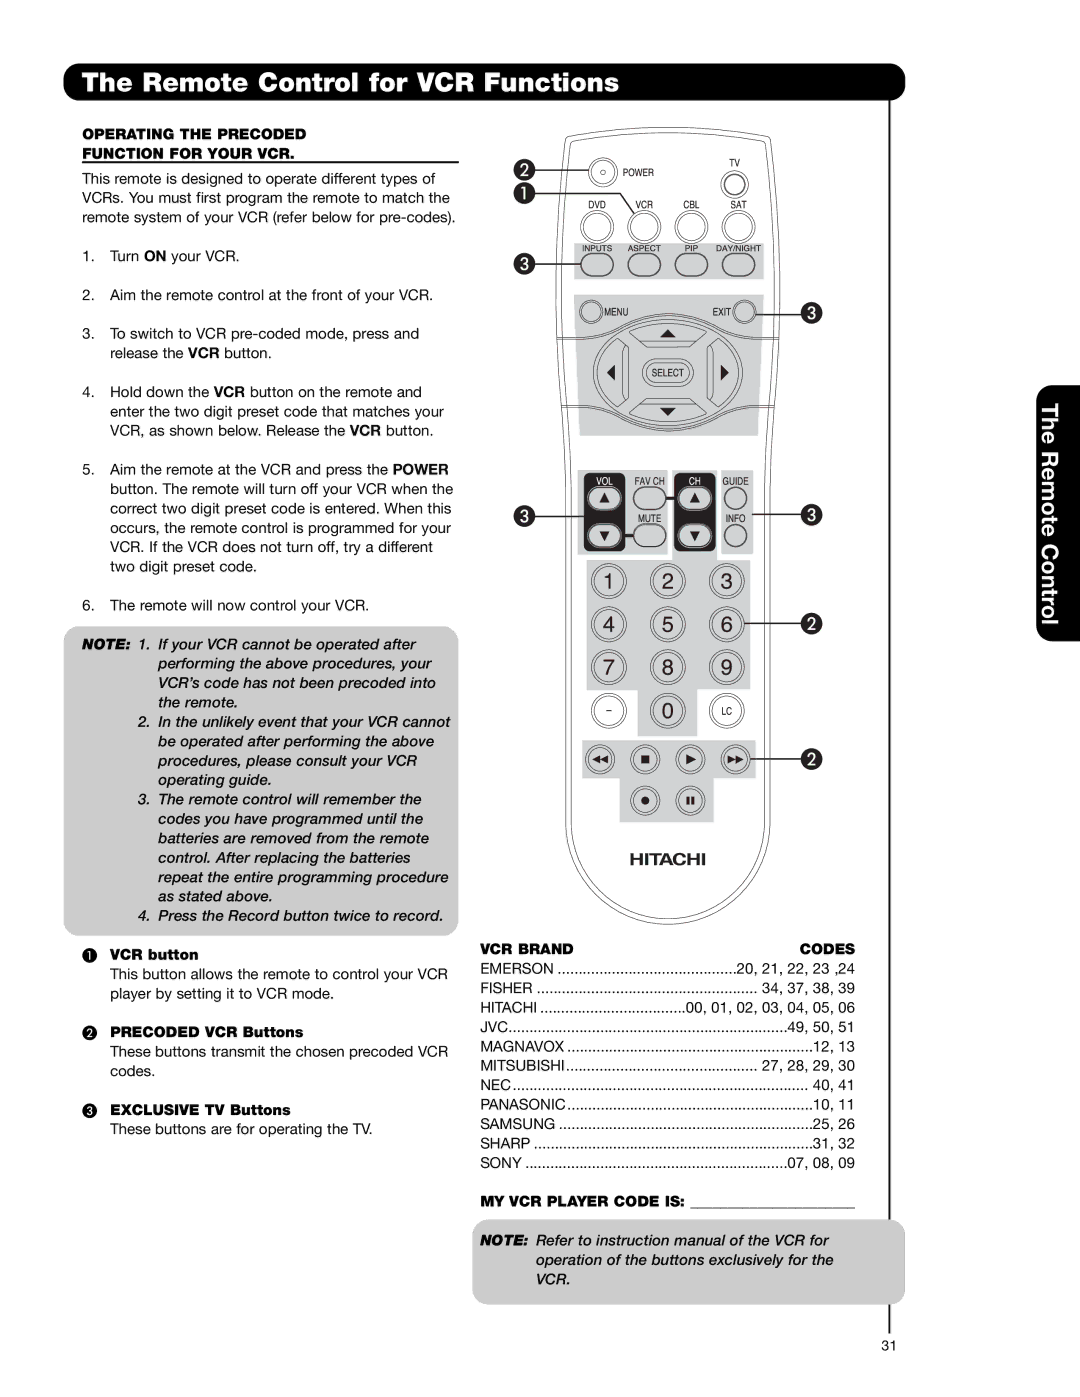
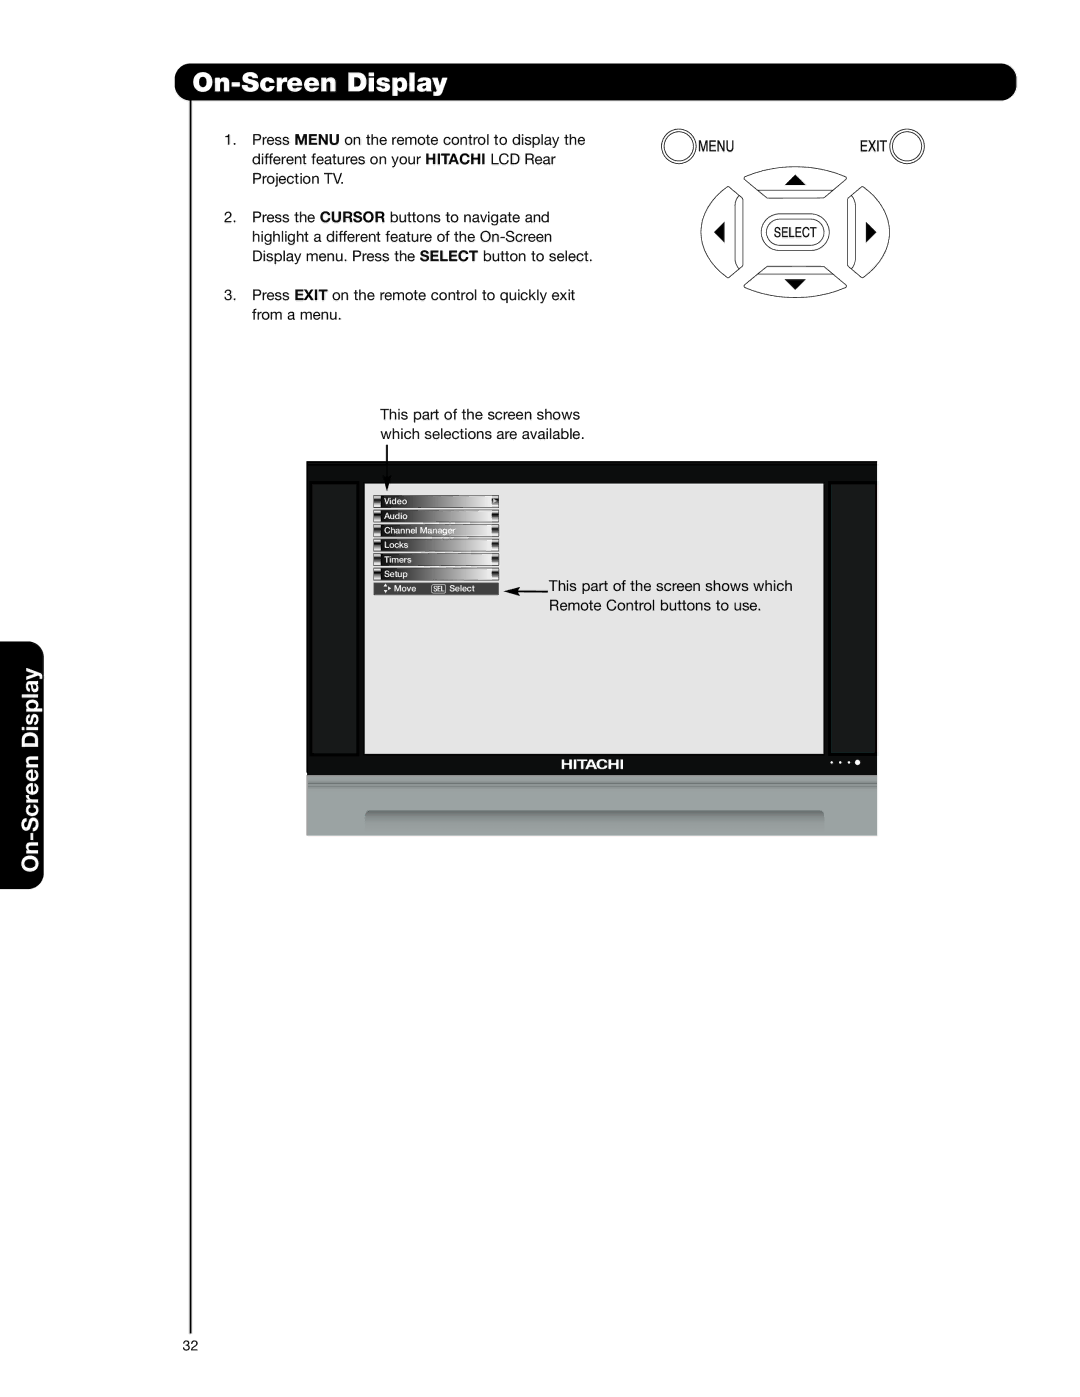
NOTE: 1. The default FREEZE mode is the MAIN

EXIT freeze followed by the SPLIT freeze and then the STROBE freeze. The last Freeze mode you selected before you pressed the EXIT button will be the one that comes up after pressing the PAUSE button again.

2. Each freeze frame is delayed about 0.1 (1/10) second.

27
Image 27
Contents Useful Information Important Safety Instructions First Time USE Remote ControlLamp Replacement ON-SCREEN DisplayRead Before Operating Equipment Important Safety InstructionsLead Notice Power sourceModifications Public viewing of copyrighted materialRemote Control Battery Installation and Replacement AccessoriesViewing How to set up your new Hitachi Projection TelevisionAntenna LocationAntenna Connections to Rear Jack Panel Hook-up Cables and ConnectorsQuick Reference Remote Control Buttons and Functions Side Input Jacks Input Front Panel ControlsPower Light Temp IndicatorLamp Indicator Side Panel Jacks and Connections Rear Panel Connections CableCARD Slot TV AS Center InputsAdditional CableCARD Information Use the Cursor buttonCableCARD Information and press the Select button VIDEO,Y-PBPRand Hdmi Tips on Rear Panel ConnectionsSpeaker placement Connecting External Video SourcesBefore Operating External Video Source FirstConnecting a Composite Video Approximately four seconds InputConnecting a Component Remote Control DAY/NIGHT button How to Use the Remote to Control Your TVMode buttons Pause buttonZOOM1/ZOOM2 Aspect buttonStandard ExpandedExit button Inputs buttonPICTURE-IN-PICTURE button Menu buttonWhite Channel CH DownSUB Picture POP Mode Picture-in-PicturePicture-in-Picture PIP PIP buttonPicture-In-Picture PIP Modes PIP Mode Picture-in-PictureSplit Mode Picture-in-Picture Surf Mode Picture-in-PictureMain Freeze Split FreezeStrobe Freeze Remote Control for Cable Box Functions Operating the Precoded Function for Your Cable BOXCable Brand Codes MY Satellite Receiver Remote Control for Set-Top Box/Satelite Receiver FunctionsSatellite Brand Codes SET TOP BOX Brand CodesRemote Control for DVD Functions Operating the Precoded Function for Your DVD PlayerDVD Brand Codes Remote Control for VCR Functions Operating the Precoded Function for Your VCRVCR Brand Codes On-Screen Display SRS BBEDRC Video Aspect Mode Reset Video Settings Vertical PositionBlack Side Panel Audio SRSBBE Internal Speakers Auto Noise CancelPerfect Volume Audio SourceDRC LanguageDigital Output PCMSignal Meter Signal MeterChannel Manager Channel List Start or Reset optionAuto Channel Scan Cable or AIRLocks Change Access CodeMovie Ratings Motion Picture Ratings TableNot Rated TV Parental Guide Ratings Table TV RatingsCanadian Ratings English Table Canadian Ratings EngCanadian Ratings French Chart Timers Adjust Clock for Daylight SavingsSet The Clock Set Day/Night Timer Set Sleep TimerSelect Finish Time HOUR/MINUTE, AM or Set Event TimerEvent 1 , Event 2 , Event 3 , Event 4 and then Select Start Time HOUR/MINUTE, AM orSetup SET the Menu Background Shaded orSolid Set The Inputs Lamp Power ControlCaption Display Caption ModeInput 4 Auto Link Set Closed CaptionTV Tuner Out Digital CaptionsSet Monitor Out MonitorHDMI1 ANTYES HDMI1 YESQuick Start Up UpgradesUpgrade NOW Insert MMC CardLamp Replacement Lamp ReplacementLamp Life Lamp Compartment Front Cover 120VHandle Lamp Unit Remove Screws ScrewLamp Cover Phillip Head Screw DriverScrew Do not Equipment Care and TroubleshootingTroubleshooting Switch ON/OFFReception Problems Inputs Features and SpecificationsFeatures DimensionsMeadowpine Blvd Mississauga, Ontario L5N 6C3 Home Electronics DivisionDigital Media Division Canada 1-800-HITACHIEND User License Agreement for Hitachi DTV Software End User Licence Agreement for Hitachi DTV SoftwareImage Input Type Format Aspect Video ID Auto Aspect AppendixesLocks IndexPage Page Page Page Page QR64621