Step | Figure | Procedure | |||
|
|
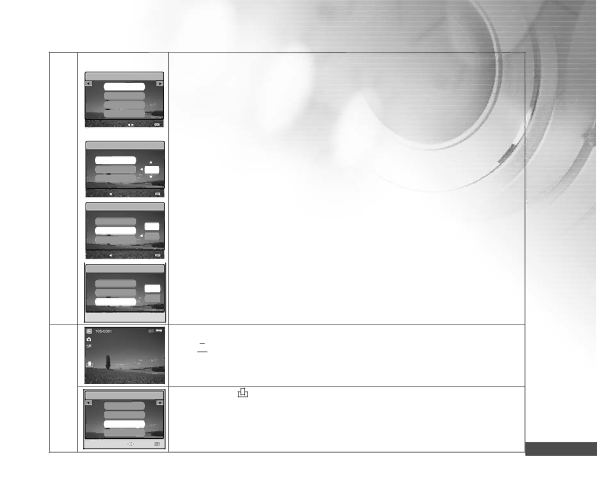
| Use ▲ or ▼ to select [ONE IMAGE], then press the OK button. | ||
| DPOF |
| |||
| ONE IMAGE |
| [ONE IMAGE]: | To configure print settings for a single image. | |
4 | ALL IMAGES |
| [ALL IMAGES]: | To configure print settings for all images. | |
RESET |
| ||||
| EXIT |
| [RESET]: |
| Returns all basic settings to the digital still cameraís default settings. |
|
|
|
|
|
|
| SELECT IMAGE : | SET : | [EXIT]: |
| To exit the mark function, use ▲ or ▼ to select [EXIT]. |
|
|
|
| ||
|
|
| Use ▲ or ▼ to select [QUANTITY], [DATE] and [ENABLE],then press the OK | ||
| DPOF |
| |||
| QUANTITY |
| button to configure the settings. | ||
| DATE | 02 | [QUANTITY]: Allows you to select image quantity (0~99). Use ▲ or ▼ to set | ||
| ENABLE |
| |||
|
|
|
| the image quantity and press the OK button. | |
| BACK : | SET : |
| ||
|
|
| [DATE]: | The date of recording can be printed directly on the images. | |
| DPOF |
| |||
5 | QUANTITY | SET |
| Press the OK button to choose [SET] or [CANCEL] with ▲ or ▼. | |
| DATE | [ENABLE]: | Allows you to confirm your setting which will be saved in the | ||
| CANCEL | ||||
| ENABLE |
| SD card. Press the OK button to choose [ENABLE] or [DISABLE] | ||
|
|
| |||
|
|
|
| ||
| BACK : | SET : |
| with ▲ or ▼. | |
|
|
|
| ||
| DPOF |
|
|
|
|
QUANTITY
ENABLE
DATE
![]() DISABLE
DISABLE
ENABLE
BACK : ![]() SET :
SET : ![]()
Press ![]() to return to the image playback mode. * The
to return to the image playback mode. * The ![]()
![]()
![]() is marked on the displayed image.
is marked on the displayed image.
X01
6 | To unmark the mark, go back to step 4 to select [RESET] with ▲ or ▼. |
DPOF | |
ONE IMAGE |
|
ALL IMAGES |
|
RESET |
|
EXIT |
|
SELECT IMAGE : | SET : |