30
 EN
EN


RECORDING


Advanced
 Features
 (cont.)

Display
After 2 sec.
![]() :SEPIA
:SEPIA
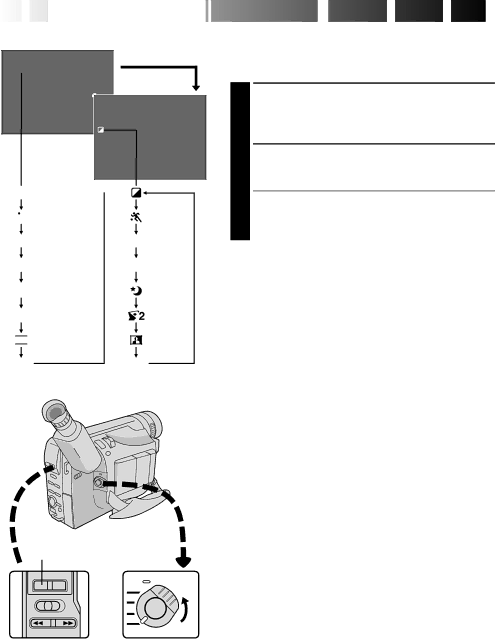
Programme AE With Special Effects
All you have to do to access any of the variety of shooting effects is press P.AE.
1 SELECTMODE OPERATION SYSTEM AND
Set the System Select Switch to “D.S.C.” or “VIDEO”, and set the Power Switch to “PRO.”.
2 SELECT MODE
Press P.AE to cycle through the modes as shown on the left.
![]() SEPIA
SEPIA![]()
![]() SPORTS
SPORTS
ND:ND EFFECT
FG: FOG
![]() TWILIGHT
TWILIGHT
![]() S1/2000
S1/2000
![]()
![]()
![]() NEGA/POSI
NEGA/POSI
OFF
ND
FG
OFF
(No indication)
•The selected mode’s name and its indication are displayed for approx. 2 seconds. Then the name disappears, and only the indication remains. The mode is activated.
NOTES:
●Only one mode can be engaged at a time.
●The screen becomes slightly reddish when the Fade/ Wipe (☞ pg. 29) is used in the Sepia mode.
●The screen becomes slightly dark in the High Speed Shutter mode. Use in
●In the “High Speed Shutter” or “Sports” modes, picture colour may be adversely affected if the subject is lit by alternating
![]() P.AE Button
P.AE Button
|
|
|
| Power Switch | |
|
|
|
| ||
System Select Switch | |||||
| |||||