LCD monitor or viewfinder
Wide mode
WIDE
SUPER LOLUX
LCD monitor or viewfinder
4S . LX |
|
| After 2 sec. | |
|
|
|
| |
|
| MAX |
|
|
|
|
|
| |
|
|
|
|
|
|
|
|
|
|
|
|
|
|
|
MAX![]()
NORM
OFF
![]()
![]()
![]()
![]()
![]()
![]()
![]()
![]()
![]()
![]()
![]()
![]()
![]()
![]()
![]()
![]()
![]()
![]()
![]()
![]()
![]()
![]()
![]()
![]()
![]()
![]()
![]()
![]()
![]()
![]()
![]()
![]()
![]()
![]()
![]()
![]()
![]()
![]()
![]()
![]()
![]()
![]()
![]()
![]()
![]() EN
EN![]() 23
23![]()
![]()
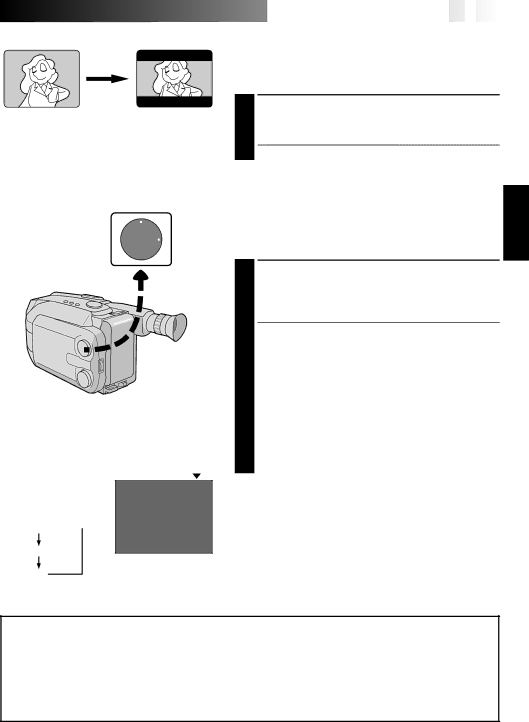
Wide
This feature allows you to record black bars at the top and bottom of the screen to produce a
ENGAGE WIDE MODE
1 Press WIDE.
•To restore normal screen, press WIDE again.
Super LoLux(Gain Up)
Bright, natural recordings can be taken even in areas with low or poor lighting.
SELECT SUPER LOLUX MODE
1 Press SUPER LOLUX repeatedly to cycle through the modes as shown to the left. Once the desired mode appears, it is engaged.
•The mode’s name is displayed for approx. 2 seconds, then disappears.
MAX : To record a subject in a dark lit environ- ment. When it is more convenient to shoot the subject with a brighter image even if the picture becomes slightly coarse.
NORM : To record a subject in a dimly lit environ- ment. When it is more convenient to shoot with a less coarse picture although the subject becomes slightly dark.
OFF : Allows you to shoot dark scenes with no picture brightness adjustment.
NOTE (for Fade/Wipe, Wide, Super LoLux, Instant Titles and Picture Stabiliser) :
When the Select Dial is turned to AUTO LOCK, the above functions will be set to the Factory settings