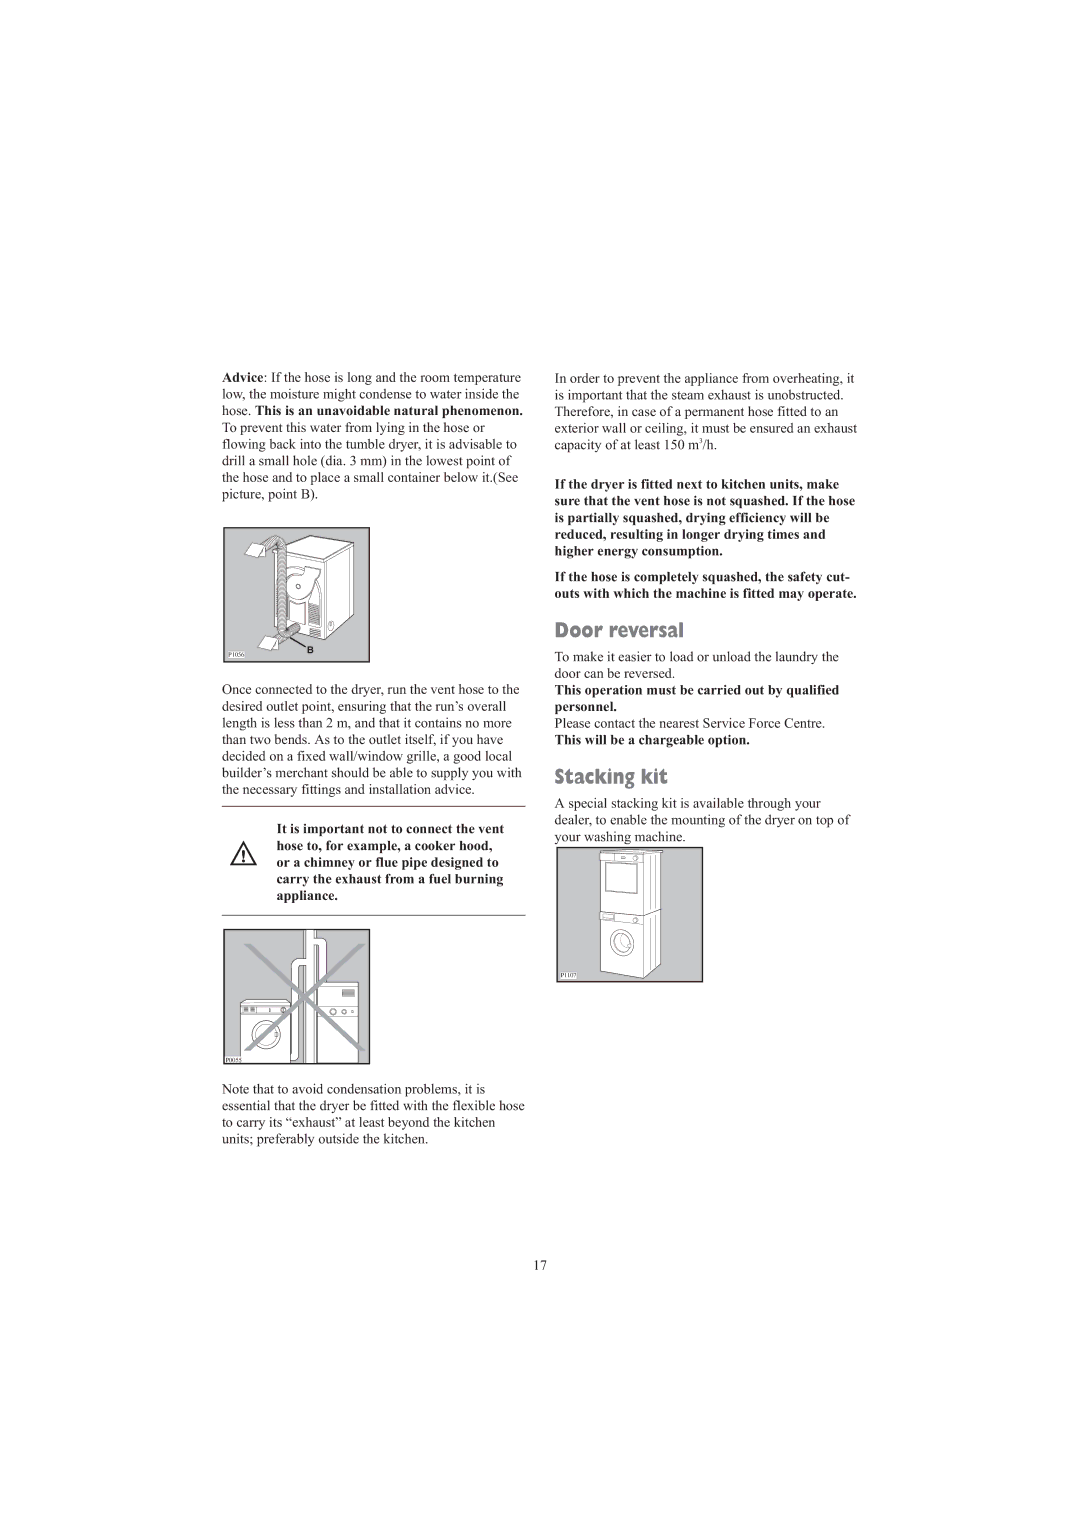
Advice: If the hose is long and the room temperature low, the moisture might condense to water inside the hose. This is an unavoidable natural phenomenon. To prevent this water from lying in the hose or flowing back into the tumble dryer, it is advisable to drill a small hole (dia. 3 mm) in the lowest point of the hose and to place a small container below it.(See picture, point B).
P1056B
Once connected to the dryer, run the vent hose to the desired outlet point, ensuring that the run’s overall length is less than 2 m, and that it contains no more than two bends. As to the outlet itself, if you have decided on a fixed wall/window grille, a good local builder’s merchant should be able to supply you with the necessary fittings and installation advice.
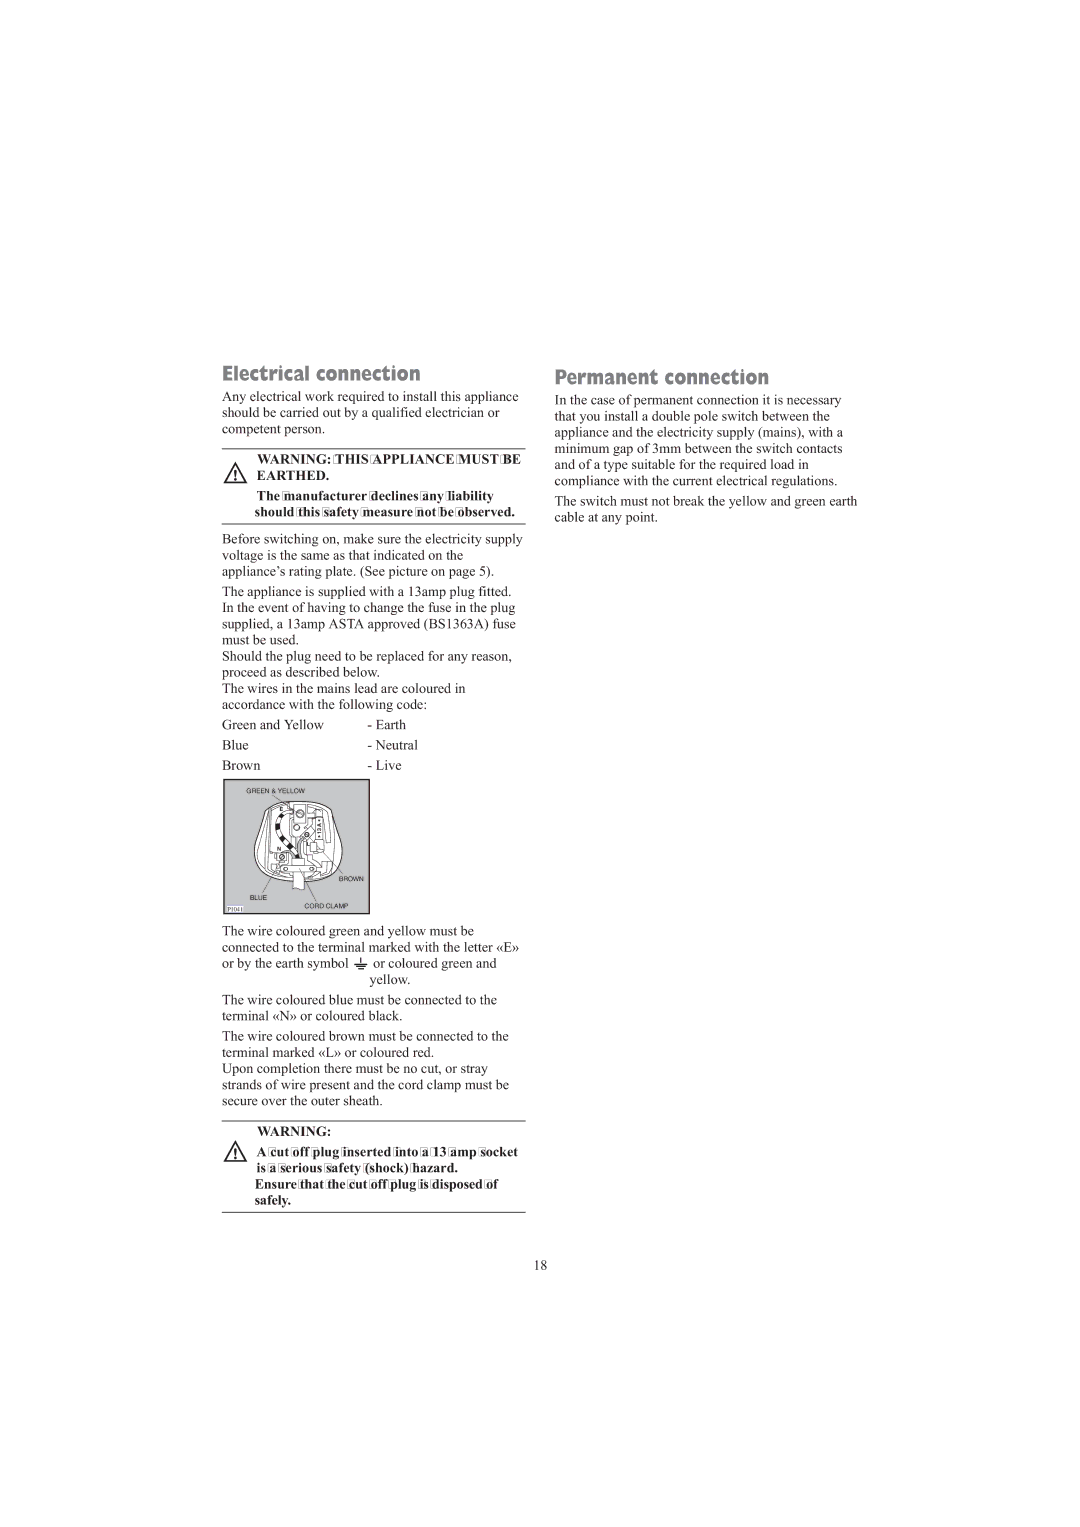
It is important not to connect the vent hose to, for example, a cooker hood, or a chimney or flue pipe designed to carry the exhaust from a fuel burning appliance.
P0055 |
Note that to avoid condensation problems, it is essential that the dryer be fitted with the flexible hose to carry its “exhaust” at least beyond the kitchen units; preferably outside the kitchen.
In order to prevent the appliance from overheating, it is important that the steam exhaust is unobstructed. Therefore, in case of a permanent hose fitted to an exterior wall or ceiling, it must be ensured an exhaust capacity of at least 150 m3/h.
If the dryer is fitted next to kitchen units, make sure that the vent hose is not squashed. If the hose is partially squashed, drying efficiency will be reduced, resulting in longer drying times and higher energy consumption.
If the hose is completely squashed, the safety cut- outs with which the machine is fitted may operate.
Door reversal
To make it easier to load or unload the laundry the door can be reversed.
This operation must be carried out by qualified personnel.
Please contact the nearest Service Force Centre.
This will be a chargeable option.
Stacking kit
A special stacking kit is available through your dealer, to enable the mounting of the dryer on top of your washing machine.
P1107
17
