Daewoo KOT-170SB, KOT-170SW, KOT-172S important safety instructions R e a n d C l e a n i n g

Page 19

C a r e a n d C l e a n i n g

Microwave Oven Interior

Glass Tray/Turntable

The oven interior should be cleaned after each use with a damp cloth to keep it free from grease and soil buildup. Stubborn soils can be removed with a plastic scrub pad. When cleaning interior surfaces and surfaces of door and oven that come together when the door is closed, use only mild, non-abrasive soaps or detergents applied with a sponge or soft cloth.

Odors can be eliminated from the inside of the oven by boiling a solution of one cup of water and several tablespoons of lemon juice in the oven for 5-7 minutes. This also helps loosen any dried soil in the oven. Wipe off excess moisture after use.

Note . . .

Do not spray or pour liquid cleansers directly onto a surface. Spray or pour cleanser onto a cloth or sponge and then clean.

Do not use abrasive cleaners, oven cleaners, abrasive cleaning pads or steel wool, as they can scratch or dull oven surfaces.

Do not remove or insert knife around the stirrer cover to clean, it may damage the cover or affect the cooking performance of your oven.

Oven Bottom

Wash oven bottom with hot sudsy water, rinse and dry. Do not use excessive amounts of water when cleaning the oven, especially around the turntable. Do not allow water or cleaning agents to seep into turntable gears located underneath.

Allow to cool before removing and cleaning. Wash in soapy water or dishwasher.

Roller Guide

Clean frequently to prevent excessive noise. Wash in soapy water or dishwasher.

Oven Exterior

Wipe the outside of your oven with a soapy cloth, rinse and dry. Do not use abrasive cleaners. They may scratch the surface.

Light Compartment

Clean off the grease and dust on the light compartment cover on the bottom side of the microwave oven often with warm water and detergent.

Control Panel

Wipe with a damp cloth. Dry. Do not spray cleaners directly on panel. Spray cleaners on cloth and then wipe.

18
Image 19
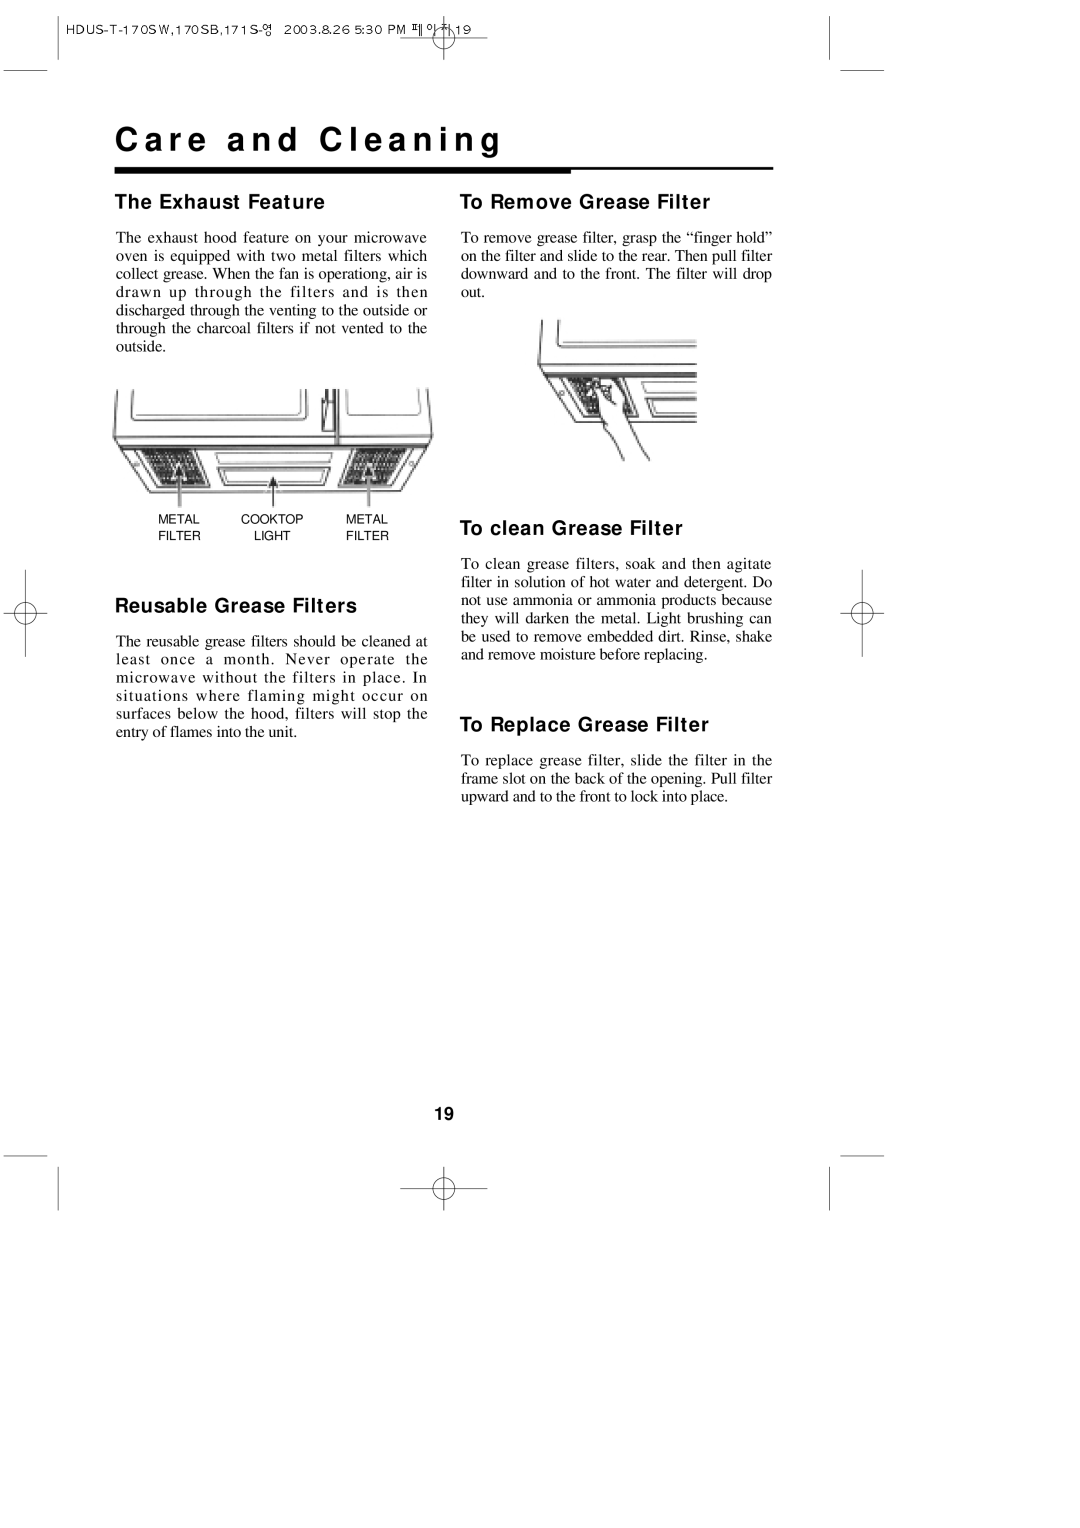
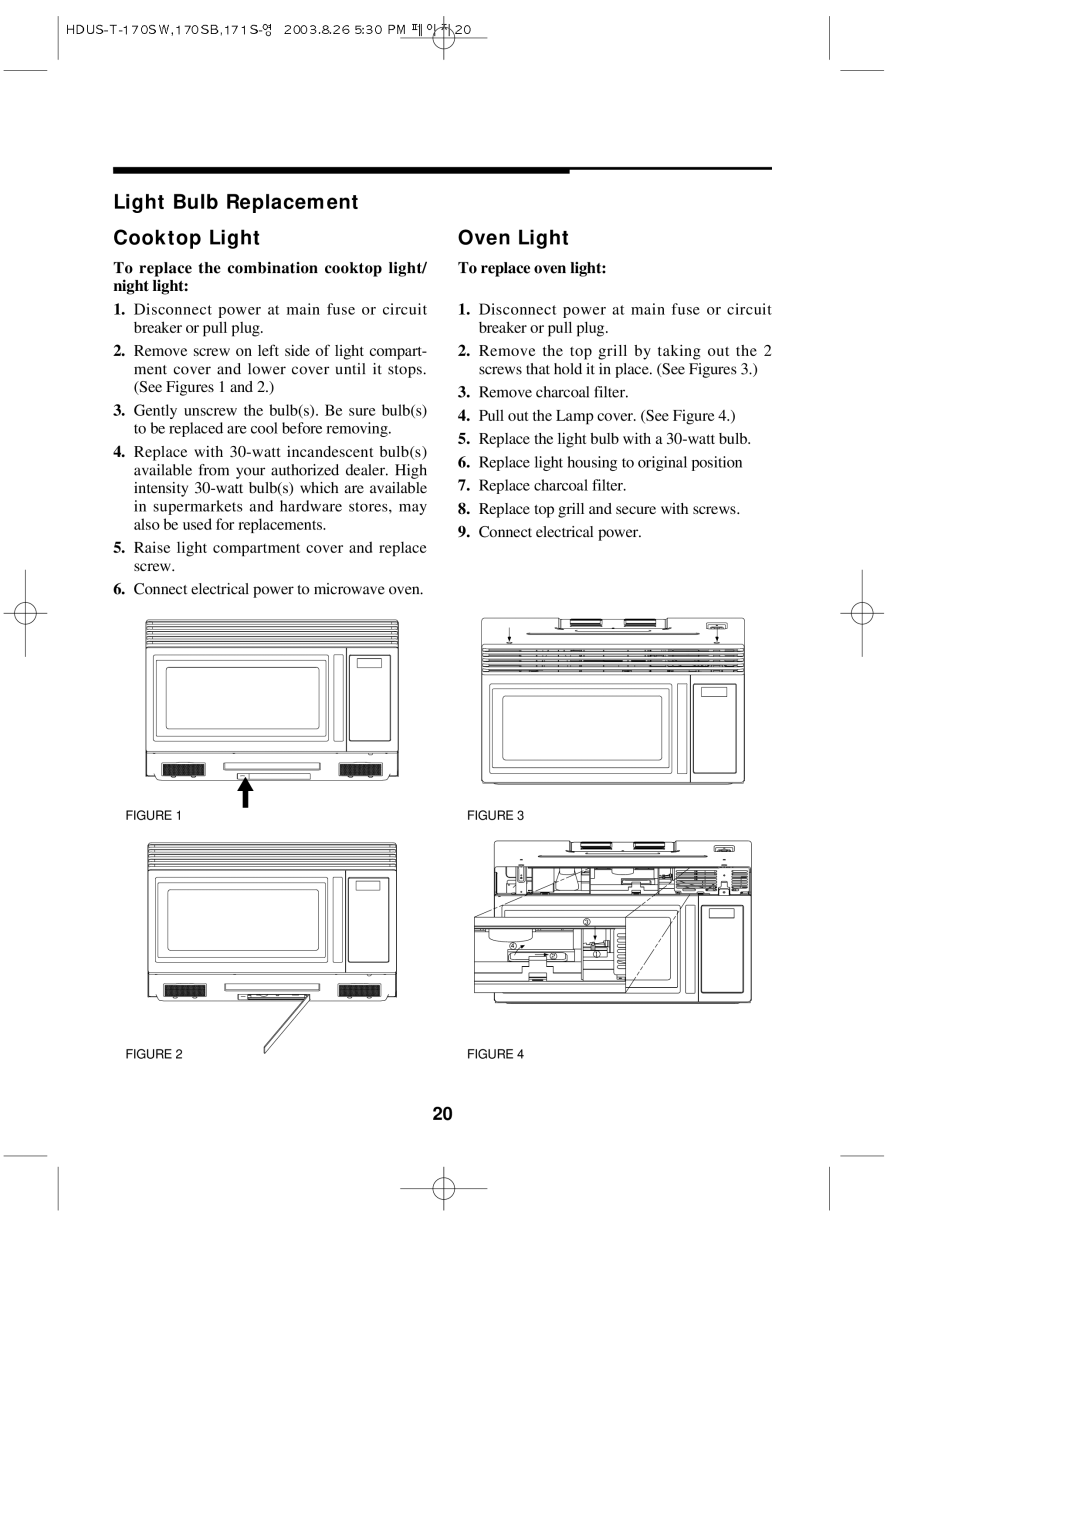
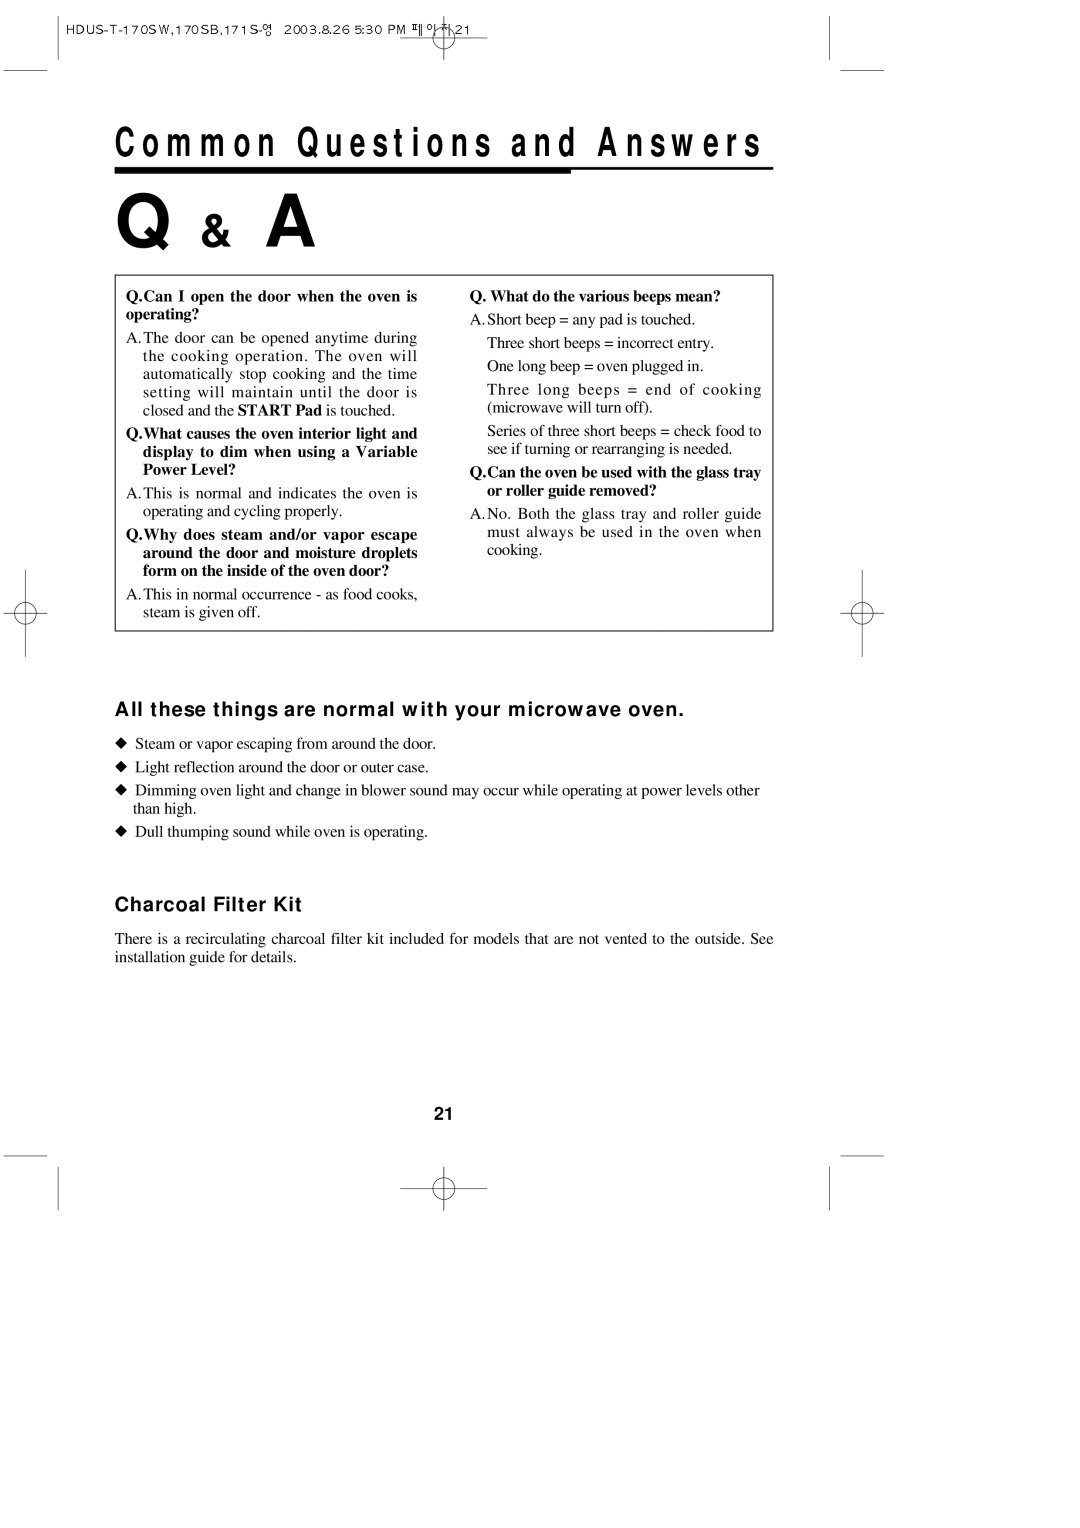
Contents Microwave Oven Precautions To Avoid Possible Exposure to More Important Safety InstructionsNot Remove the Splatter Shield inside the oven cavity Important Safety InstructionsGrounding Instructions Installation R e c o m m e n d a t i o n sAutomatic Fan Protection feature C r o w a v i n g Ti p sTo u c h C o n t r o l P a n e l KOT-172S KOT-170SW, KOT-170SB Door Latches E n F e a t u r e s a t a G l a n c eE r a t i n g B a s i c s Time-of-Day Clock Cook Time/Power LevelBasic Instructions Add Minute Power Level Cooking GuideTimer Power Level Best UsesTouch Number 3 Pad. PL-30 Press Start will be displayed Conversion ChartIf weight is Auto Defrost Defrost by TimeGeneral Defrosting Tips Defrost by Time Guide Power LevelTwo Stage Cooking E c i a l F e a t u r e sPopcorn Baked Potato Dinner Plate WarmFrozen Pizza BeverageSensor Cook Guide Sensor CookCooking Tips and Techniques Snack Cook Guide SnackAuto Start Oven Shelf Turntable On/OffControl Lockout DisplayUsing the Cooktop Light Using the Vent FanTo Cancel Timer Touch CANCEL/OFF Pad twice R e a n d C l e a n i n g Reusable Grease Filters Exhaust FeatureTo clean Grease Filter To Remove Grease FilterTo replace oven light Light Bulb Replacement Cooktop LightOven Light To replace the combination cooktop light/ night lightWhat do the various beeps mean? Can I open the door when the oven is operating?All these things are normal with your microwave oven Charcoal Filter KitBefore You Call Check the following to be sure a service call is necessaryC r o w a v e O v e n Wa r r a n t y