Panasonic KX-TG5931AL, KX-Tg5933AL, KX-TG5932AL, KX-TG5934AL Instructions to customer, Installation

Page 54

TG593xAL.book Page 54 Tuesday, April 11, 2006 10:31 AM

Useful Information

Instructions to customer

Installation

Attached to this apparatus is an approval label. This label is evidence that it is a “Permitted Attachment” which has been authorised to be connected to your telephone service. Conditions relating to connection and operation of this Permitted Attachment are contained in Telecommunications General By-Law 220 (5).

You are authorised to install this Permitted Attachment yourself by plugging it into the line socket of any regular telephone. You may connect it in place of your existing telephone or to any spare telephone socket installed in your premises.

To disconnect your existing telephone you must first remove its plug from the line socket. You can then insert the plug of your Permitted Attachment into the socket and use your equipment.

If the plug of your existing telephone cannot be readily removed, you will have to remove the screw securing it. To do this proceed as follows:

1.Loosen screw “A” sufficiently to remove the socket cover. (See Fig. 1.)

2.Remove screw “B” and withdraw the plug. (See Fig. 2.)

3.Replace screw “B”. (See Fig. 3.) Ensure that it screws completely into the socket recess. (If the screw is too long, increase the hole depth or replace the screw with one 5 mm shorter.)

4.Replace socket cover and tighten screw “A”. (See Fig. 4.)

SOCKET PLUG

SCREW “A”

SCREW

“B”


Fig. 1

Fig. 2

TELEPHONE CORD

)

Connect to the PLUG

( as shown in Fig. 1.


SCREW “A”

SCREW “B”

SOCKET

Fig. 3

Fig. 4

54

Image 54
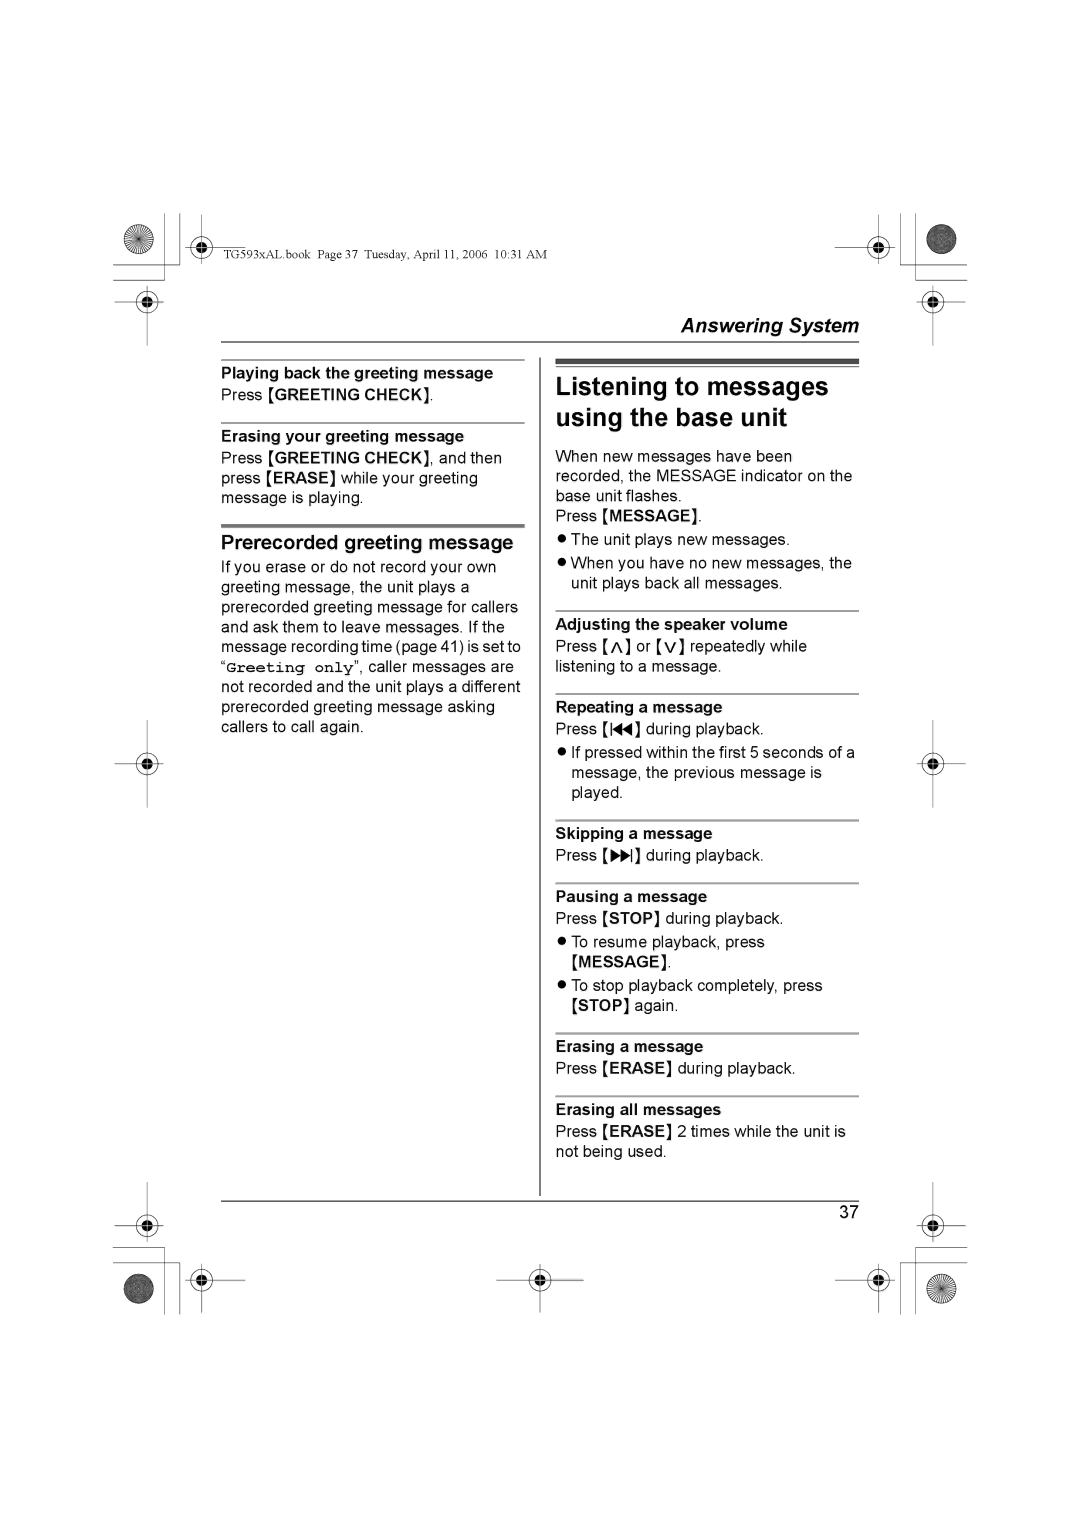
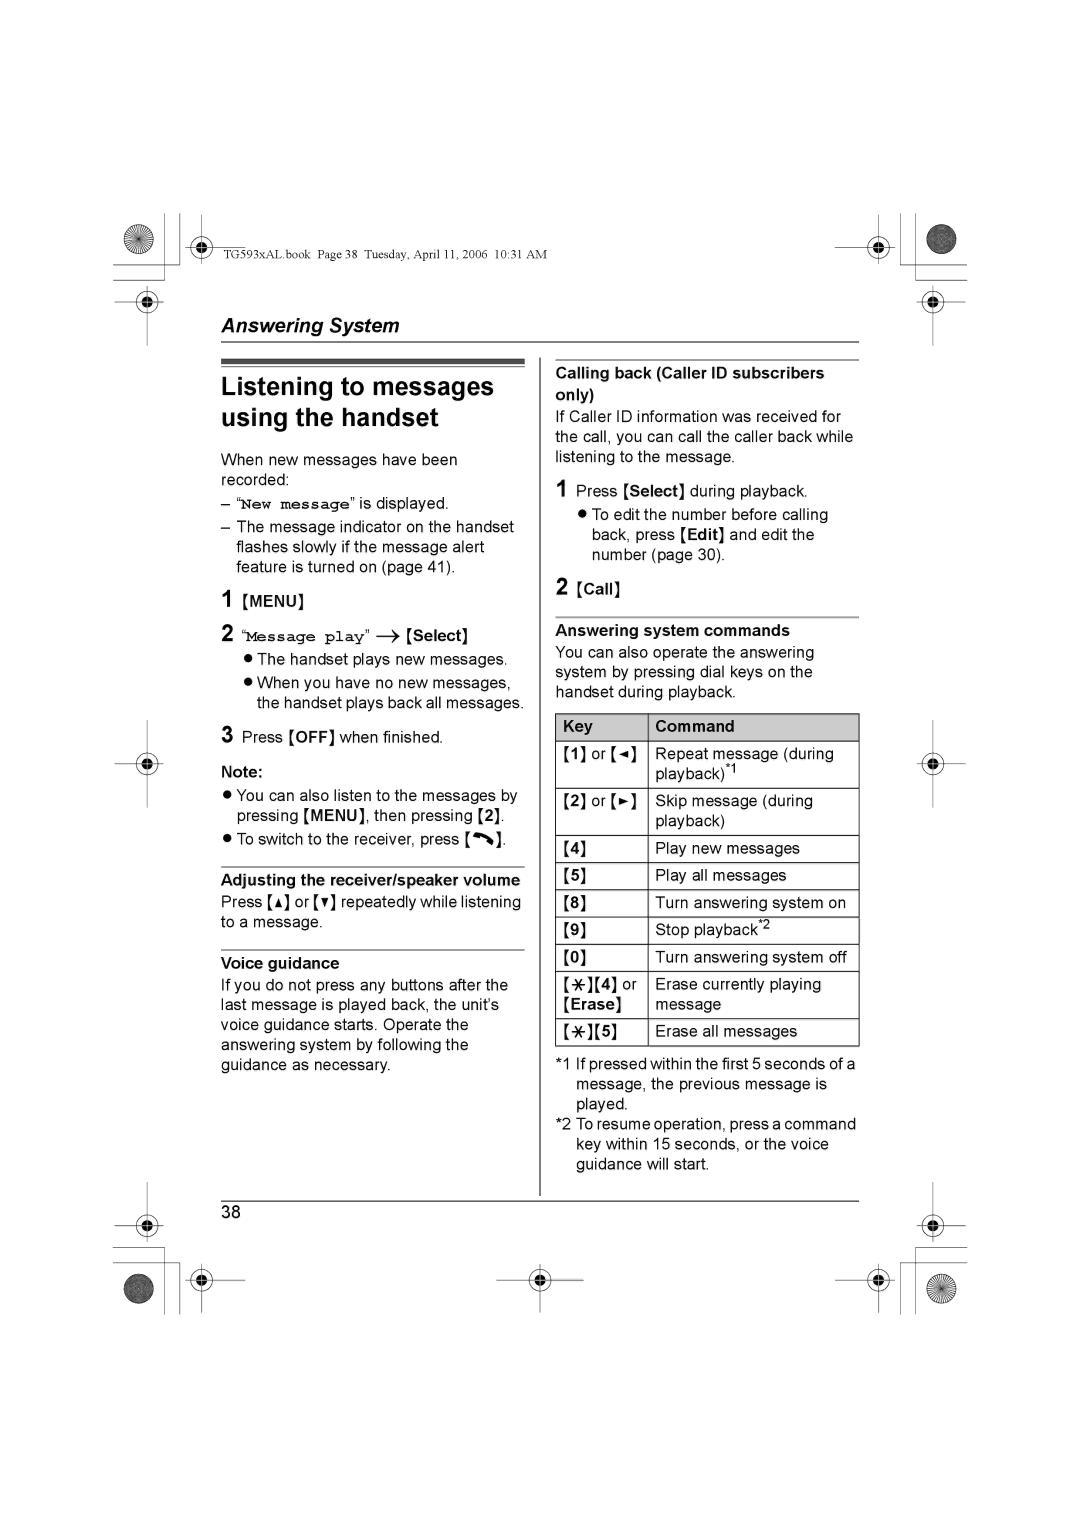
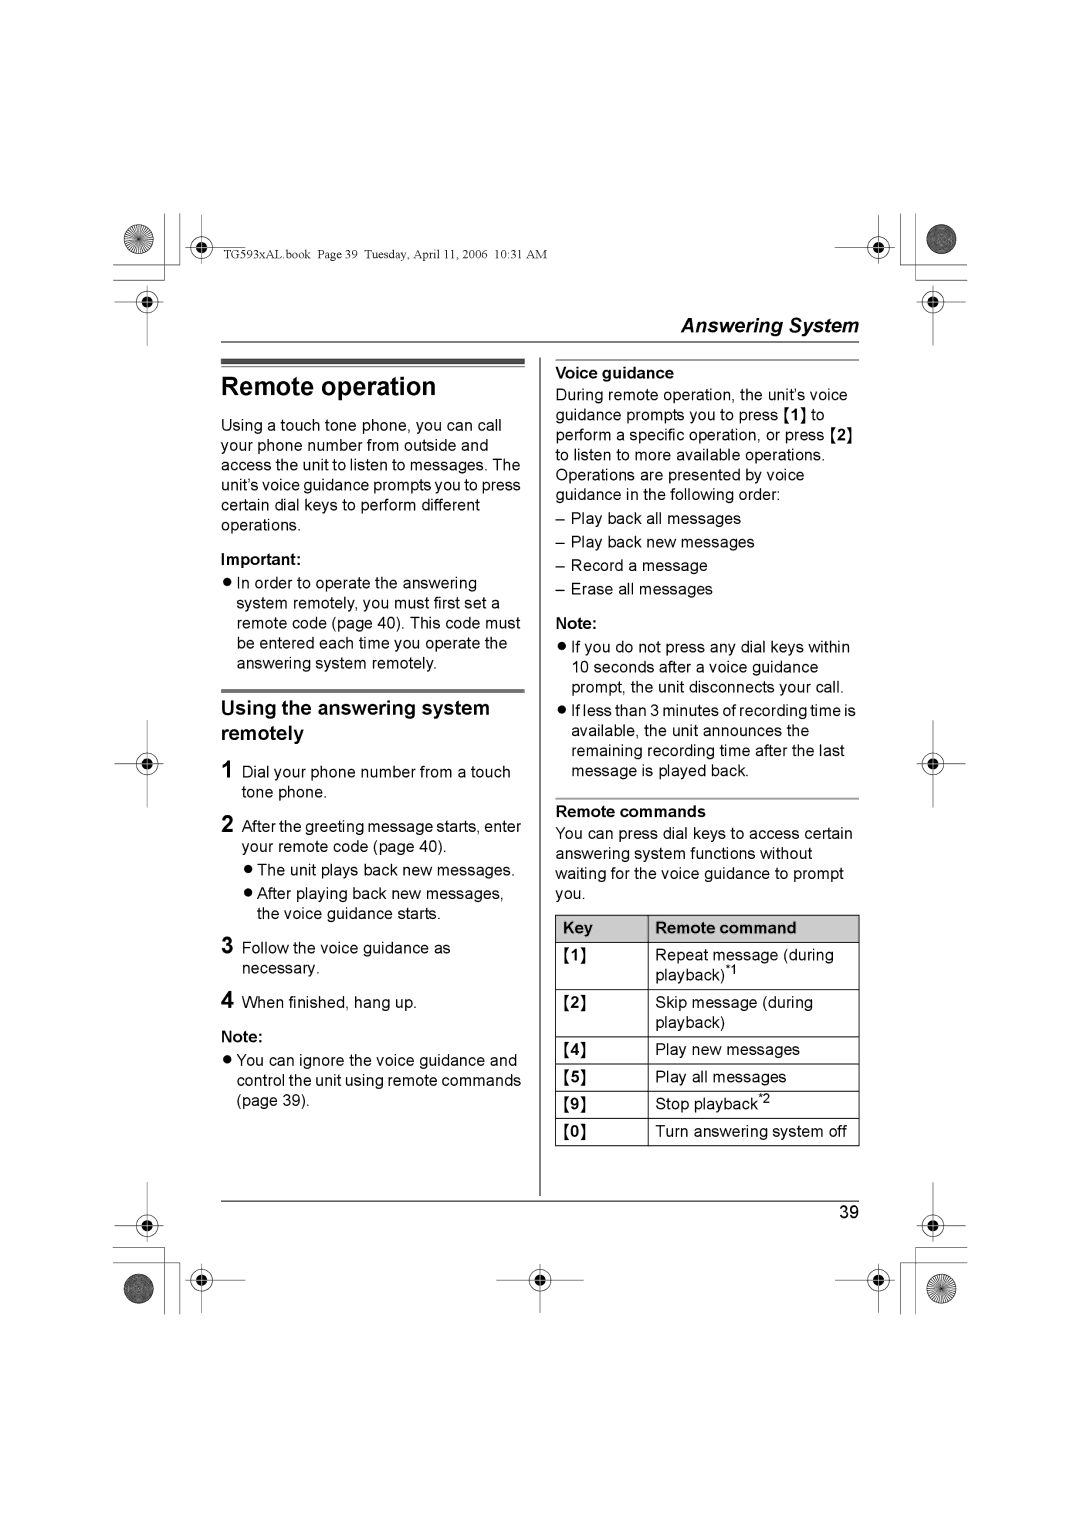
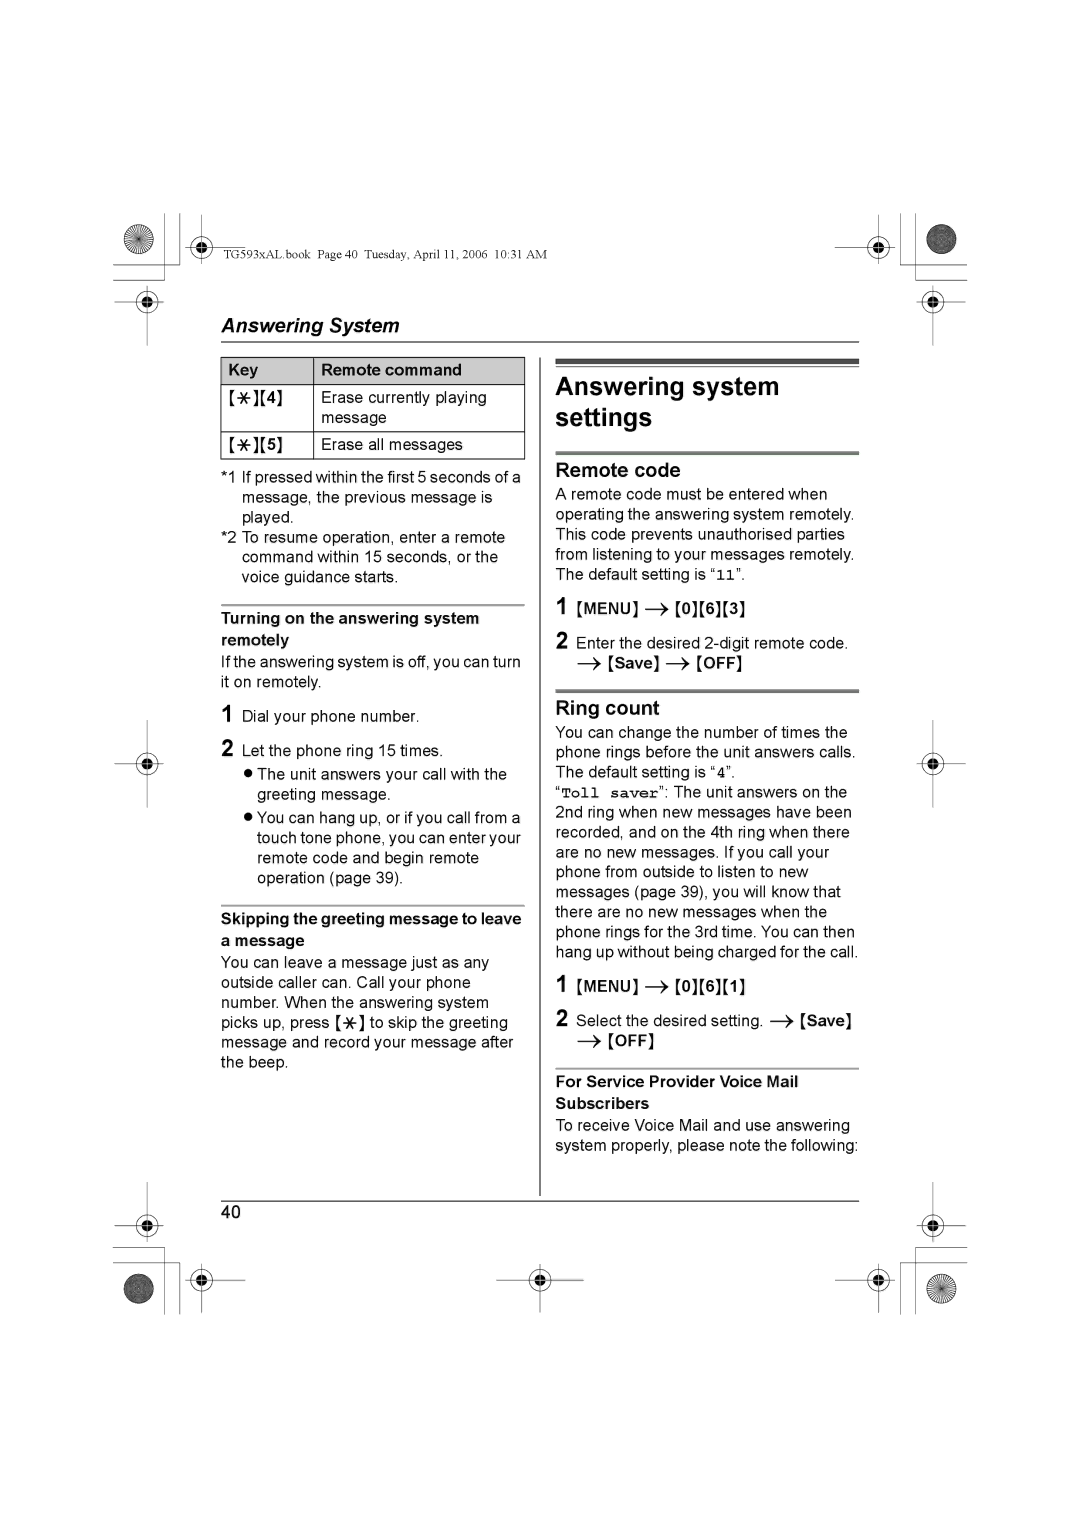
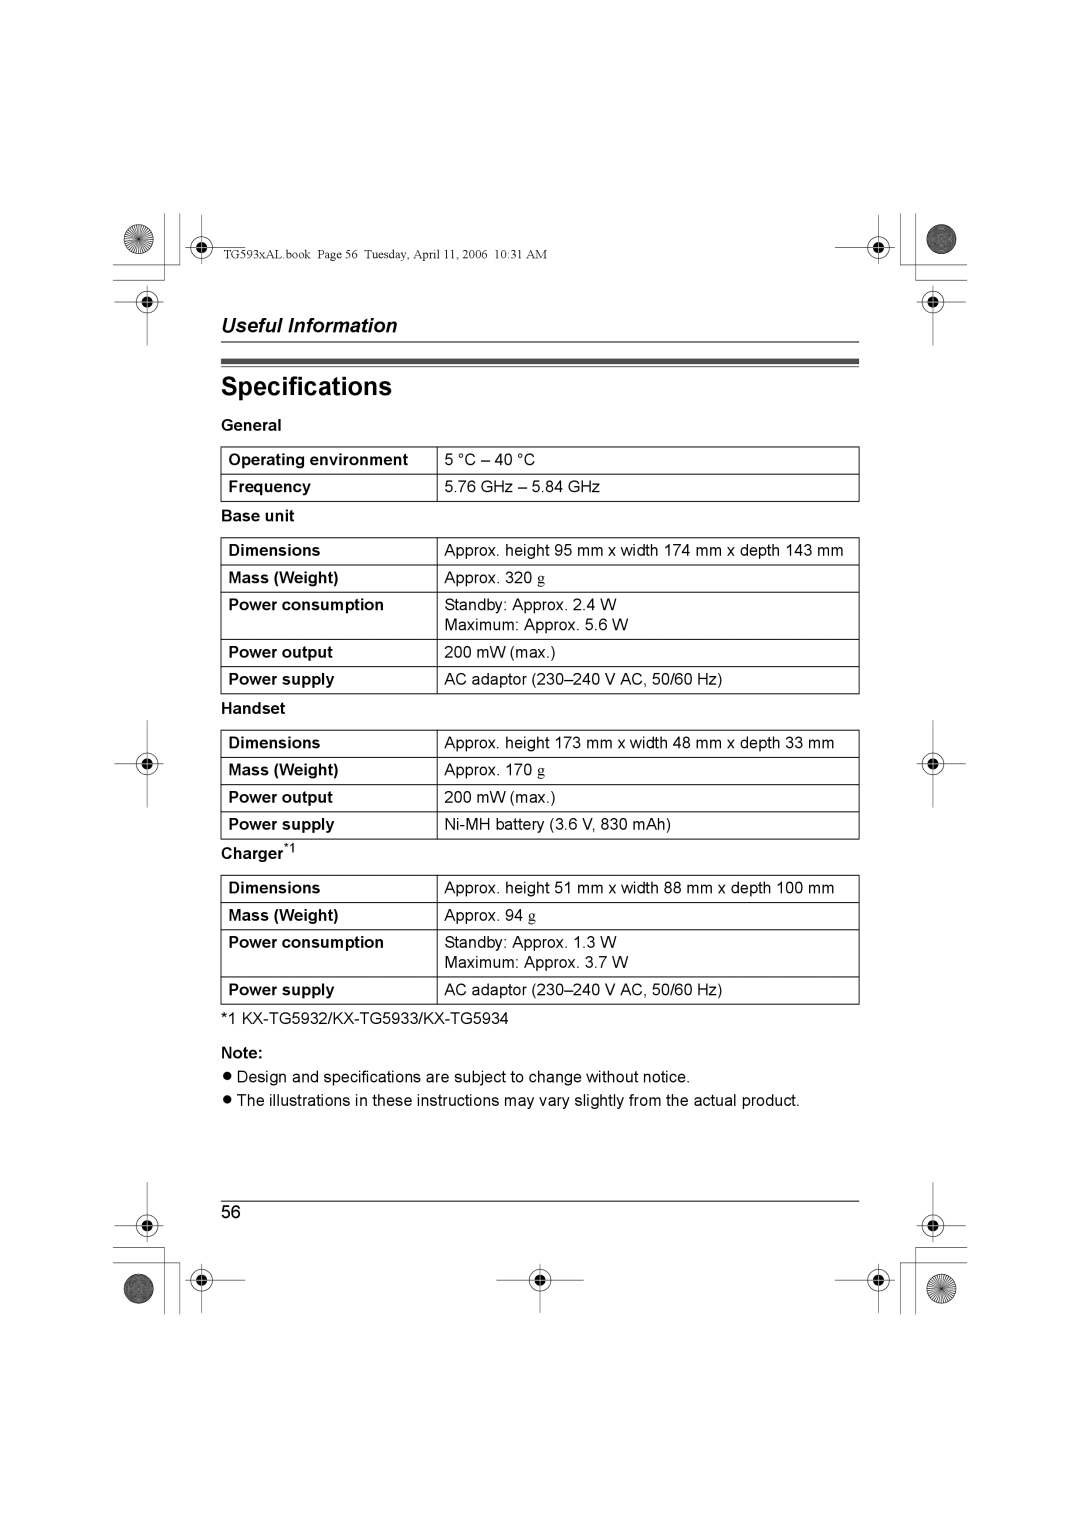
Contents Model No. KX-TG5933AL Model No. KX-TG5931ALModel No. KX-TG5932AL Model No. KX-TG5934ALMaking/Answering Calls Introduction Thank you for purchasing a Panasonic cordless telephoneAbout these operating instructions Descriptions of the multiple handsets and chargersSymbols used in these operating instructions Expanding your phone system KX-TG5932KX-TG5933 Accessory information Included accessoriesAccessory item Quantity Additional/replacement accessories Accessory item Order numberImportant safety InstructionsInstallation BatteryMedical For best performance Base unit location/avoiding noiseEnvironment Routine care Setting up the base unit Connecting the AC adaptor and telephone line cordIf you subscribe to an Adsl service Battery installation/replacement Setting up the handsetConnecting the charger Available models KX-TG5932/KX-TG5933/KX-TG5934Panasonic battery performance Operation Operating time Battery chargeBattery level Battery icon Base unitTG593xAL.book Page 16 Tuesday, April 11, 2006 1031 AM Controls Base unit Antennas Stop Speaker Charge indicatorMessage indicator MIC MicrophoneExample Mute Using the navigator key Adjusting audio volumeDisplays Handset soft keysBase unit display items Displayed Meaning Date and time Setting the unit before useHandset display items Displayed Meaning item Example 930 09Making calls Useful features during a call Answering callsHandset clarity booster MuteRecall button Handset voice enhancerTG593xAL.book Page 24 Tuesday, April 11, 2006 1031 AM Handset phonebook Adding items to the phonebookFinding and calling a phonebook item Editing items in the phonebook Erasing items in the phonebookChain dial Available models Copying an itemCopying all items Using Caller ID service Call waiting and Caller ID compatibleRinger ID Light-up IDStoring your area code Caller listViewing the caller list and calling back Editing a caller’s phone number before calling backErasing all caller information Storing caller information into the phonebookErasing selected caller information SaveProgrammable settings Programming by scrolling through the display menusSave iOFF Main menu Sub-menu Main menu Sub-menu Programming using the direct commands Feature Setting code System CodeMenu Programming Answering system Turning the answering system on/offRecording your greeting message Skipping a message Pausing a messagePrerecorded greeting message Erasing a messageCalling back Caller ID subscribers only Key CommandVoice guidance CallKey Remote command Using the answering system remotelyRemote commands Remote operationAnswering system settings Remote codeRing count Caller’s recording time Message alertIntercom KX-TG5931KX-TG5932/KX-TG5933/KX- TG5934 Transferring calls between handsets, conference calls Registering a handset Answering transferred callsRegistering an additional handset Wall mounting Base unitWall mount template for the base unit To remove the wall mounting adaptor Headset optional ChargerWall mount template for the charger Error messages Display message Cause/solutionProgrammable settings Problem Cause/solution TroubleshootingGeneral use Problem Cause/solution Battery recharge Problem Cause/solutionProblem Cause/solution Making/answering calls, intercomPhonebook Problem Cause/solution Caller ID Problem Cause/solutionAnswering system Problem Cause/solution TG593xAL.book Page 53 Tuesday, April 11, 2006 1031 AM Instructions to customer Service difficulties Specifications Index TG593xAL.book Page 58 Tuesday, April 11, 2006 1031 AM TG593xAL.book Page 59 Tuesday, April 11, 2006 1031 AM Sales Department Panasonic Australia Pty. Limited ManufacturerCopyright