General System Functions
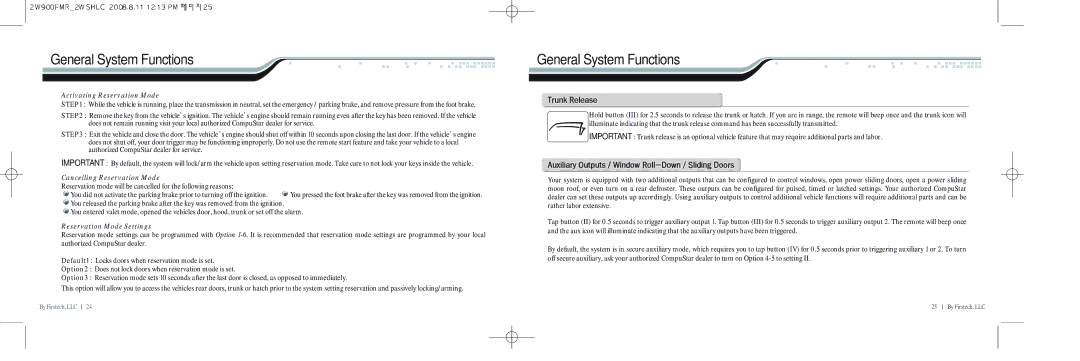
Activating Reservation Mode
STEP1 : While the vehicle is running, place the transmission in neutral, set the emergency / parking brake, and remove pressure from the foot brake.
STEP2 : Remove the key from the vehicle s ignition. The vehicle s engine should remain running even after the key has been removed. If the vehicle does not remain running visit your local authorized CompuStar dealer for service.
STEP3 : Exit the vehicle and close the door. The vehicle s engine should shut off within 10 seconds upon closing the last door. If the vehicle s engine does not shut off, your door trigger may be functioning improperly. Do not use the remote start feature and take your vehicle to a local authorized CompuStar dealer for service.
IMPORTANT : By default, the system will lock/arm the vehicle upon setting reservation mode. Take care to not lock your keys inside the vehicle.
Cancelling Reservation Mode
Reservation mode will be cancelled for the following reasons;
You did not activate the parking brake prior to turning off the ignition. | You pressed the foot brake after the key was removed from the ignition. |
![]() You released the parking brake after the key was removed from the ignition.
You released the parking brake after the key was removed from the ignition.
![]() You entered valet mode, opened the vehicles door, hood, trunk or set off the alarm.
You entered valet mode, opened the vehicles door, hood, trunk or set off the alarm.
Reservation Mode Settings
Reservation mode settings can be programmed with Option
Default1 : Locks doors when reservation mode is set.
Option2 : Does not lock doors when reservation mode is set.
Option3 : Reservation mode sets 10 seconds after the last door is closed, as opposed to immediately.
This option will allow you to access the vehicles rear doors, trunk or hatch prior to the system setting reservation and passively locking/arming.
General System Functions
t@r
Hold button (III) for 2.5 seconds to release the trunk or hatch. If you are in range, the remote will beep once and the trunk icon will illuminate indicating that the trunk release command has been successfully transmitted.
IMPORTANT : Trunk release is an optional vehicle feature that may require additional parts and labor.
a@o@O@w@rMd@O@s@d
Your system is equipped with two additional outputs that can be configured to control windows, open power sliding doors, open a power sliding moon roof, or even turn on a rear defroster. These outputs can be configured for pulsed, timed or latched settings. Your authorized CompuStar dealer can set these outputs up accordingly. Using auxiliary outputs to control additional vehicle functions will require additional parts and can be rather labor extensive.
Tap button (II) for 0.5 seconds to trigger auxiliary output 1. Tap button (III) for 0.5 seconds to trigger auxiliary output 2. The remote will beep once and the aux icon will illuminate indicating that the auxiliary outputs have been triggered.
By default, the system is in secure auxiliary mode, which requires you to tap button (IV) for 0.5 seconds prior to triggering auxiliary 1 or 2. To turn off secure auxiliary, ask your authorized CompuStar dealer to turn on Option
ByFirstech,LLC |
| 24 | 25 |
| ByFirstech,LLC |
|
|
