|
| Model |
|
| |
| SECTION 2. MAINTENANCE | |
|
| |
| This section provides procedures for the checkout and replacement | |
| of the various parts used within the blast chiller/freezer. Before | |
| replacing any parts, refer to the Troubleshooting Section. It | |
| will aid you in determining the cause of the malfunction. | |
| 1. | You may want to use a multimeter to check the electric |
|
| components. |
| 2. | When the manual refers to the circuit being closed, the |
|
| multimeter should read zero unless otherwise noted. |
| 3. | When the manual refers to the circuit being open, the multi- |
|
| meter reads infinity. |
| These parts involve manipulating the refrigerant in the system. | |
EXPANSION VALVE, | Any removal or adjustments to these parts must be handled by a | |
SIGHT GLASS, AND | certified refrigeration expert. | |
CONDENSER FAN |
|
|
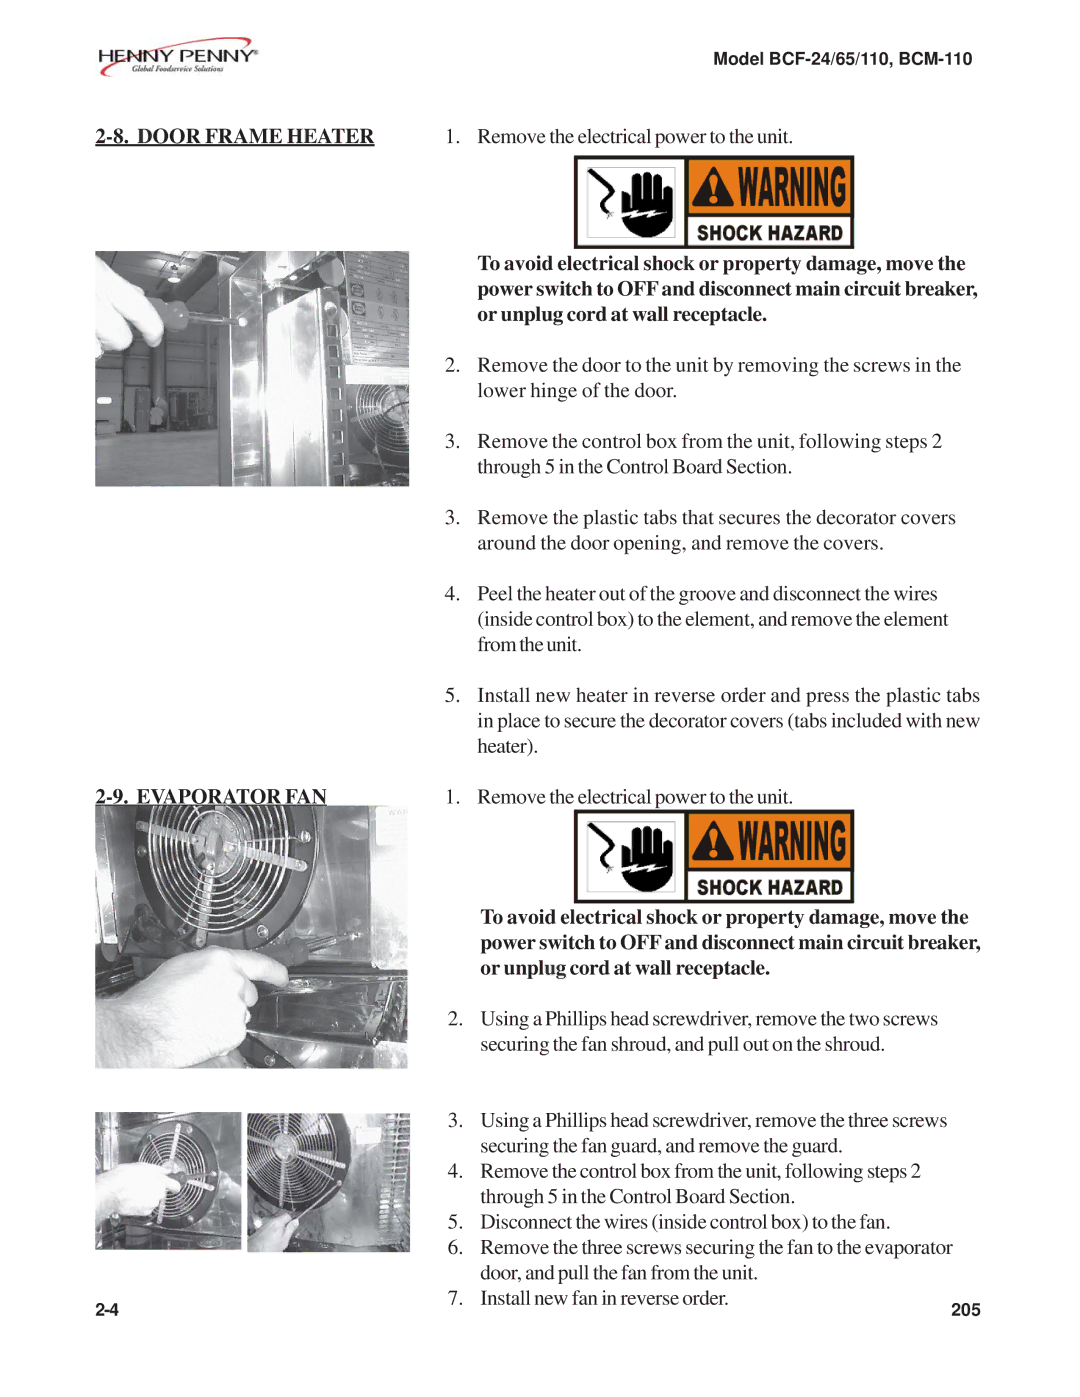
| 1. | Remove the electrical power to the unit. |
AUXILIARY DISPLAY |
|
|
BOARD |
|
|
|
| To avoid electrical shock or property damage, move the |
|
| power switch to OFF and disconnect main circuit breaker, |
|
| or unplug cord at wall receptacle. |
| 2. | Using a Phillips head screwdriver, remove the two screws |
|
| securing the front panel, and lower the panel. |
| 3. | Pull the connector from the corner of the display board. |
| 4. | Using a flathead screwdriver, remove the screws securing |
|
| the bracket to the panel, and pull the bracket from the panel. |
| 5. | Using a flathead screwdriver, push in on the clips on the |
|
| plastic studs and pull the studs through the bracket. Remove |
|
| the display board from the bracket. |
| 6. | Install the new board in reverse order. |
603 |
| |


