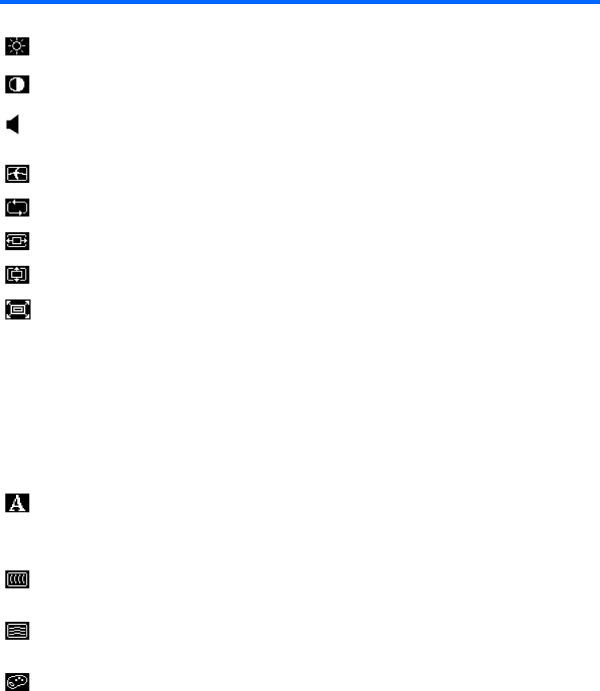
HP Explore OSD Menu Options for Optimal Monitor Settings

Page 34

OSD Menu Selections

The following table lists the On-Screen Display (OSD) menu selections and their functional descriptions. After changing an OSD menu item, and if the menu screen has these options, you may choose to:

Cancel—to return to the previous menu level.

Save and Return—to save all changes and return to the OSD Main Menu screen. This Save and Return option is only active if you change a menu item.

Table 4-2 OSD Menu

Icon

Main Menu

Submenu

Description


Brightness

Adjustable scale

Adjusts the brightness level of the screen. The factory


default range is 90.


Contrast

Adjustable scale

Adjusts the contrast level of the screen. The factory


default range is 80.


Volume (select


Adjusts the monitor's speaker volume level. The


models with


factory default range is 50.


internal speakers)


Image Control


Adjusts the screen image. (VGA input only)


Auto Adjustment

Automatically adjusts the screen image.


Horizontal Position

Adjusts the position of the screen image left and right.


Vertical Position

Adjusts the position of the screen image up and down.


Custom Scaling (select

Selects the method on how displayed information on


models)

the monitor will be formatted. Select:


Fill to Screen - image fills the entire screen and


may look distorted or elongated because of non-


proportional scaling of height and width


Fill to Aspect Ratio - image is sized to fit the


screen and maintains proportional image


One-to-one (select models) - disables video


scaling, displays an image that is smaller in size


than the monitor’s capability and centers the


image on the screen in the active viewing area


Sharpness (select

Adjusts the screen image to look sharper or soft.


models)

NOTE: If the one-to-one custom scaling menu is


selected, scaling is disabled and the sharpness


feature will also be disabled.


Clock

Minimizes any vertical bars or strips visible on the


screen background. Adjusting the Clock will also


change the horizontal screen image.


Clock Phase

Adjusts the focus of the display. This adjustment


allows you to remove any horizontal noise and clear or


sharpen the image of characters.


Color


Selects the screen color. The factory default is 6500K


or Custom Color, depending on the model.


26 Chapter 4 Operating the Monitor

Image 34
Contents User Guide Page About This Guide Iv About This Guide Table of contents Appendix a Troubleshooting Appendix D LCD Monitor Quality and Pixel Policy Viii Product Features HP LCD MonitorsPage Safety and Maintenance Guidelines Important Safety InformationCleaning the Monitor Maintenance GuidelinesShipping the Monitor Setting Up the Monitor Unfolding the Double-Hinged Monitor Pedestal Base3Unfolding the Monitor Pedestal Base Setting Up the Monitor Unfolding the Single-Hinged Monitor Pedestal BaseRear Components Component FunctionDVI 7Using the Cable Management Feature Double-Hinged Base Cable ManagementConnecting the Cables Page Adjusting the Monitor 10Connecting the Power Cable13Adjusting the Height Adjusting the Monitor Turning on the Monitor 14Pivoting the MonitorConnecting USB Devices Using the Accessory RailsRemoving the Monitor Pedestal Base Mounting the Monitor Page Page 22Locating the Rating Labels Setting Up the Monitor Locating the Rating LabelsInformation File Operating the MonitorSoftware and Utilities Image Color Matching FileInstalling from the CD Installing the .INF and .ICM FilesUsing the Auto-Adjustment Function Downloading from the Worldwide WebPage Front Panel Controls 1Monitor Front Panel ControlsAdjusting the Monitor Settings Using the On-Screen Display MenuOSD Menu Selections 2OSD Menu Depending on monitor model, factory default is On or Digital DVI Selects DVI input Using the HP Display Assistant Utility Optimizing Digital ConversionIdentifying Monitor Conditions Sleep Timer Mode HP Display LiteSaver Installing the HP Display LiteSaver Software3HP Display LiteSaver Configuration Options SRGB SupportChanging the Color Temperature Installing the sRGB ICM File for Microsoft Windows VistaTroubleshooting Solving Common ProblemsAppendix a Troubleshooting Using the Worldwide Web Preparing to Call Technical Support Table B-1L1750 Specifications Technical SpecificationsL1750 Model Table B-2L1950/L1950g Specifications L1950/L1950g ModelTable B-3L1710 Specifications L1710 ModelTable B-4L1910 Specifications L1910 ModelTable B-5L1908w Specifications L1908w ModelTable B-6L1908wm Specifications L1908wm ModelTable B-7L1945w Specifications L1945w ModelTable B-8L1945wv Specifications L1945wv ModelTable B-9L2208w Specifications L2208w ModelTable B-10L2245w/L2245wg Specifications L2245w/L2245wg ModelTable B-11L2445w Specifications L2445w ModelTable B-13Factory Preset Modes Recognizing Preset Display ResolutionsTable B-12Factory Preset Modes L1750, L1950/L1950g, L1710, and L1910 ModelsTable B-14Factory Preset Modes L2208w and L2245w/L2245wg ModelsTable B-15Factory Preset Modes L2445w ModelEnergy Saver Feature Entering User ModesModifications Agency Regulatory NoticesFederal Communications Commission Notice CablesAvis Canadien Canadian NoticeEuropean Union Regulatory Notice Japanese Power Cord Requirements Japanese Notice Korean Notice Power Cord Set RequirementsGerman Ergonomics Notice Energy Star Compliance Product Environmental NoticesMaterials Disposal Chemical Substances Restriction of Hazardous Substances RoHS 11363-2006 LCD Monitor Quality and Pixel Policy