Electrolux EL500AZ manual Care and Maintenance, Soin ET Entretien, Cuidado Y Mantenimiento

Page 19

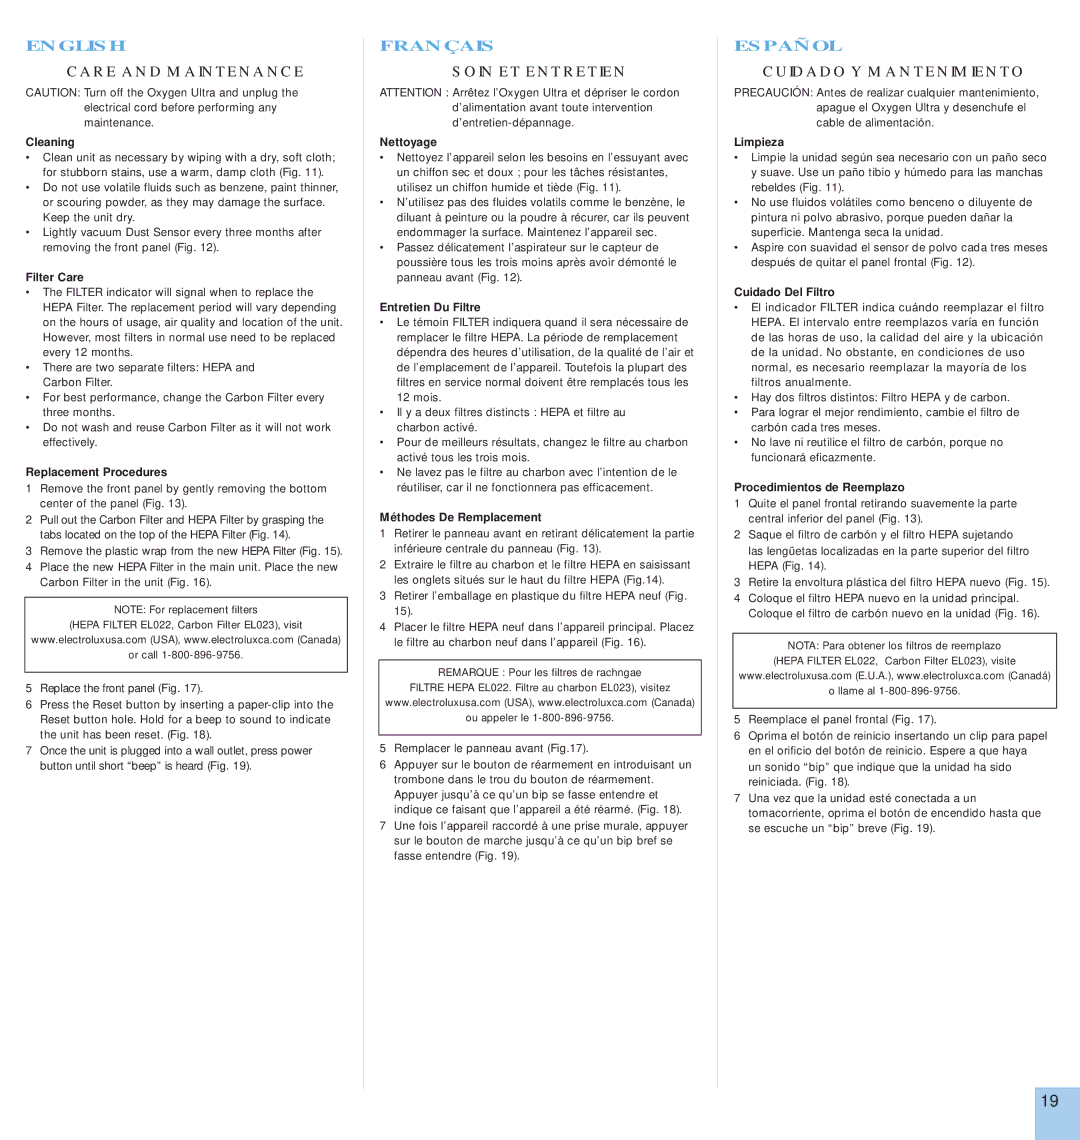
ENGLISH

CARE AND MAINTENANCE

CAUTION: Turn off the Oxygen Ultra and unplug the electrical cord before performing any maintenance.

Cleaning

Clean unit as necessary by wiping with a dry, soft cloth; for stubborn stains, use a warm, damp cloth (Fig. 11).

Do not use volatile fluids such as benzene, paint thinner, or scouring powder, as they may damage the surface. Keep the unit dry.

Lightly vacuum Dust Sensor every three months after removing the front panel (Fig. 12).

Filter Care

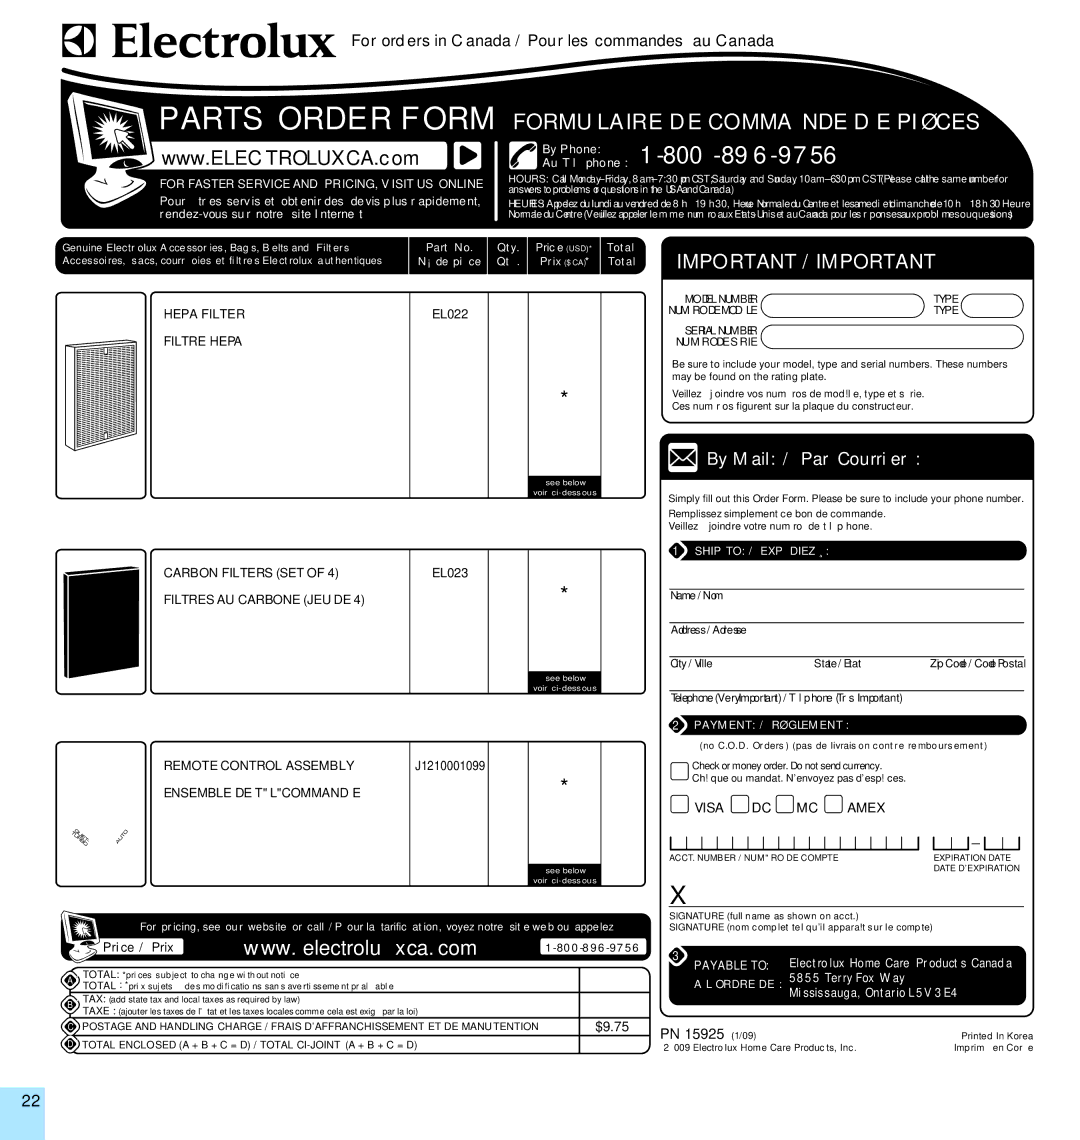
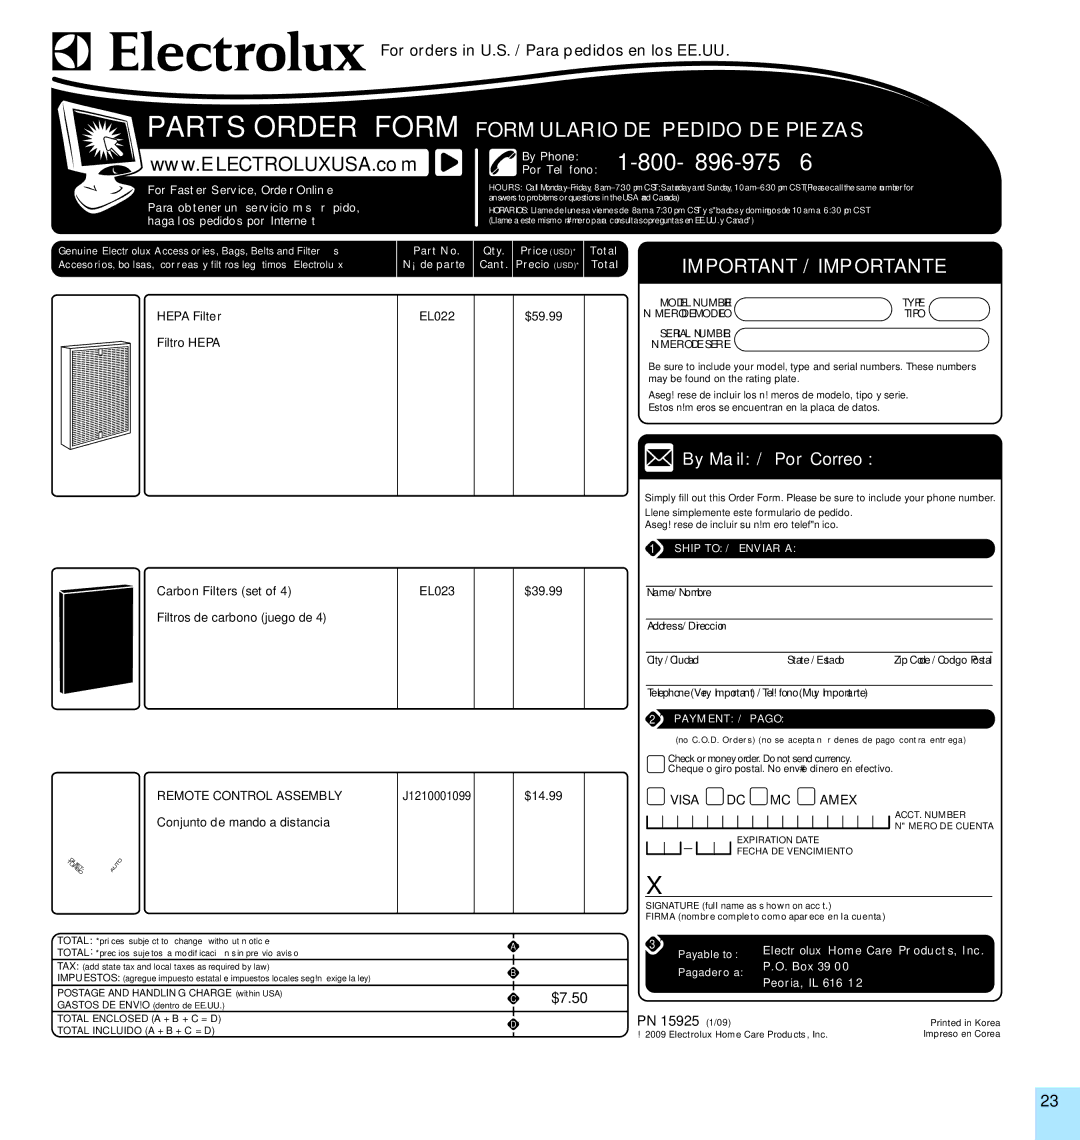
The FILTER indicator will signal when to replace the HEPA Filter. The replacement period will vary depending on the hours of usage, air quality and location of the unit. However, most filters in normal use need to be replaced every 12 months.

There are two separate filters: HEPA and Carbon Filter.

For best performance, change the Carbon Filter every three months.

Do not wash and reuse Carbon Filter as it will not work effectively.

Replacement Procedures

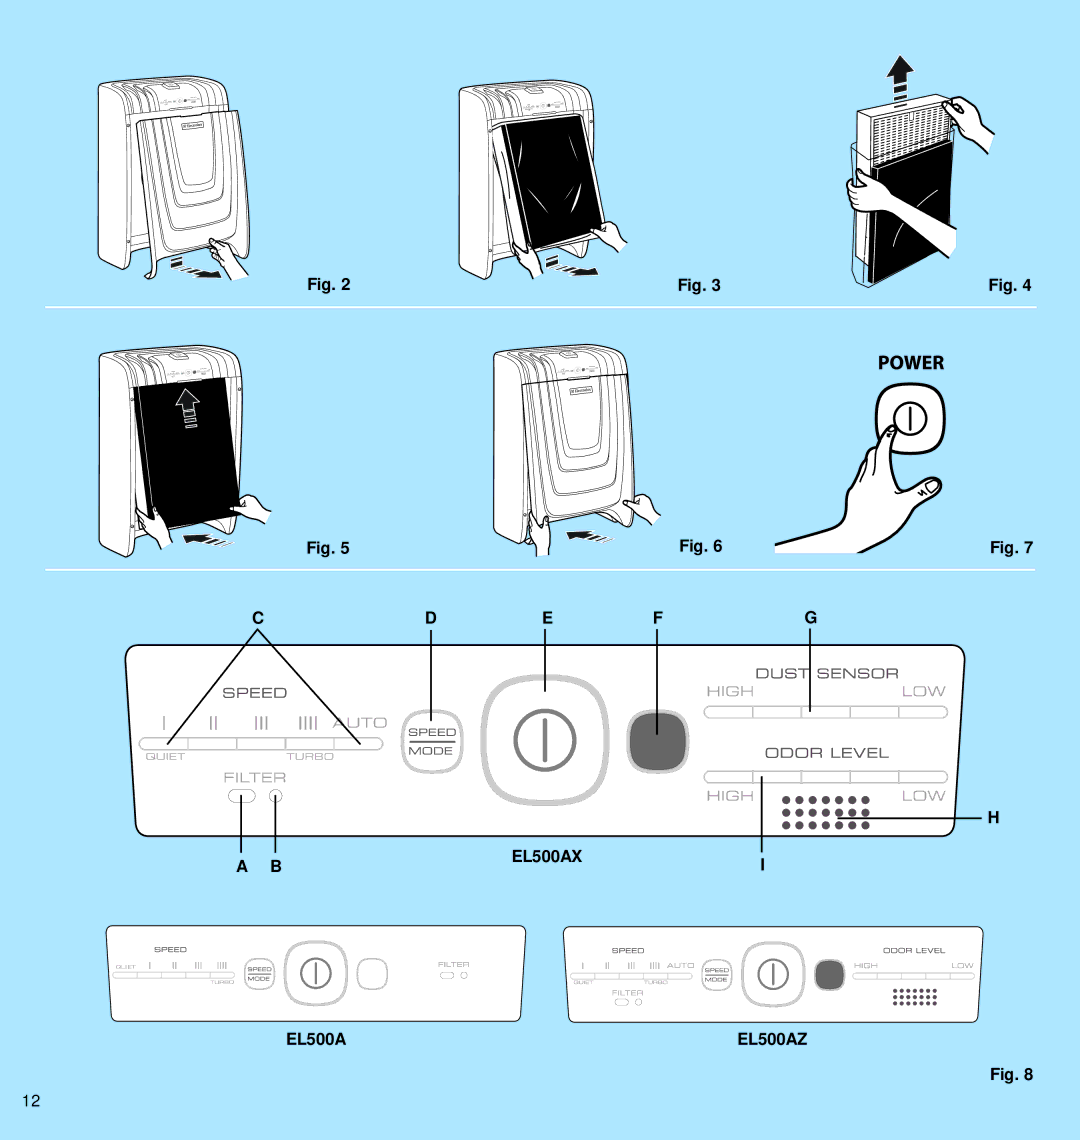
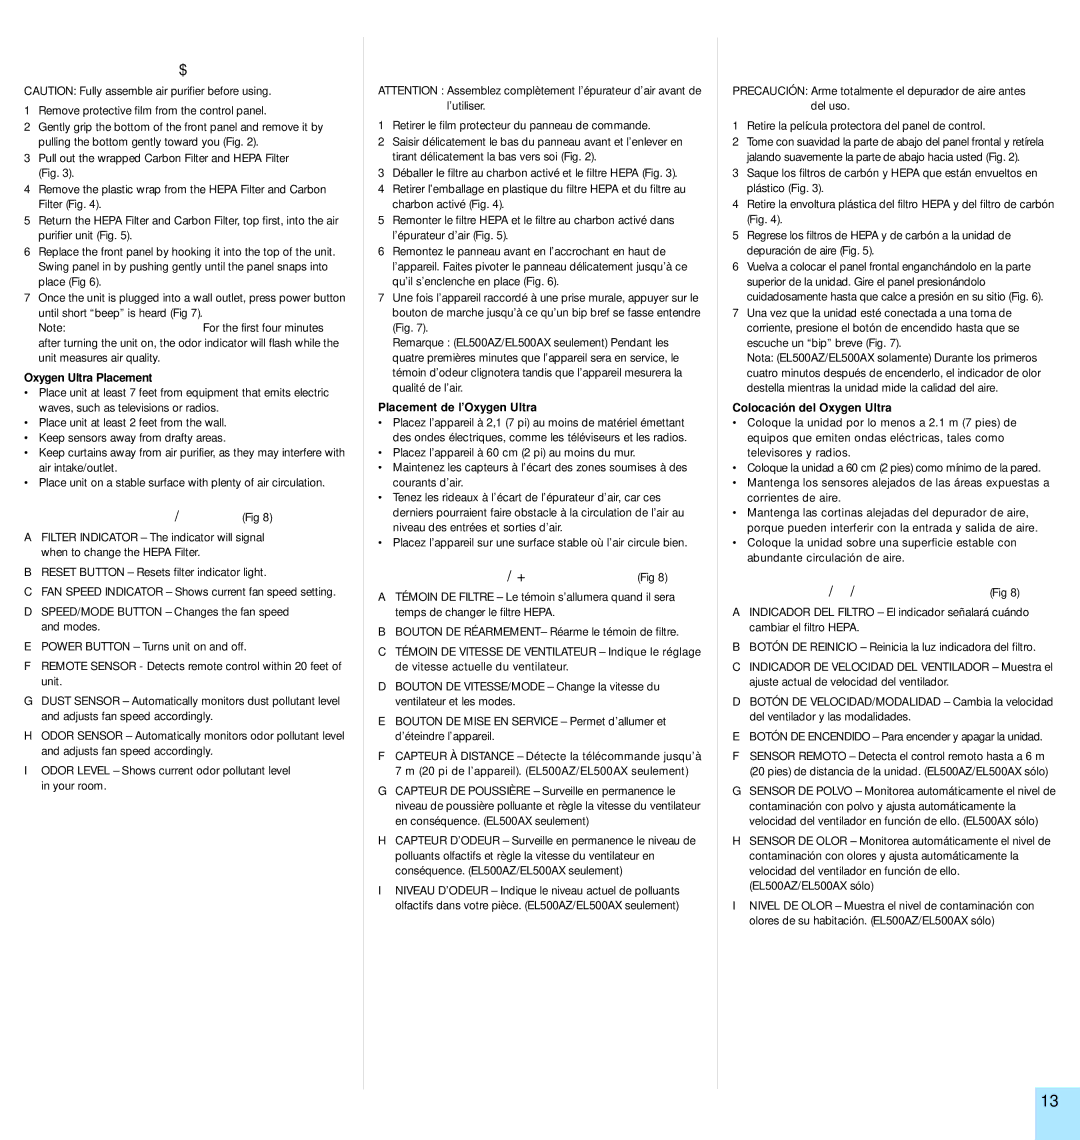
1Remove the front panel by gently removing the bottom center of the panel (Fig. 13).

2Pull out the Carbon Filter and HEPA Filter by grasping the tabs located on the top of the HEPA Filter (Fig. 14).

3Remove the plastic wrap from the new HEPA Filter(Fig. 15).

4Place the new HEPA Filter in the main unit. Place the new Carbon Filter in the unit (Fig. 16).

NOTE: For replacement filters

(HEPA FILTER EL022, Carbon Filter EL023), visit

www.electroluxusa.com (USA), www.electroluxca.com (Canada)

or call 1-800-896-9756.

5Replace thefront panel (Fig. 17).

6Press the Reset button by inserting a paper-clip into the Reset button hole. Hold for a beep to sound to indicate the unit has been reset. (Fig. 18).

7Once the unit is plugged into a wall outlet, press power button until short “beep” is heard(Fig. 19).

FRANÇAIS

SOIN ET ENTRETIEN

ATTENTION : Arrêtez l’Oxygen Ultra et dépriser le cordon d’alimentation avant toute intervention d’entretien-dépannage.

Nettoyage

Nettoyez l’appareil selon les besoins en l’essuyant avec un chiffon sec et doux ; pour les tâches résistantes, utilisez un chiffon humide et tiède (Fig. 11).

N’utilisez pas des fluides volatils comme le benzène, le diluant à peinture ou la poudre à récurer, car ils peuvent endommager la surface. Maintenez l’appareil sec.

Passez délicatement l’aspirateur sur le capteur de poussière tous les trois moins après avoir démonté le panneau avant (Fig. 12).

Entretien Du Filtre

Le témoin FILTER indiquera quand il sera nécessaire de remplacer le filtre HEPA. La période de remplacement dépendra des heures d’utilisation, de la qualité de l’air et de l’emplacement de l’appareil. Toutefois la plupart des filtres en service normal doivent être remplacés tous les 12 mois.

Il y a deux filtres distincts : HEPA et filtre au charbon activé.

Pour de meilleurs résultats, changez le filtre au charbon activé tous les trois mois.

Ne lavez pas le filtre au charbon avec l’intention de le réutiliser, car il ne fonctionnera pas efficacement.

Méthodes De Remplacement

1Retirer le panneau avant en retirant délicatement la partie inférieure centrale du panneau (Fig. 13).

2Extraire le filtre au charbon et le filtre HEPA en saisissant les onglets situés sur le haut du filtre HEPA (Fig.14).

3Retirer l’emballage en plastique du filtre HEPA neuf (Fig. 15).

4Placer le filtre HEPA neuf dans l’appareil principal. Placez le filtre au charbon neuf dans l’appareil (Fig. 16).

REMARQUE : Pour les filtres de rachngae

FILTRE HEPA EL022. Filtre au charbon EL023), visitez

www.electroluxusa.com (USA), www.electroluxca.com (Canada)

ou appeler le 1-800-896-9756.

5Remplacer le panneau avant (Fig.17).

6Appuyer sur le bouton de réarmement en introduisant un trombone dans le trou du bouton de réarmement. Appuyer jusqu’à ce qu’un bip se fasse entendre et indique ce faisant que l’appareil a été réarmé. (Fig. 18).

7Une fois l’appareil raccordé à une prise murale, appuyer sur le bouton de marche jusqu’à ce qu’un bip bref se fasse entendre (Fig. 19).

ESPAÑOL

CUIDADO Y MANTENIMIENTO

PRECAUCIÓN: Antes de realizar cualquier mantenimiento, apague el Oxygen Ultra y desenchufe el cable de alimentación.

Limpieza

Limpie la unidad según sea necesario con un paño seco y suave. Use un paño tibio y húmedo para las manchas rebeldes (Fig. 11).

No use fluidos volátiles como benceno o diluyente de pintura ni polvo abrasivo, porque pueden dañar la superficie. Mantenga seca la unidad.

Aspire con suavidad el sensor de polvo cada tres meses después de quitar el panel frontal (Fig. 12).

Cuidado Del Filtro

El indicador FILTER indica cuándo reemplazar el filtro HEPA. El intervalo entre reemplazos varía en función de las horas de uso, la calidad del aire y la ubicación de la unidad. No obstante, en condiciones de uso normal, es necesario reemplazar la mayoría de los filtros anualmente.

Hay dos filtros distintos: Filtro HEPA y de carbon.

Para lograr el mejor rendimiento, cambie el filtro de carbón cada tres meses.

No lave ni reutilice el filtro de carbón, porque no funcionará eficazmente.

Procedimientos de Reemplazo

1Quite el panel frontal retirando suavemente la parte central inferior del panel (Fig. 13).

2Saque el filtro de carbón y el filtro HEPA sujetando las lengüetas localizadas en la parte superior del filtro HEPA (Fig. 14).

3Retire la envoltura plástica del filtro HEPA nuevo (Fig. 15).

4Coloque el filtro HEPA nuevo en la unidad principal. Coloque el filtro de carbón nuevo en la unidad (Fig. 16).

NOTA: Para obtener los filtros de reemplazo

(HEPA FILTER EL022, Carbon Filter EL023), visite

www.electroluxusa.com (E.U.A.), www.electroluxca.com (Canadá)

o llame al 1-800-896-9756.

5Reemplace el panel frontal (Fig. 17).

6Oprima el botón de reinicio insertando un clip para papel en el orificio del botón de reinicio. Espere a que haya un sonido “bip” que indique que la unidad ha sido reiniciada. (Fig. 18).

7Una vez que la unidad esté conectada a un tomacorriente, oprima el botón de encendido hasta que se escuche un “bip” breve (Fig. 19).

19

Image 19
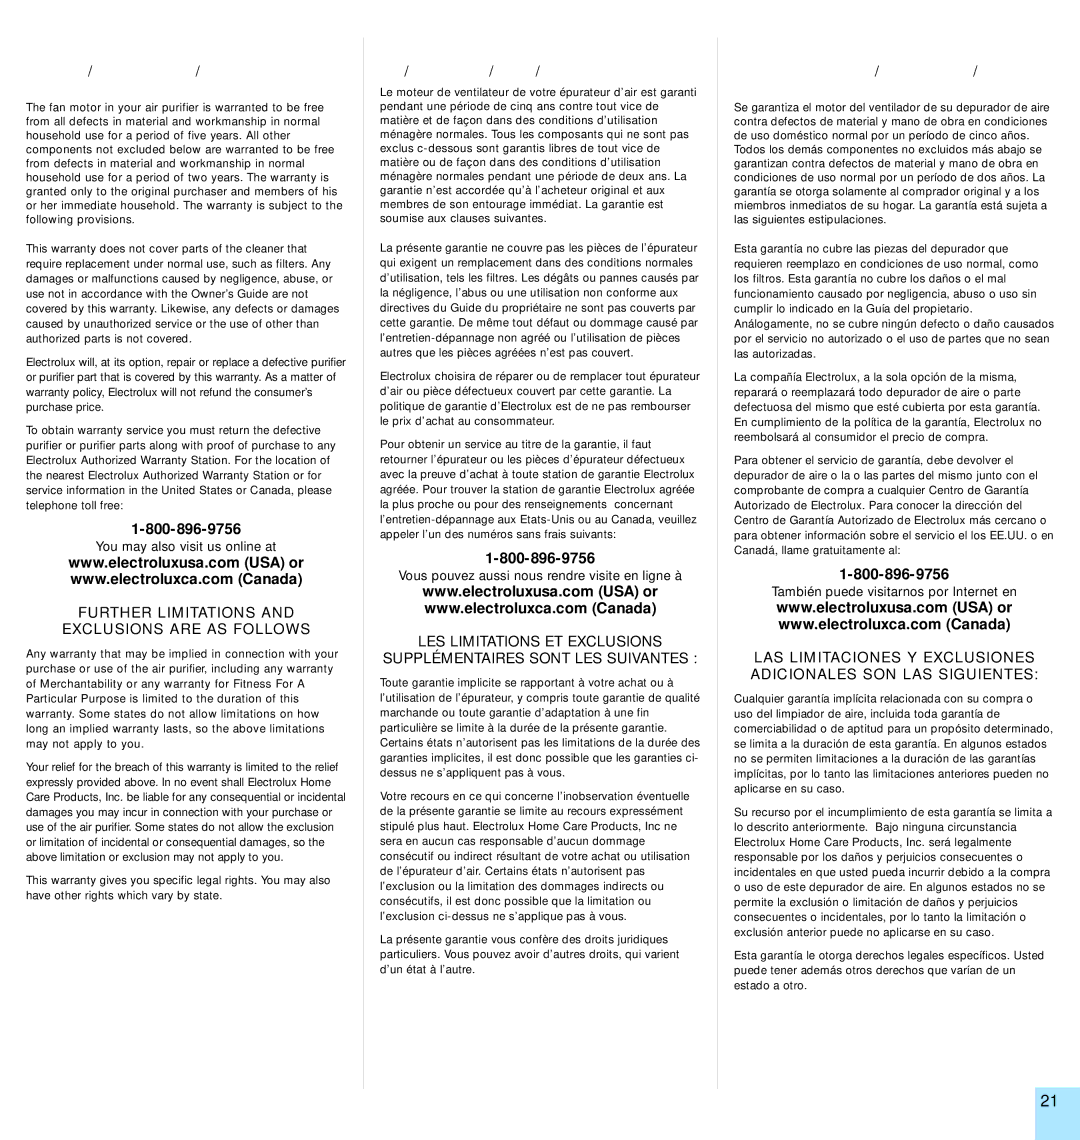
Contents OWNER’ S Guide Keep this Information For Electrolux ServiceIntroduction IntroductionIMP Ortant SA FEG UAR DS Read ALL Instructions Before Using this AIR PurifierFor Household USE only Arrière Contenu Pour Obtenir UN Service ElectroluxINT Roduction Registre SU Producto Conservez CES RenseignementsUsage Ménager Uniquement Précautions IMP Ortan TESParte Trasera Contenido INT RoducciónIntroducción Registre SU Producto Conserve Esta InformaciónAdvert Encia Prec Aucio NES IMP OrtantesEL500AZ EL500AX Page Front Side Caractéristiques Package ContentsFeatures Conten U DE L’ Embal LageEL500AX SET-UP ConfigurationInstalación Fan Speed Control Télécommande Remote ControlControl Remoto Page Fonctionnement OperationOperación Page Soin ET Entretien Care and MaintenanceCuidado Y Mantenimiento Solución DE Problemas TroubleshootingDépistage DES Pannes Garantía Limitada DE Electrolux Electrolux Limited WarrantyFurther LIM Itations Exclusions are AS F Ollows LA Garantie Limitée ElectroluxBy Phone Parts Order Form 15920

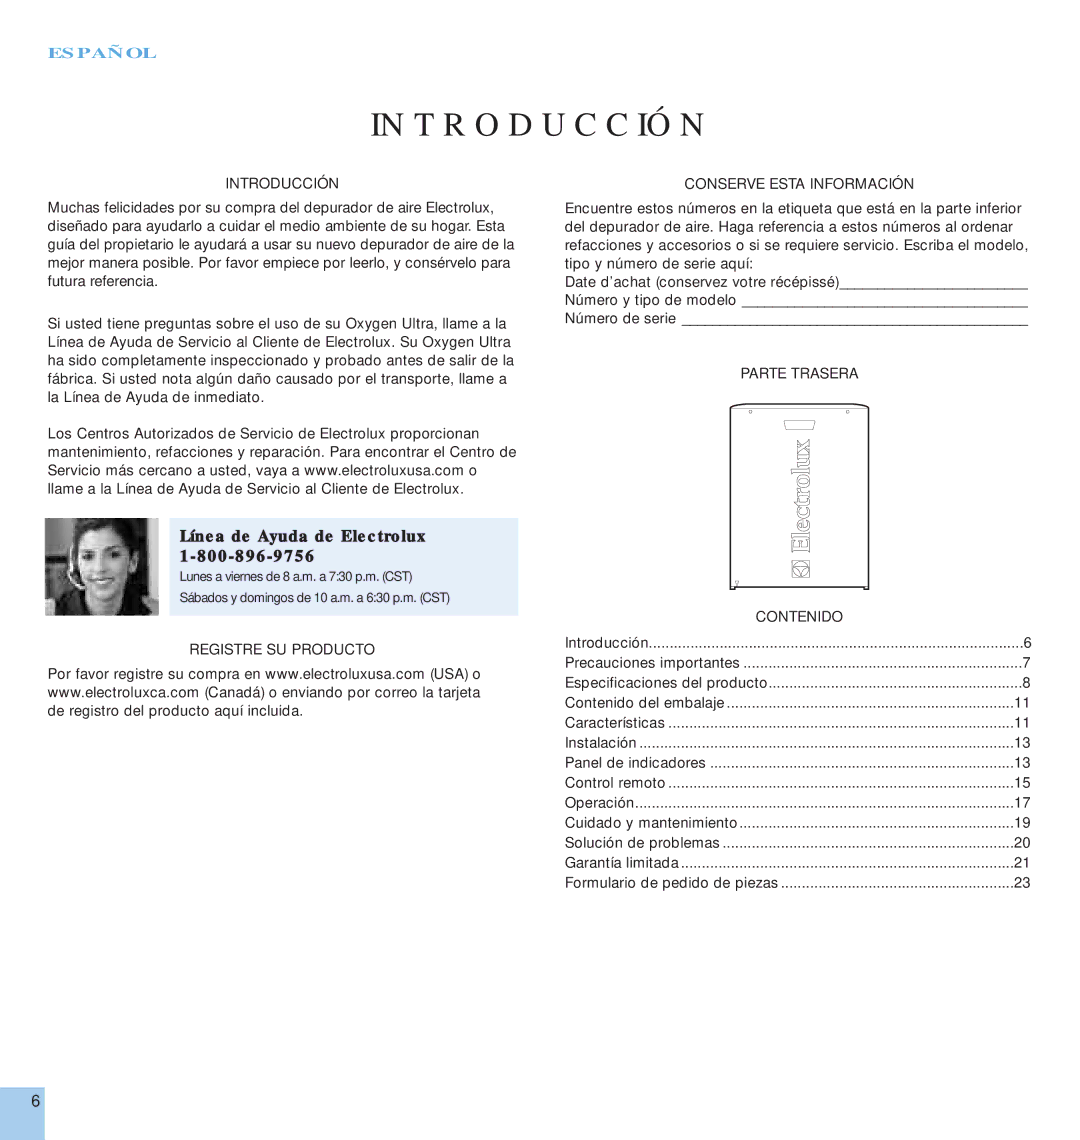
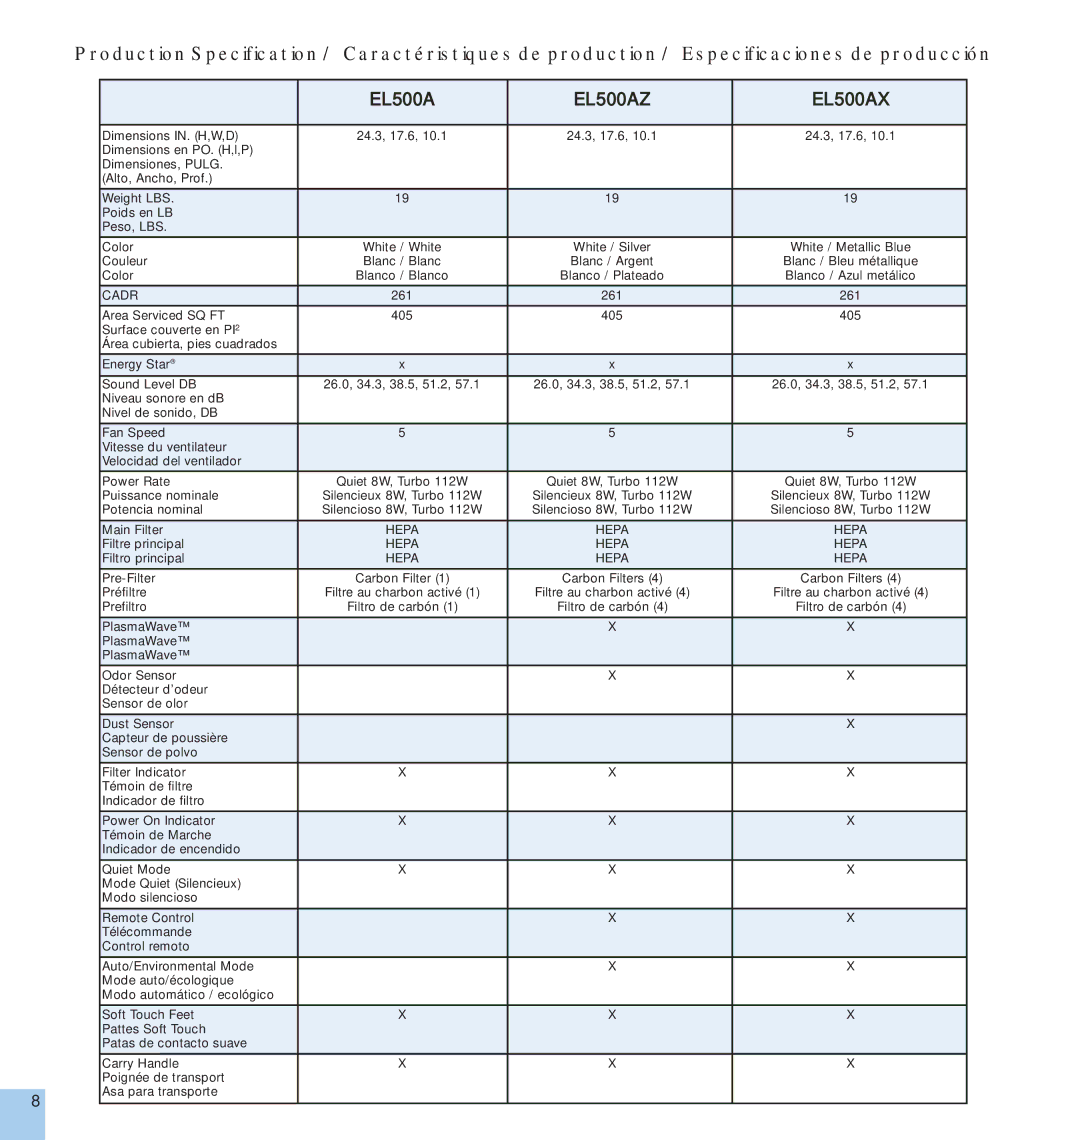
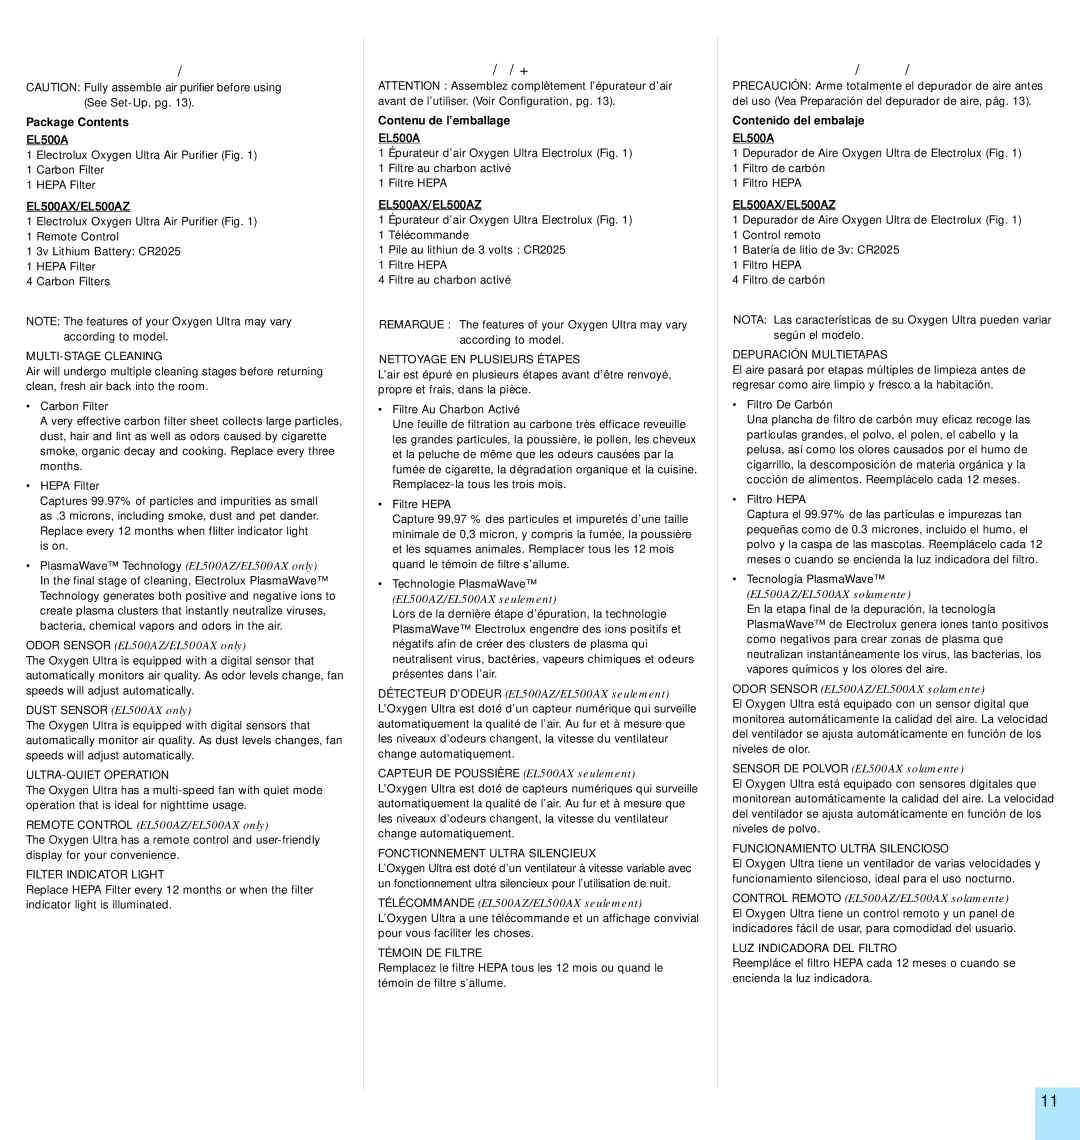
EL500, EL500AZ specifications

The Electrolux EL500 and EL500AZ vacuum cleaners are noteworthy entries in the competitive landscape of home cleaning appliances. Designed to provide effective cleaning solutions for residential spaces, these models incorporate a blend of advanced technologies and user-friendly features, making them a solid choice for homeowners.

One of the standout characteristics of the Electrolux EL500 and EL500AZ is their powerful suction capability. Both models are equipped with a robust motor that delivers consistent performance across various surfaces, whether it's carpets, hardwood floors, or tiles. This versatility ensures that users can rely on these vacuum cleaners for comprehensive cleaning throughout their homes.

The design of the EL500 and EL500AZ vacuums is another feature that enhances their usability. With a lightweight and maneuverable structure, these models can easily navigate around furniture and into tight spaces. The ergonomic handle design ensures comfortable operation, reducing strain during prolonged cleaning sessions. Additionally, their compact size allows for convenient storage, making them an excellent choice for those with limited storage space.

Another notable technology in these models is the advanced filtration system. The EL500 and EL500AZ incorporate a multi-stage filtration process that effectively traps dust, allergens, and other particles, contributing to a healthier living environment. This feature is particularly beneficial for allergy sufferers, as it helps reduce airborne irritants and improves indoor air quality.

Moreover, both models feature a range of attachments and tools designed to enhance cleaning efficiency. The inclusion of specialized nozzles for upholstery, crevices, and brush rolls ensures that users can tackle a variety of cleaning tasks with ease. These attachments enhance the versatility of the vacuum cleaners, allowing users to clean everything from delicate fabrics to hard-to-reach corners.

Power cord management is another advantage of the EL500 and EL500AZ models. With auto-rewind capabilities, users can effortlessly retract the power cord with a simple push of a button, further simplifying the cleaning process. This feature not only saves time but also reduces the risk of tripping over loose cords.

In terms of user feedback, customers often praise these models for their quiet operation. The noise-reduction technology employed in the EL500 and EL500AZ facilitates a peaceful cleaning experience, making it possible to clean without disturbing family members or neighbors.

Ultimately, the Electrolux EL500 and EL500AZ vacuum cleaners successfully combine power, efficiency, and user-friendly features. With their advanced technologies, excellent filtration system, and versatile attachments, they stand out as reliable cleaning companions for any household. Whether tackling daily messes or seasonal deep cleans, these models provide the performance needed to maintain a clean and healthy home.