Maintenance and care
Charging the battery
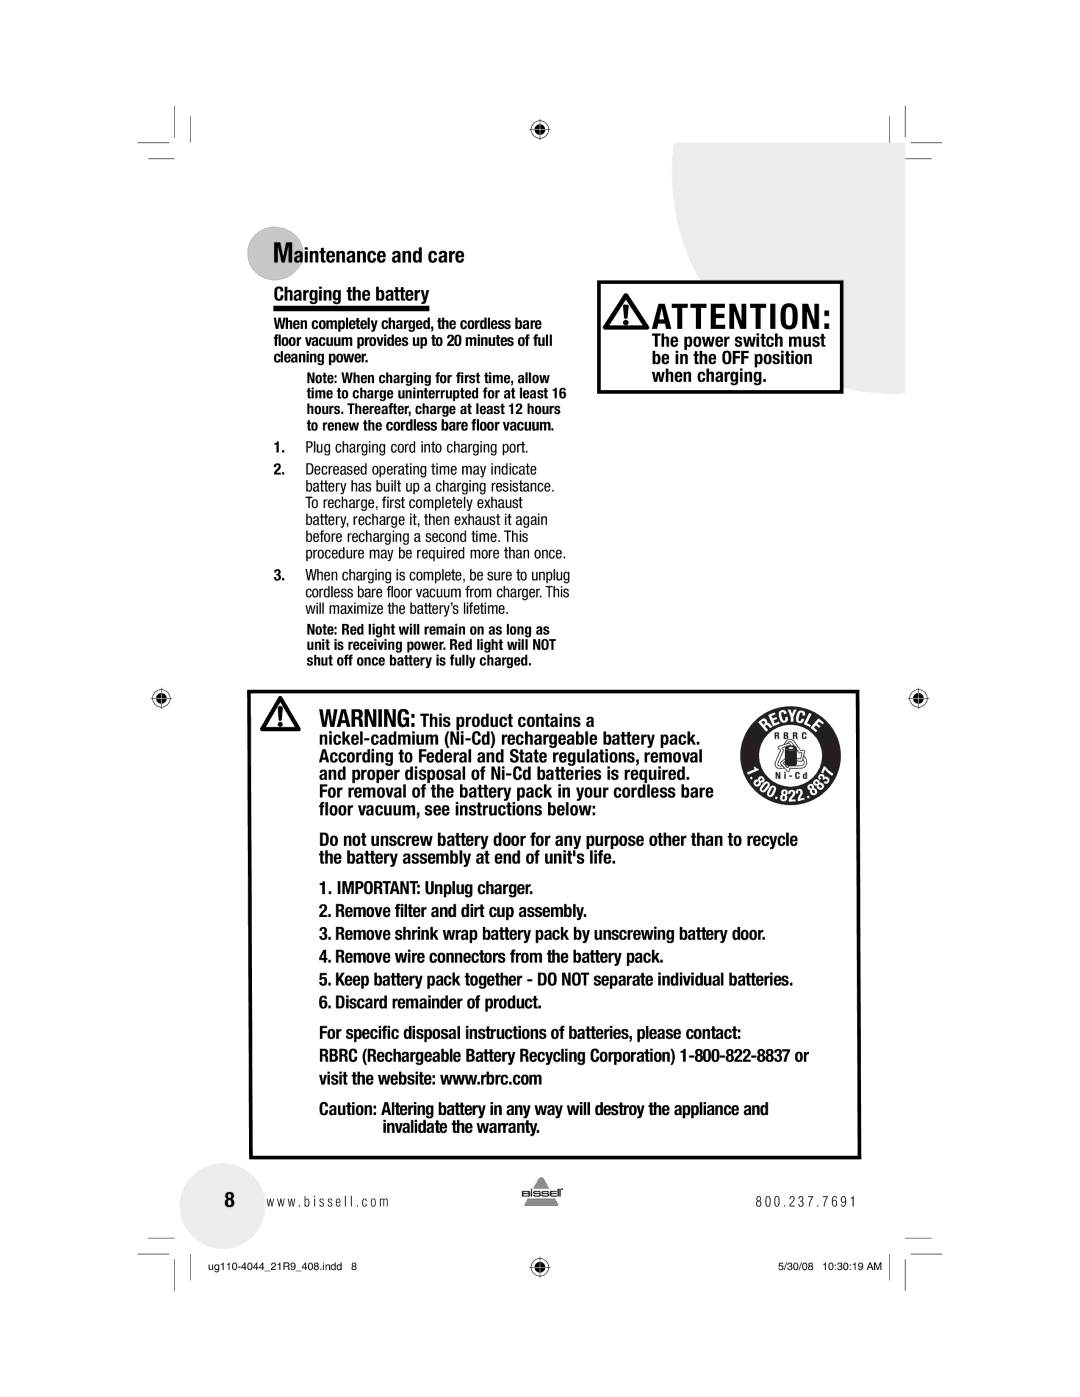
When completely charged, the cordless bare floor vacuum provides up to 20 minutes of full cleaning power.
Note: When charging for first time, allow time to charge uninterrupted for at least 16 hours. Thereafter, charge at least 12 hours
to renew the cordless bare floor vacuum.
1.Plug charging cord into charging port.
2.Decreased operating time may indicate battery has built up a charging resistance. To recharge, first completely exhaust battery, recharge it, then exhaust it again before recharging a second time. This procedure may be required more than once.
3.When charging is complete, be sure to unplug cordless bare floor vacuum from charger. This will maximize the battery’s lifetime.
Note: Red light will remain on as long as unit is receiving power. Red light will NOT shut off once battery is fully charged.
![]() ATTENTION:
ATTENTION:
The power switch must be in the OFF position when charging.
WARNING: This product contains a
Do not unscrew battery door for any purpose other than to recycle the battery assembly at end of unit's life.
1.IMPORTANT: Unplug charger.
2.Remove filter and dirt cup assembly.
3.Remove shrink wrap battery pack by unscrewing battery door.
4.Remove wire connectors from the battery pack.
5.Keep battery pack together - DO NOT separate individual batteries.
6.Discard remainder of product.
For specific disposal instructions of batteries, please contact:
RBRC (Rechargeable Battery Recycling Corporation)
Caution: Altering battery in any way will destroy the appliance and invalidate the warranty.
8 w w w . b i s s e l l . c o m
8 0 0 . 2 3 7 . 7 6 9 1
5/30/08 10:30:19 AM

