Unitech PA967, PA966 user manual Sending Mail Remotely, Setting Up Remote Mail, Work Remotely

Page 42

PA966/967 User's Manual

Sending Mail Remotely

In addition to exchanging mail messages with your desktop computer, you can send and receive mail from a remote mail server by setting up an e-mail account with a service provider.

Note: If you’re setting up an Internet mail account with an ISP (Internet Service Provider), the ISP must use a POP3 mail server and an SMTP mail gateway.

For dial-up connections, you’ll require an internal PCMCIA type modem card or external modem for the PA966. You’ll also need to set up the remote connection on the PA966 using the Connections program.

For wireless connections, you’ll require an RF card for the PA966. You’ll also need to set up the remote connection on the PA966 via the Network setting.

Setting Up Remote Mail

Multiple mail services can be utilized to obtain mail. For each mail service you will access, first set up and name each mail service. If using the same service to connect to different mailboxes, set up and name each mailbox connection.

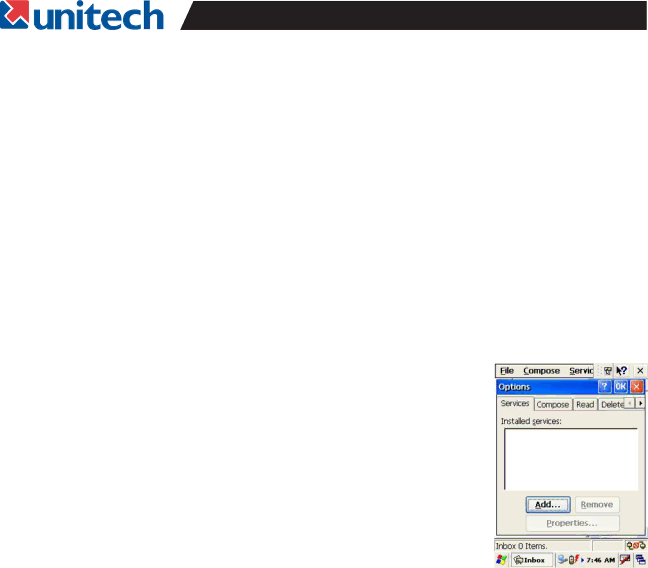
In the InBox on the PA966, tap Compose, Options, the Services tab, and then the Add button.

A setup wizard will walk you through the steps.

The software for creating an Internet Mail connection to an ISP is pre- installed on the PA966.

Work Remotely

Mail received via dial-up connection appears in the InBox folder on the PA966, together with the mail you synchronize with your desktop computer. Messages received remotely are linked to your mail server rather than to your desktop computer.

You can work online, which means that you read and respond to messages while connected to the server. Messages are sent as soon as you tap Send, which saves space on your device.

You can also work offline. Once you’ve downloaded new message headers or partial messages, you can disconnect from the server and then decide which message to download completely. The next time you connect, InBox automatically downloads the complete messages you’ve marked for retrieval and sends the messages you’ve composed.

38

Image 42
Contents PA966 / PA967 Portable Terminal Page Page Page Introduction Unitech PA966 & Accessories Tour of the Unitech PA966 Installing the Battery Pack First Steps with the Unitech PA966Supplying Power to the PA966 Charging the Main and Backup Batteries for the First TimeUsing the Stylus Protective Screen FilmFirst Operation of the Unitech PA966 Setting the Year and Month Setting Time Zone, Date, and TimeSetting the Time Zone first Exiting Date/Time Properties SettingsFlash Memory Keypad AlphaKeypad Layout Useful Hotkeys Software Keyboard Windows CE KeyboardUsing the Built-in Scanner Modifying the Scanner SettingsScan2Key Bar Code Symbologies Prefix 2D SymbologiesData Options SuffixReplace Suffix with Carriage Return Proximity Reading OptionsScanning Options Transmit Function CodeImager Idle Timeout Power Management OptionsTimeout To Sleep Imaging OptionsEnable Log scanner.txt Power On DelayRe-Open Scanner Port After Resume Power Miscellaneous Options1D Scanning Show Data OnlyAuto-Scan Reset Sequence Number Show Sequence NumberSave To File Clear WindowEnable Scan 2D ScanningImage Scanning Save ImageScan2Key Version Charging the Lithium-Ion Battery Pack Charging the Main and Backup Battery for the First TimePower Status Indication Enter Power Properties Checking Main and Backup Battery StatusHow to Save Battery Power Check Battery StatusAutomatically turn on the backlight when any key is pressed Backlight SettingWarm Boot / Cold Boot Warm BootStorage and Safety Precautions Cold BootCharging Considerations Serial or USB Cable ConnectingIntroduction Docking StationInstallation ActiveSyncPage Page Using the Mobile Devices Window Mobile Devices FeaturesChanging Communications Settings Synchronization To turn on IrDAWhat Gets Synchronized FilesChanging Synchronization Options Installing and Removing Software InBoxSending and Receiving E-Mail with InBox Setting Up Remote Mail Sending Mail RemotelyWork Remotely Receiving Messages Sending MessagesWireless Communication Bluetooth SetupBluetooth ActiveSync Page CPU / Memory OS and Software Programming ToolsMechanical / Environmental Power Interface PortInput / Output 1D Scan Engine 1D Scanner Symbologies 2D Scanner Symbologies2D Scan Engine Pin Assignment for Charge / Communication Port Docking StationPerform a cold boot Warning Terminal will be reset to Factory default settings and data will be lostFCC Statement Canadian Compliance StatementEuropean Conformity Statement Unitech America