Weed Eater 530088154 Installing Trimmer ATTACH- Ment, Attaching Shield, Adjusting the Handle

Page 7

WARNING: If received assembled, repeat all steps to ensure your unit is properly assembled and all fasteners are secure.

Examine parts for damage. Do not use dam- aged parts.

NOTE: If you need assistance or find parts missing or damaged, call 1-800-554-6723.

It is normal for the fuel filter to rattle in the empty fuel tank.

Finding fuel or oil residue on muffler is normal due to carburetor adjustments and testing done by the manufacturer.

INSTALLING TRIMMER ATTACH- MENT

CAUTION: When installing trimmer attach-

ment, place the unit on a flat surface for stabil- ity.

1.Loosen the coupler by turning the knob counterclockwise.

Coupler

LOOSEN

TIGHTEN Knob

2.Remove the tube cap from the trimmer at- tachment (if present).

3.Position locking/release button of attach- ment into guide recess of coupler.

4.Push the attachment into the coupler until the locking/release button snaps into the primary hole.

5.Before using the unit, tighten the knob se- curely by turning clockwise.

Coupler

Primary Hole


Guide Recess

Upper

Locking/

Lower

Release

Tube

Attachment


Button


WARNING: Make sure the locking/ release button is locked in the primary hole and the knob is securely tightened before op- erating the unit. All attachments are designed to be used in the primary hole.

For optional attachments, see the AS- SEMBLY section of the applicable attach- ment instruction manual.

ATTACHING SHIELD

WARNING: The shield must be prop- erly installed. The shield provides partial protec- tion from the risk of thrown objects to the opera- tor and others and is equipped with a line limiter blade which cuts excess line to the proper length. The line limiter blade (on underside of shield) is sharp and can cut you. For proper orientation of shield, see KNOW YOUR TRIM- MER illustration in OPERATION section.

1.Remove wing nut from shield.

2.Insert bracket into slot as shown.

3.Pivot shield until bolt passes through hole in bracket.

4.Securely tighten wing nut onto bolt.

ShieldSlot

Bracket

Wing

Nut

ADJUSTING THE HANDLE

WARNING: When adjusting the han- dle, be sure it remains between the trigger and the arrow on the safety label.

1.Loosen wing nut on handle.

2.Rotate the handle on the tube to an up- right position; retighten wing nut.

7

Image 7
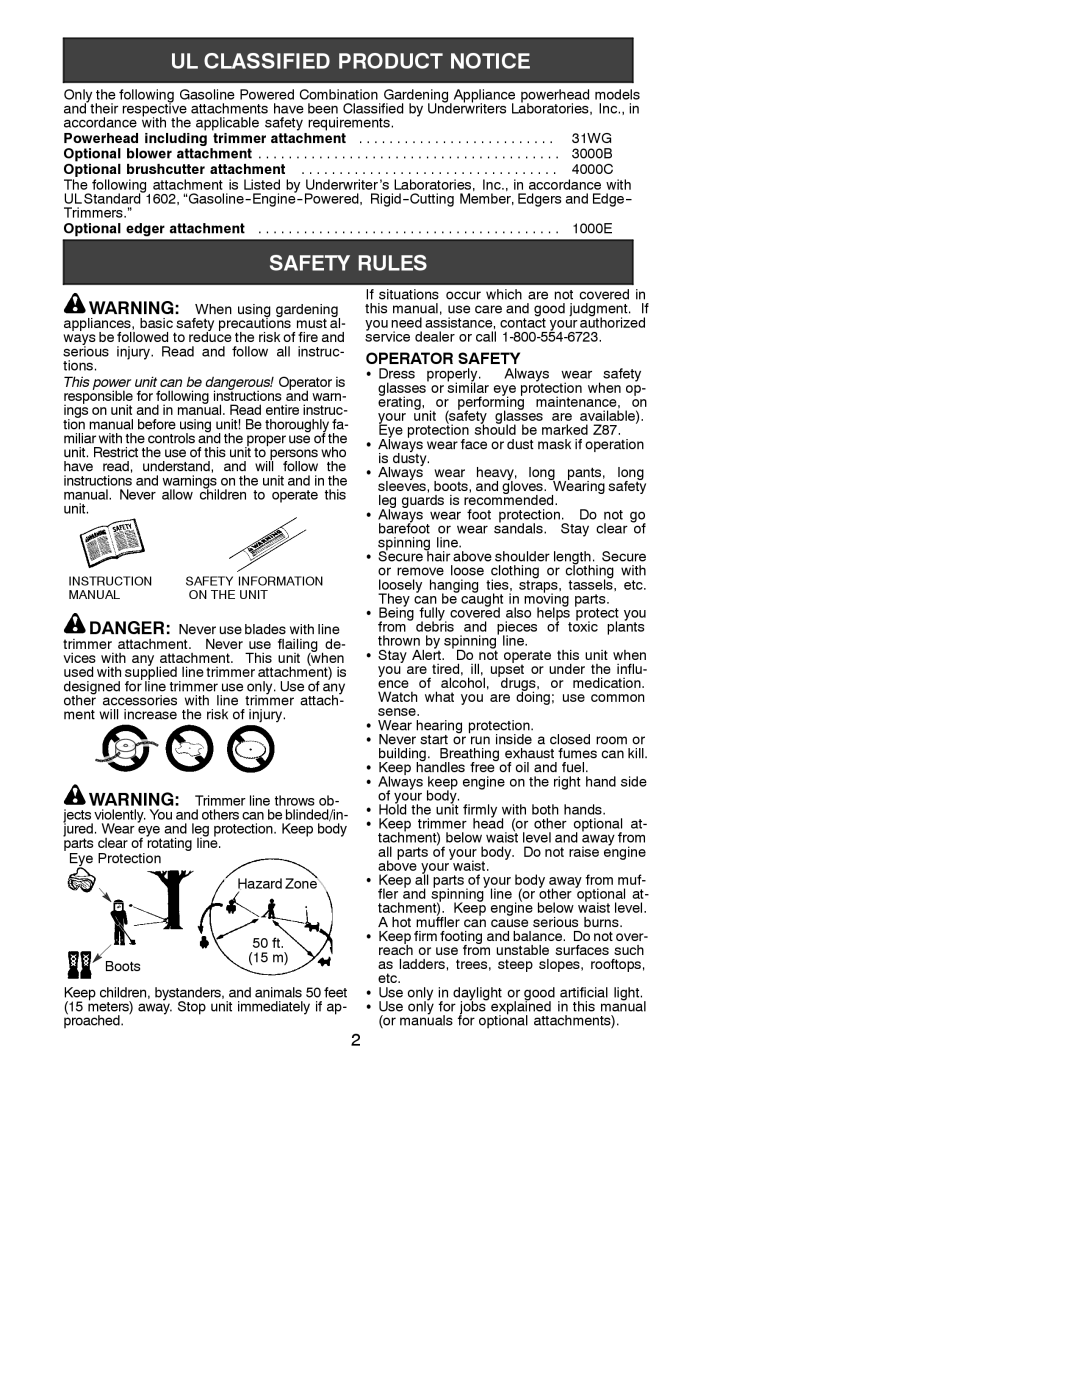
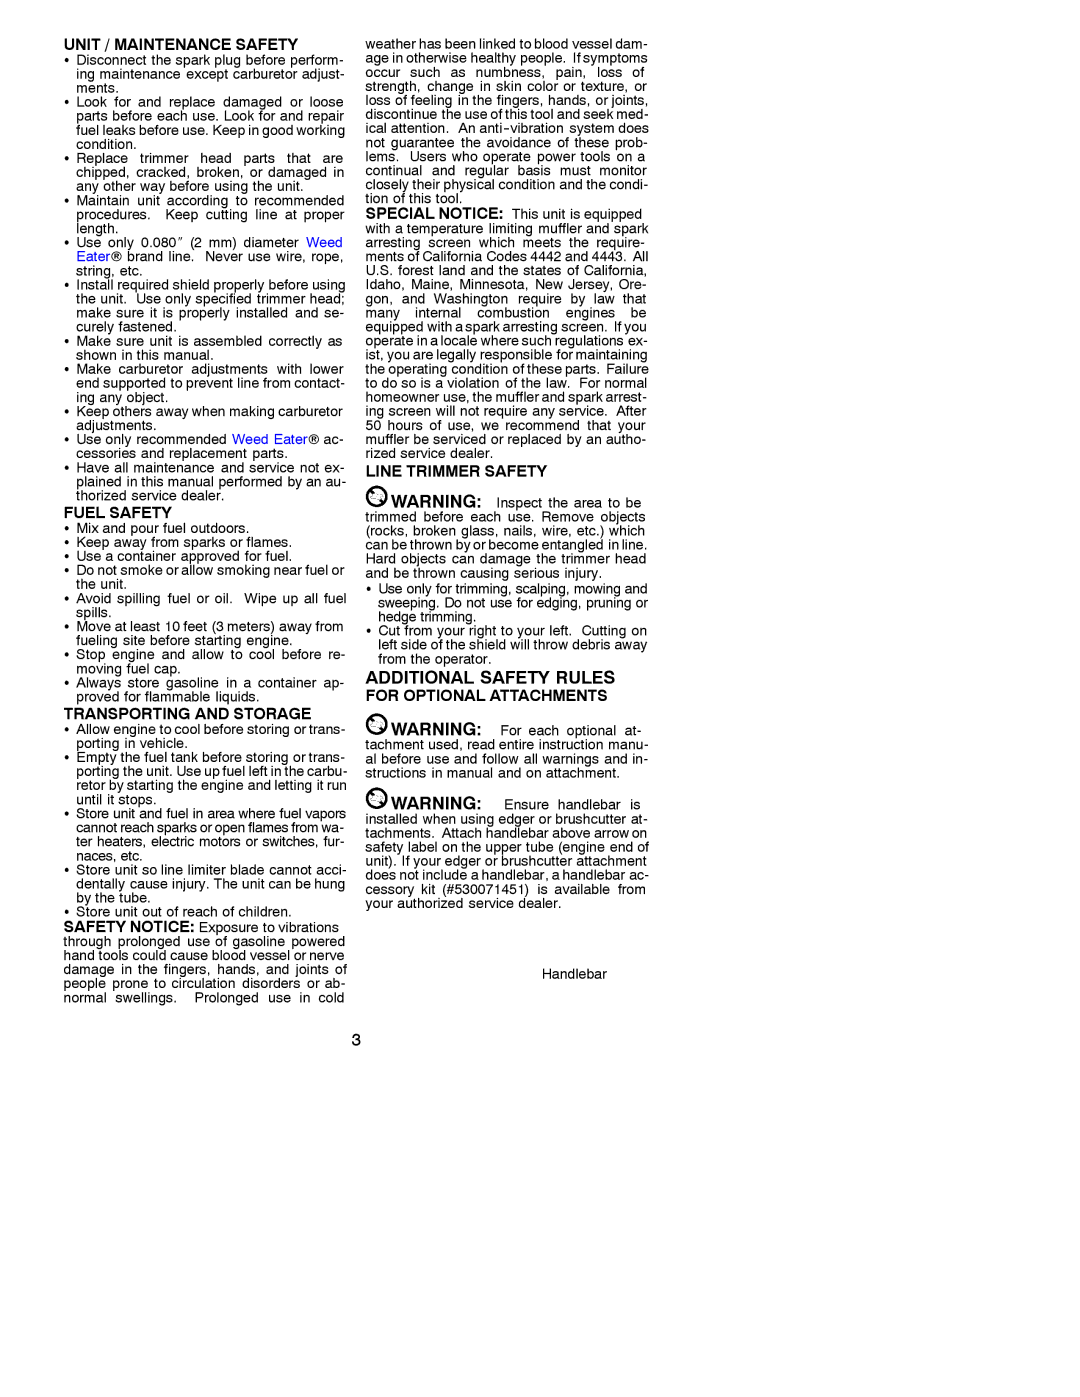
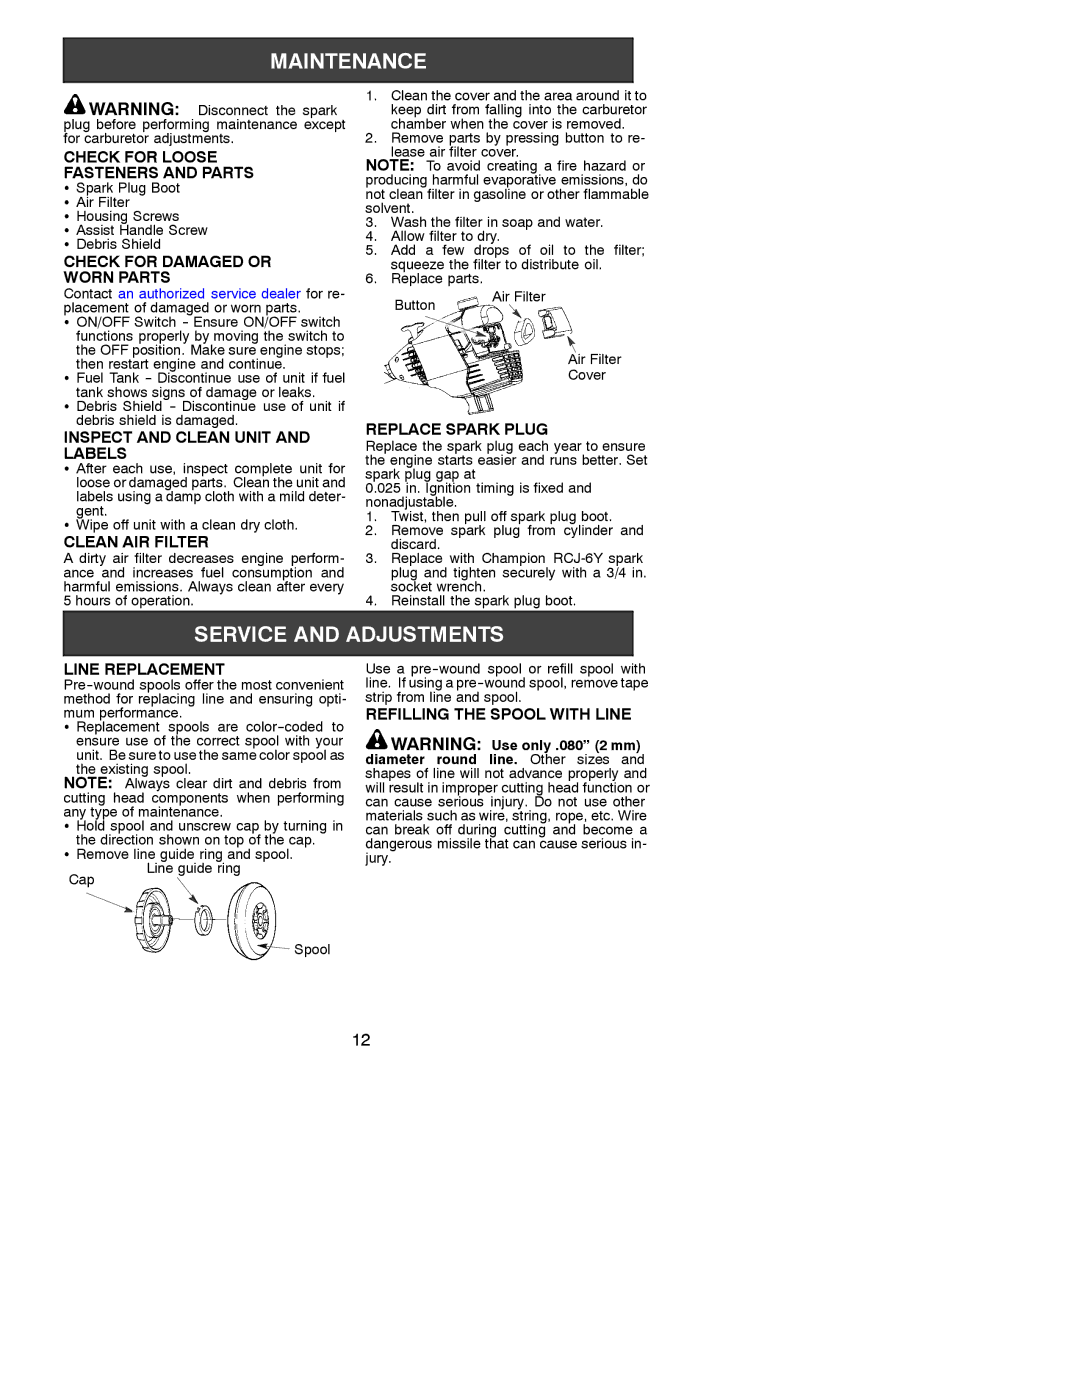
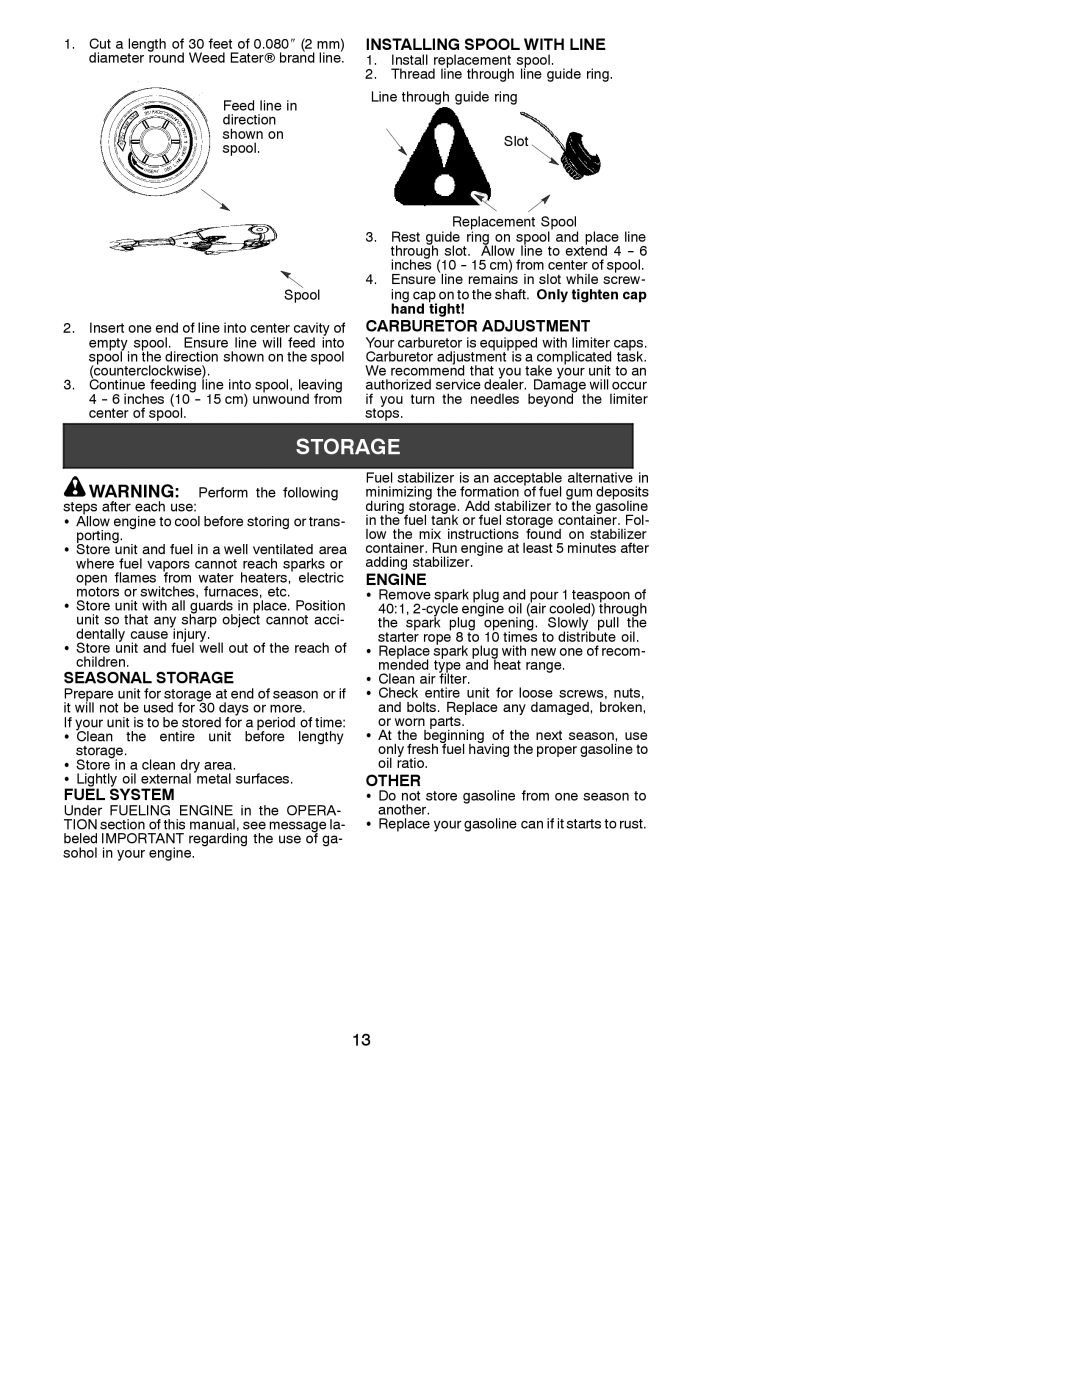
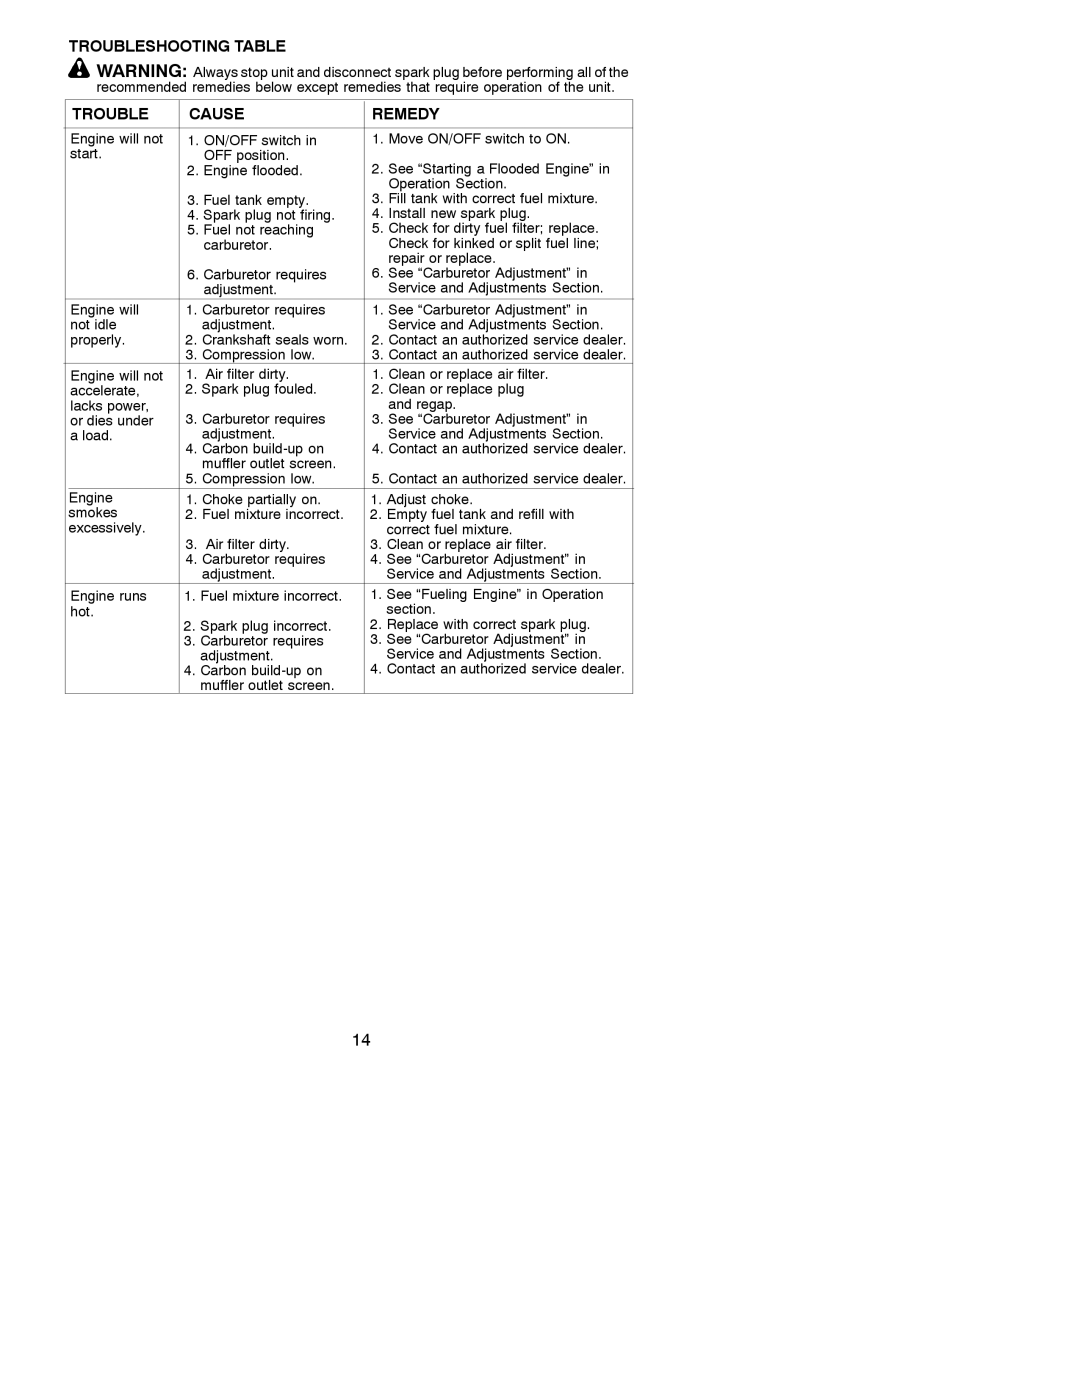
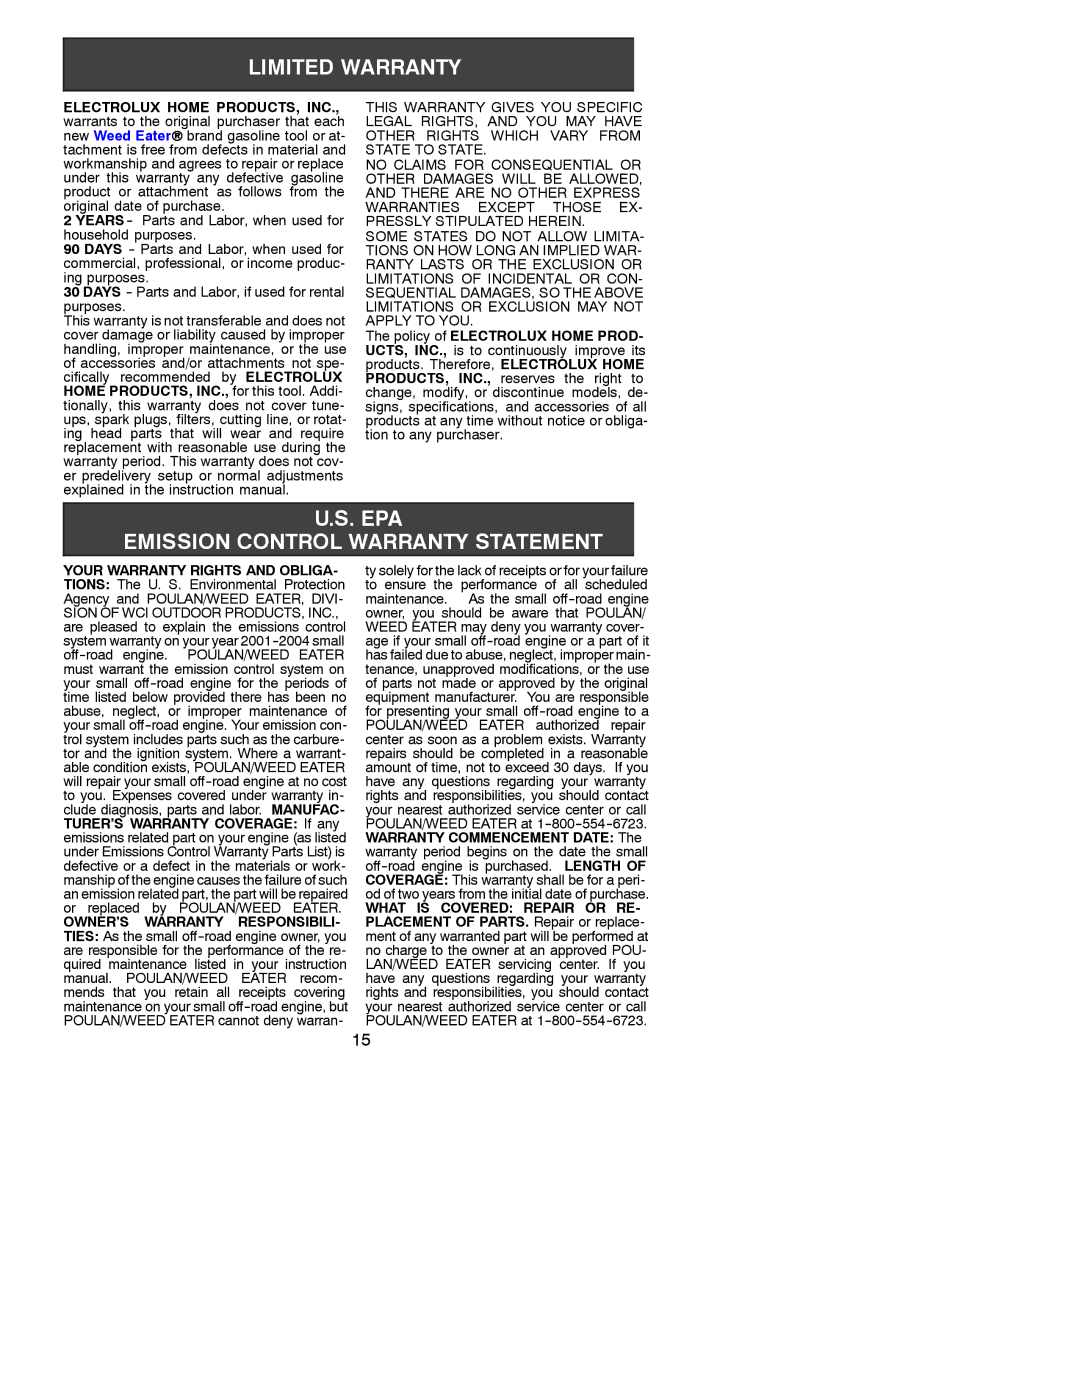
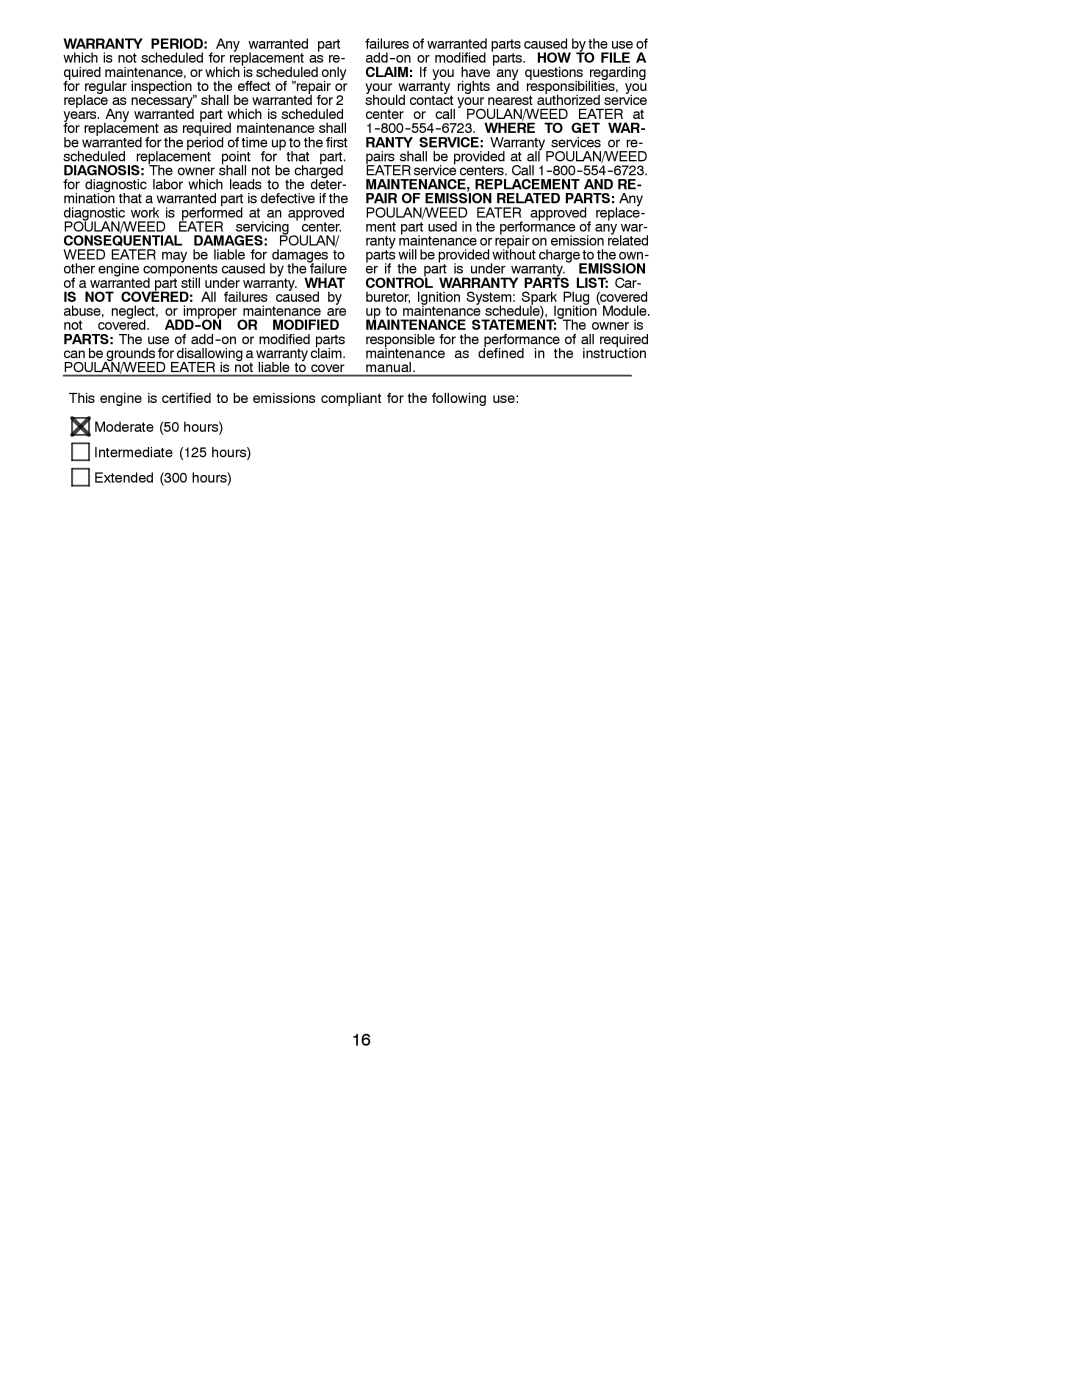
Contents Manual de Instrucciones Manuel d’Instructions Eye Protection Hazard Zone Operator Safety31WG 3000BTransporting and Storage Unit / Maintenance SafetyFuel Safety Line Trimmer SafetyBLOWER/VACUUM Safety Edger SafetyBrushcutter Safety Hedge Trimmer Safety Pole Pruner Safety Cultivator SafetyProboscis nose Or broken Snow Thrower SafetyHigh speed causing injury Know how to stop quicklyRelease Installing Trimmer ATTACH- MentAdjusting the Handle Attaching ShieldPrimer Bulb ON/OFF Switch ChokeHOW to Stop Your Unit Know Your TrimmerStarting a Warm Engine HOW to Start Your UnitStarting a Flooded Engine Press and hold the locking/release button Trimmer Line Advance Installing Optional Attach MentsOperating the Coupler Operating PositionRightWrong Cutting MethodsCheck for Loose Fasteners and Parts Inspect and Clean Unit and LabelsClean AIR Filter Line ReplacementFuel System Installing Spool with LineCarburetor Adjustment Seasonal StorageTroubleshooting Table Cause Remedy Agency and POULAN/WEED EATER, Divi Electrolux Home PRODUCTS, INC

530088154, 31WG specifications

The Weed Eater 31WG,530088154 is a versatile and powerful cordless string trimmer designed for homeowners who require an efficient tool for maintaining their lawns and gardens. With a blend of innovative technologies and user-friendly features, this model stands out for its performance and ease of use.

One of the key features of the Weed Eater 31WG is its lightweight design, weighing in at just around 5.5 pounds. This makes it easy to maneuver, reducing user fatigue during extended use. The trimmer's ergonomic handle provides a comfortable grip, allowing for excellent control and precision while trimming grass or weeds in tight spaces.

Equipped with a 10-inch cutting width, the 31WG effectively navigates through various types of vegetation, making it suitable for tackling both small yards and larger landscaping tasks. The engine generates reliable power to cut through thick grass and overgrown areas without bogging down. A feature that enhances usability is the automatic line feed system, which allows users to quickly and effortlessly advance the cutting line as needed, ensuring continuous trimming without interruptions.

Another notable characteristic of the Weed Eater 31WG is its dual-line operation. This feature provides improved cutting efficiency and ensures a clean finish in every trimming session. The trimmer also supports a variety of line types, allowing users to choose the best option for their specific yard care needs.

In terms of technology, the Weed Eater 31WG incorporates a reliable electric motor that eliminates the hassle of gas and oil mixtures. This not only simplifies maintenance but also contributes to a cleaner environment, making it a great option for eco-conscious consumers. With its quieter operation, users can also enjoy a peaceful gardening experience without disturbing the neighborhood.

The adjustable shaft of the 31WG allows for customization according to individual user height preferences, making it suitable for users of various statures. Additionally, the trimmer's durable construction ensures longevity, promising years of reliable service with proper care.

Overall, the Weed Eater 31WG,530088154 offers an excellent combination of power, mobility, and ease of use, making it an ideal choice for homeowners looking to simplify their lawn care routine. Its thoughtful design and features allow for efficient trimming while keeping usability in mind.