Introduction
Laser
Press this button to generate the laser beam that functions as a red pointer on the screen.
Laser button
Disk Pad
If the PS/2 (ADB) mouse cable is connected with the PC Notebook or Mac Powerbook mouse port, the Disk Pad can take over the Notebook or Powerbook mouse function. When the MAGNIFY function is activated, use the Disk Pad to move around the display areas.
Note: The mouse function is not available when the MAGNIFY function is turned on.
R-Click, L-Click
These two keys are used when the mouse function is activated after the PS/2 port is connected. They act as the right (R) and left (L) buttons of a computer mouse.
Drag
This button toggles between ON and OFF for the drag function of the remote mouse.
Drag button
Blank
Press this button to activate or release the BLANK function. BLANK makes the screen go blank.
Blank button
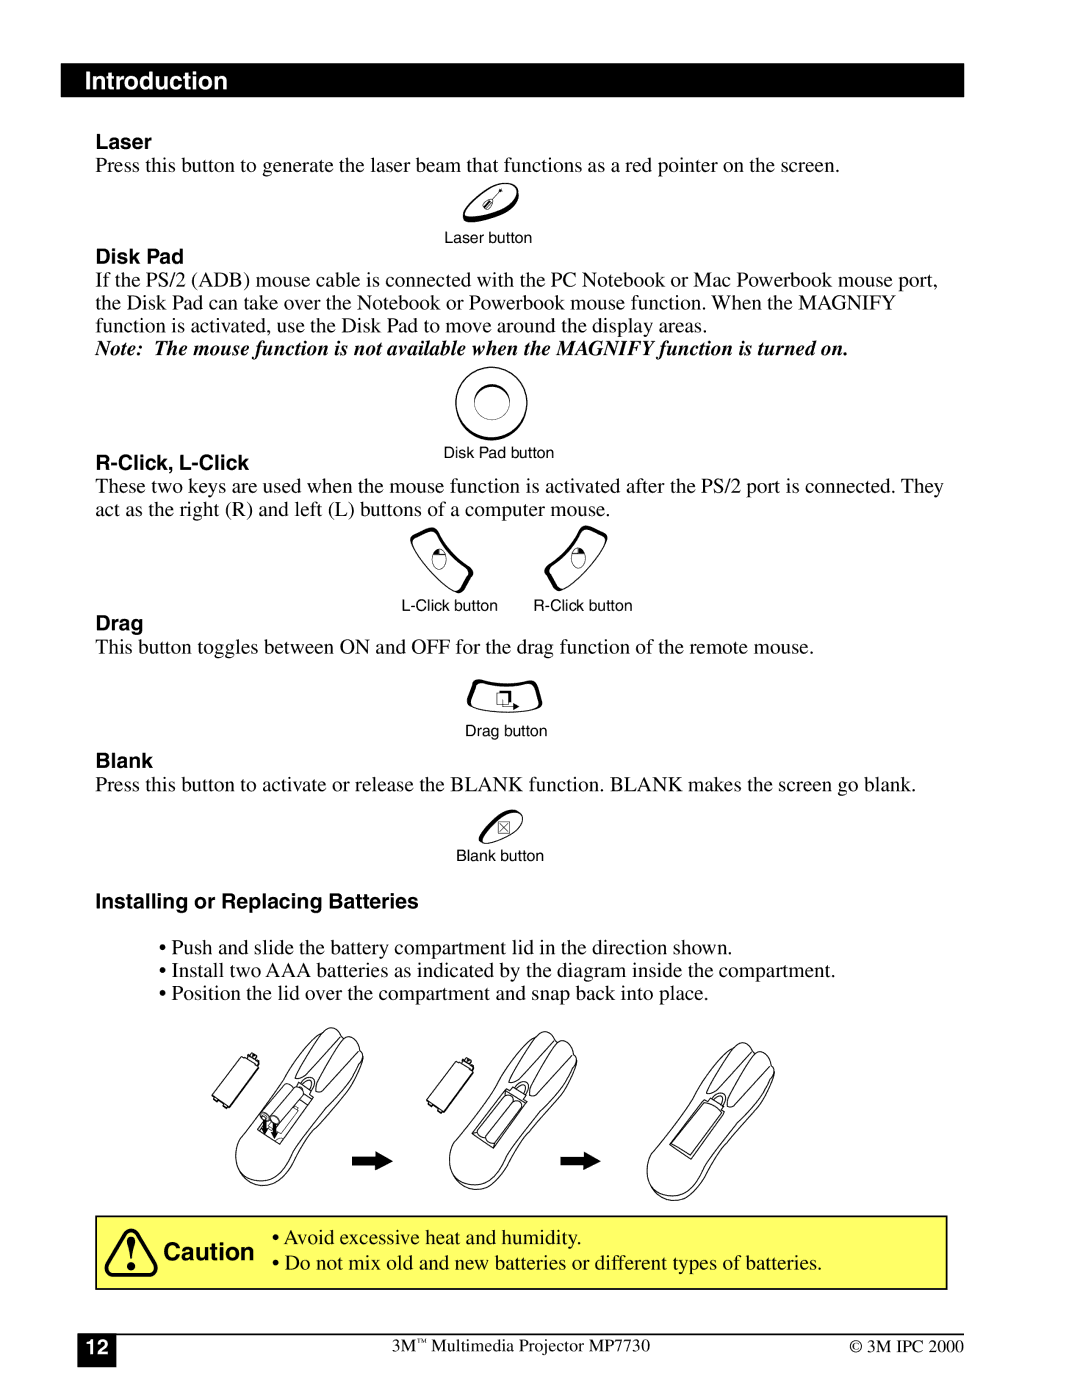
Installing or Replacing Batteries
•Push and slide the battery compartment lid in the direction shown.
•Install two AAA batteries as indicated by the diagram inside the compartment.
•Position the lid over the compartment and snap back into place.
Caution | • Avoid excessive heat and humidity. |
• Do not mix old and new batteries or different types of batteries. |
12
3M™ Multimedia Projector MP7730 | © 3M IPC 2000 |