USING THE MENU FUNCTIONS
| STANDBY/ON |
VIDEO | RGB SEARCH |
ASPECT | AUTO BLANK |
MAGNIFY | VOLUME |
ON |
|
| MUTE |
OFF
FREEZEKEYSTONE
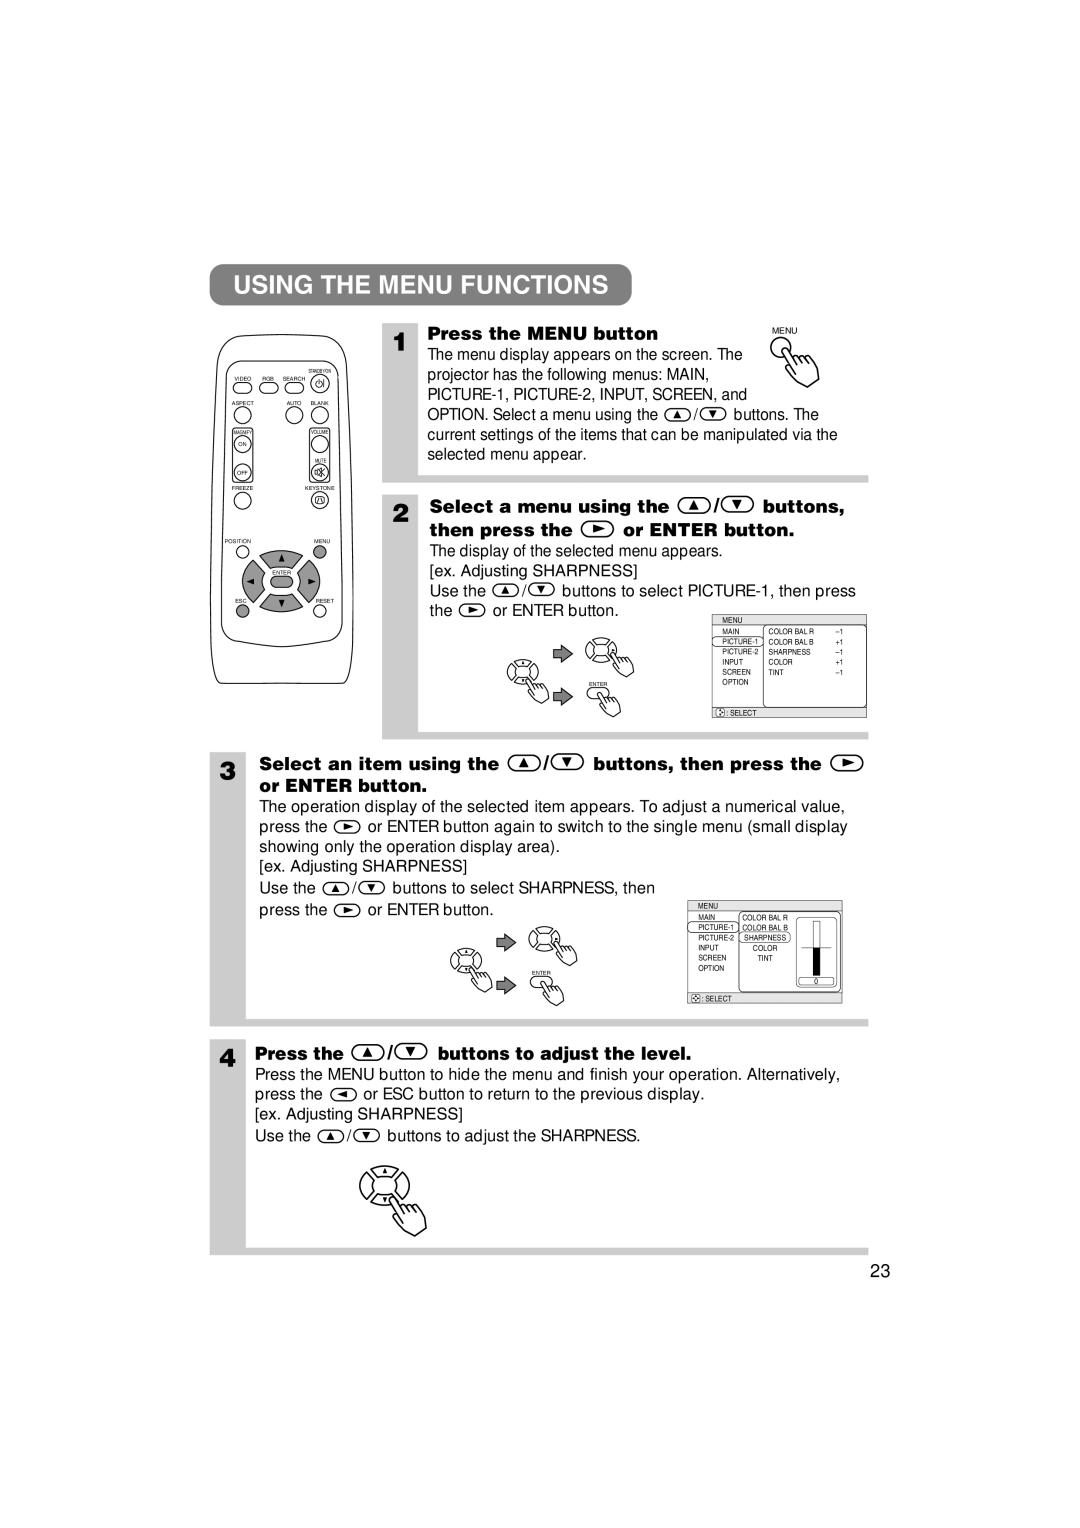
1 | Press the MENU button |
| MENU |
|
|
| |
| The menu display appears on the screen. The | ||
| projector has the following menus: MAIN, |
| |
| |||
| OPTION. Select a menu using the | / | buttons. The |
current settings of the items that can be manipulated via the selected menu appear.
2 Select a menu using the | / | buttons, | |
then press the | or ENTER button. | ||
POSITION |
| MENU |
|
|
|
|
|
|
| The display of the selected menu appears. |
|
| |||
| ENTER | [ex. Adjusting SHARPNESS] |
|
|
| ||
|
|
|
|
| |||
|
| Use the | / | buttons to select | |||
ESC |
| RESET | or ENTER button. |
|
|
| |
|
| the | MENU |
|
| ||
|
|
|
|
|
|
| |
|
|
|
|
| MAIN | COLOR BAL R | |
|
|
|
|
| COLOR BAL B | +1 | |
|
|
|
|
| SHARPNESS | ||
|
|
|
|
| INPUT | COLOR | +1 |
|
|
|
|
| SCREEN | TINT | |
|
|
|
| ENTER | OPTION |
|
|
|
|
|
|
| : SELECT |
|
|
3 | Select an item using the | / | buttons, then press the | ||||
| or ENTER button. |
|
|
| |||
| The operation display of the selected item appears. To adjust a numerical value, | ||||||
| press the |
| or ENTER button again to switch to the single menu (small display | ||||
| showing only the operation display area). |
|
| ||||
| [ex. Adjusting SHARPNESS] |
|
|
| |||
| Use the | / |
| buttons to select SHARPNESS, then |
| ||
| press the |
| or ENTER button. |
| MENU |
| |
|
|
| MAIN | COLOR BAL R | |||
|
|
|
|
|
| ||
|
|
|
|
|
| ||
|
|
|
|
|
| SHARPNESS | |
|
|
|
|
|
| INPUT | COLOR |
|
|
|
|
|
| SCREEN | TINT |
|
|
|
|
| ENTER | OPTION |
|
|
|
|
|
|
|
| |
|
|
|
|
|
|
| 0 |
|
|
|
|
|
| : SELECT |
|
4 | Press the |
| / | buttons to adjust the level. |
| ||
Press the MENU button to hide the menu and finish your operation. Alternatively,
press the ![]() or ESC button to return to the previous display. [ex. Adjusting SHARPNESS]
or ESC button to return to the previous display. [ex. Adjusting SHARPNESS]
Use the ![]() /
/![]() buttons to adjust the SHARPNESS.
buttons to adjust the SHARPNESS.
23